In factories around the world, thickness measurements are essential for quality assurance (QA) and control (QC) of precision engineered components. This data enables factories to monitor production processes and update them to improve consistency and reduce scrap. Thickness measurements are used to check the geometry of finished parts post-manufacturing, as well as the inspection of repaired parts during overhaul.
However, thickness measurements can be time consuming and quickly become the bottleneck of many production and overhaul lines. Not to mention, manual recording of large volumes of data is prone to human error, affecting data reliability. Moreover, this repetitive work means operators have less time to focus on value-added tasks, reducing overall efficiency.
So, how can you optimize the thickness measurement workflow? Here are two ideas:
1. Digitize thickness data.
To stay efficient, use precision thickness gauges and solutions designed to digitize inspection data for factory workflows.
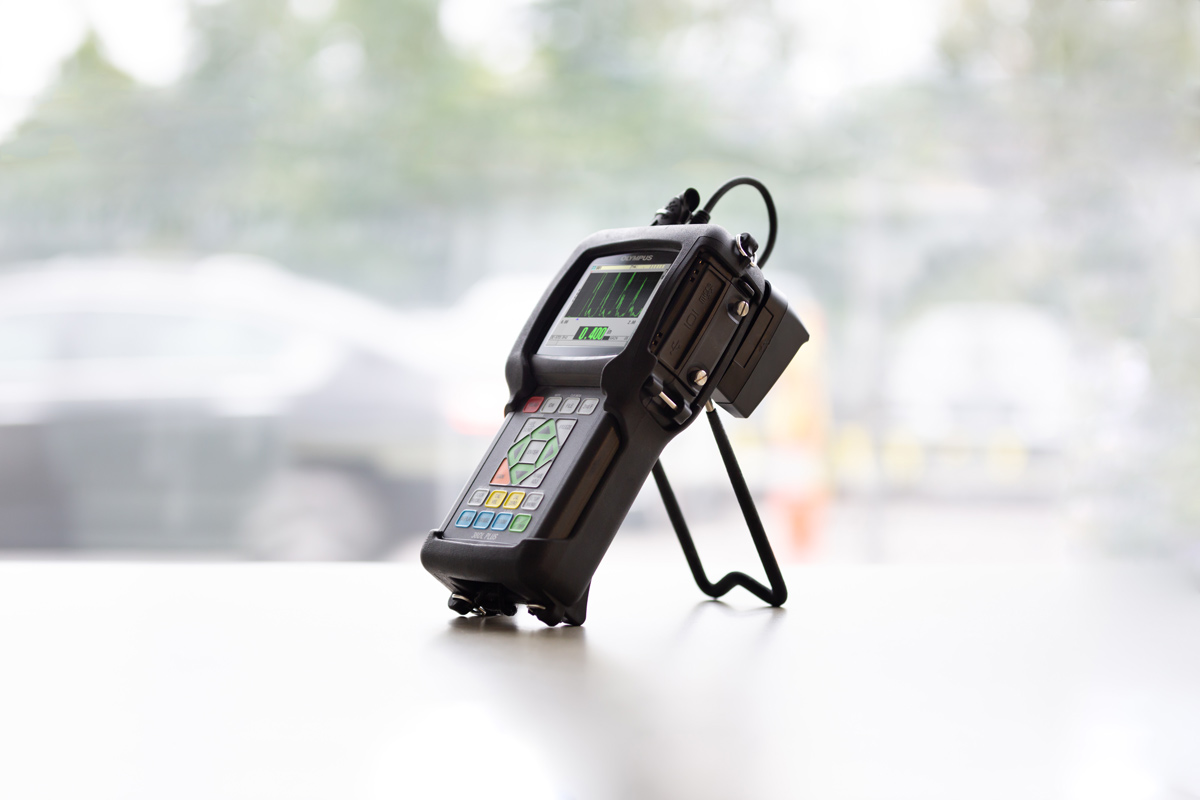
For instance, 38DL PLUS™ ultrasonic thickness gauges can be paired with the optional 38-Link™ wireless adaptor. This enables the gauge to send readings via wireless LAN or Bluetooth® to your computer or the Olympus Scientific Cloud™ (OSC) with the press of a button. As a result, data collection and logging are more simple, efficient, and reliable for an optimized factory workflow.

38DL PLUS ultrasonic thickness gauge with the 38-Link wireless adaptor
Olympus can also work closely with you to cocreate customized software that optimizes workflows, such as data transfer and inspection report generation. Reports can be generated in seconds rather than minutes, while data can be transferred automatically to your current factory systems.
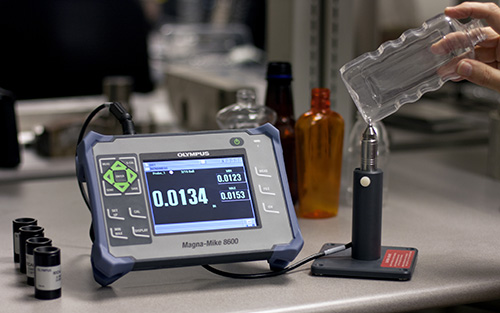
As an example, one customer in Asia worked with our Asia Pacific (APAC) Technology Centre to cocreate a software that automatically logs thickness measurement data in their manufacturing execution system (MES). The data from the Magna-Mike™ 8600 gauge was previously documented and entered by hand, so the custom solution significantly increased productivity while eliminating data recording errors.

A Magna-Mike 8600 gauge measures the thickness of plastic packaging, then custom software automatically logs the data into a manufacturing execution system
To set up a demonstration of our automated logging software and to discuss your specific factory requirements, simply reach out to us here.
2. Automate thickness measurements.
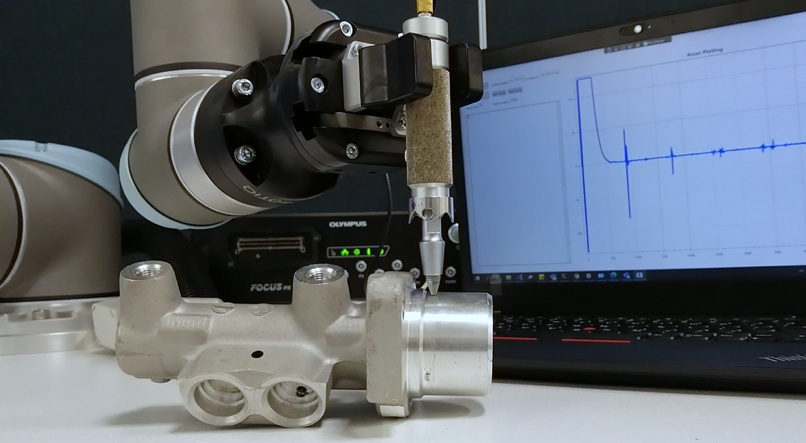
Another way to improve your workflow is through automated thickness measurements. Due to their repetitive nature, thickness measurements can be automated with cost-effective robots to improve production and efficiency. Olympus can work with you to design automated thickness measurement solutions specifically tailored to your requirements. Just let us know what your inspection needs are, and an expert will work with you.
About the Author :-
Dr. Christopher Lane is the Manager of the Olympus APAC Technology Centre. He graduated from the University of Bristol, UK with a First-Class degree in Mechanical Engineering in 2007 and was awarded an Engineering Doctorate (EngD) from the same University in 2011. His EngD concerned the development of 2D ultrasonic arrays and the total focusing method (TFM) for aerospace inspection applications.
Christopher has worked in the nondestructive testing (NDT) and inspection industry for the last 12 years, first as a Level III at Rolls-Royce plc and later developing advanced inspection systems at a research centre in Singapore. Christopher joined Olympus in 2018 as the Sales Manager for NDT Systems and Integration for the Asia Pacific region.
Christopher was awarded the British Institute of NDT Young Person’s Achievement Award and the Rolls-Royce Award for Technical Innovation. He is a Chartered Engineer with the Institute of Mechanical Engineering and a Certified Project Management Professional from the Project Management Institute.
Christopher is an Honorary Technical Editor of the BINDT journal Insight.


