In the first section of the article, they explained how portable 3D scanners capture the geometry, and dimension of physical objects and how they can enhance the quality, efficiency, and innovation of production processes.
In this section, they will explore the applications of various mobile 3D scanners and what benefits they provide to designers, manufacturers, and professionals in terms of accuracy, cost, and time.
Application of Handheld 3D Laser Scanners
The most common uses of portable 3D scanners are for product quality control, for example, sizing or comparing the product to a nominal CAD model, and for product development, i.e. the update of the actual part in digital form.
Thanks to their mobility, versatility, flexibility, and accuracy, mobile 3D laser scanners enable you to perform measurements in any business and industry domain. They have widespread applications in industries such as automotive, heavy industry, transportation, energy, aerospace, medical or consumer goods.
Below they present examples of using the capabilities of portable 3D laser scanners.
- Castings, forgings, moulds, tools, sand and wax cores.
- Injection molded parts dies, plastic, carbon fiber, and composite parts,
- Sheet metal parts, stamping tools, sheet metal and welded parts,
- Automotive parts, car body parts, bodywork, interiors and complete cars,
- Boat hulls, yacht cabins, motorboats and jet skis,
- Motorcycles, bicycles, motorcycle and bicycle frames,
- Implants, prostheses, orthoses, limbs and the whole person,
- Semi-trailers, trailers, agricultural machinery and tools,
- Steel structures, welded structures, and large-size castings,
- Turbines, hubs, shafts, rotors and blades,
- Glasses, stencils and fixtures,
- 3D printing, turning, milling, and CNC machining results,
- Monuments, antiques, sculptures, works of art and archaeological excavations,
- For reverse engineering and quality control.
Quality control: 3D laser scanners can check the dimensions, shape, surface quality and defects of products or parts against design specifications or standards. They can also compare different batches or samples of products or parts to detect any variations or deviations.
Product development: 3D scanners can help with designing new products or parts by creating prototypes, testing concepts, validating designs, or optimizing performance

Inspection: Handheld 3D laser scanners enable you to inspect complex or inaccessible areas of products or parts that are beyond the scope of other measurement methods. They also allow you to assess large or heavy objects that pose challenges for movement or transportation.
Maintenance: By using 3D scanners, you can track the state and function of products or parts over time and identify any signs of wear, damage, or deterioration. You can also use them to fix or replace faulty or worn-out parts by making precise models for fabrication.
Digitization: 3D scanners can digitize physical objects into digital models that can be stored, shared, edited or reproduced using software or hardware tools. They can also create virtual reality (VR) or augmented reality (AR) experiences using digital models.
Case Studies of 3D Scanning Tools
Handheld 3D Scanners KSCAN-Magic for Quality Control of Welded Parts
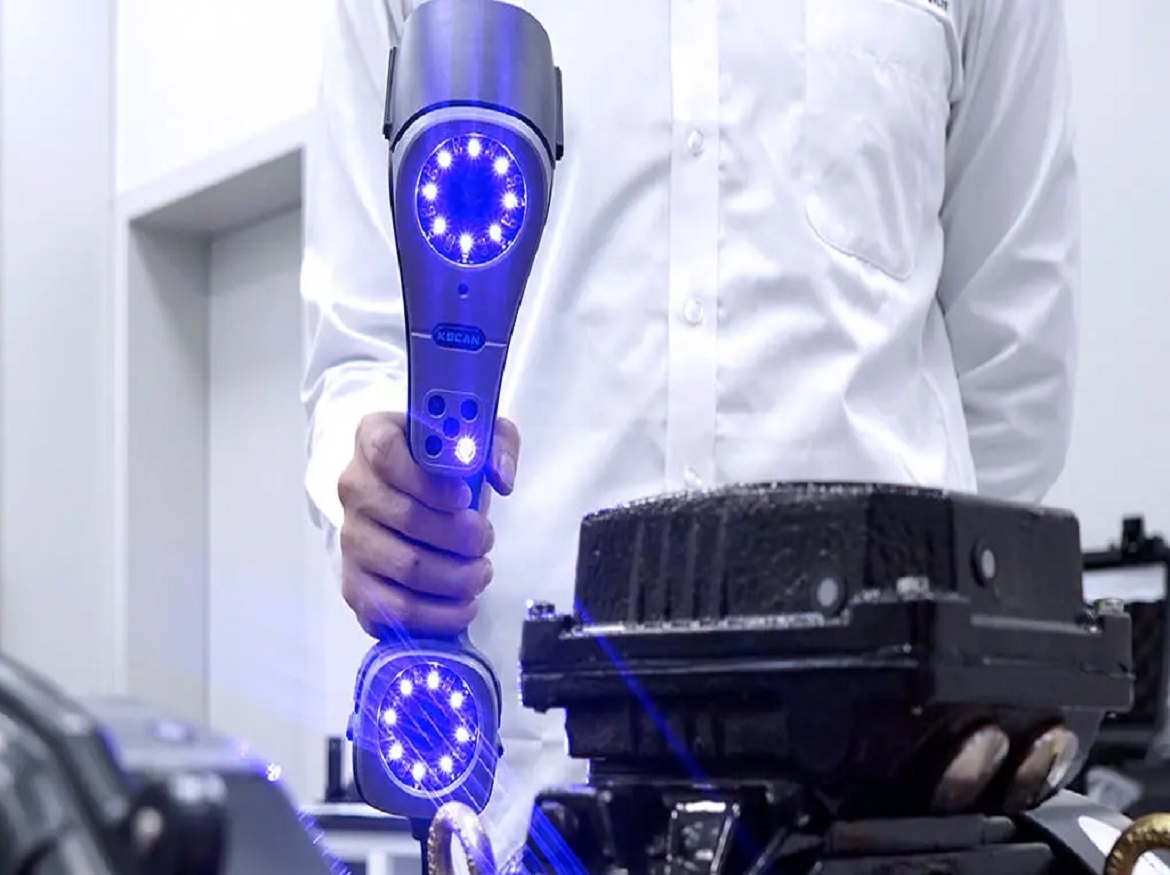
Handheld laser scanning tools are among the most adaptable and versatile measurement solutions available in the market. An example of this is the SCANTECH KSCAN-Magic, which features as many as three built-in measuring areas of different sizes that can be switched by a simple button click without altering the optics.
Moreover, this scanning tool has a distinctive and patented built-in photogrammetry system, which allows for large-size measurements with high precision and stability. Therefore, they can perform a 3D measurement of parts with sizes varying from a few tens of millimeters to several meters.
Quality control is important for machined and welded parts, such as couplings for tractors. These parts need to be measured precisely and efficiently to ensure they match the original design and specifications.
In this case, the customer used the handheld 3D laser scanner KSCAN-Magic, which features a large scanning field to speed up their measurement process, to scan the part.
The engineer obtained full-filed scan data of the part and compared it with the CAD model to identify deviations. It is lightweight, compact, and easy to use.
Tracking 3D System TrackScan for Inspecting Die Casting Molds
An optical tracking 3D system uses an optical tracker and a 3D scanner to measure the shape, size, and position of objects in three dimensions.
The benefit of optical tracking 3D measuring machines is that they can measure large, complex, and irregular objects with high precision, speed, and flexibility, without needing to fix or move the objects or use complicated fixtures or special tools.
Scantech’s optical 3D measurement system TrackScan-P series 3D system is perfect for measuring parts of medium to large sizes. It delivers measurements at a rate of 2,600,000 measurements/s and achieves an accuracy of 0.025 mm.
TrackScan-Sharp takes optical measurement to the next level with a tracking distance of up to 6 meters, a volumetric range of 49 m³, and a volumetric accuracy of up to 0.049 mm (10.4 m³).
Die-casting molds are often used to produce complex and large parts, such as engine blocks cylinders, and housings. However, inspecting die-casting molds can be challenging due to their size and shape. Some moulds have reflective surfaces that can interfere with the accuracy of measurement.
Moreover, some molds are too large and require disassembly and transportation to a measurement lab. Optical 3D measuring machines can measure large and complex objects quickly and accurately, without touching or damaging them.
By using 3D scanning, die-casting manufacturers can benefit from faster and more efficient inspection processes, as well as improved quality control and product development.
3D scanning can help detect defects, such as cracks or shrinkage by comparing the scan data with the CAD models. Furthermore, 3D scanning can help optimize the molds or the parts, by creating accurate 3D models that can be modified or analyzed in various software.
Automated 3D Systems for Stamping Parts
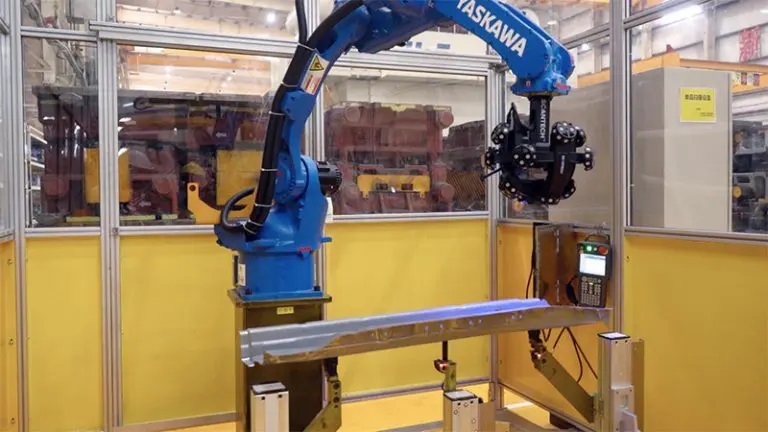
An automated 3D scanning system is a way of using robots with 3D scanners to measure the shape and size of objects in a fast, accurate, and contactless manner. This system can be used for various purposes, such as checking the quality of products or creating digital models.
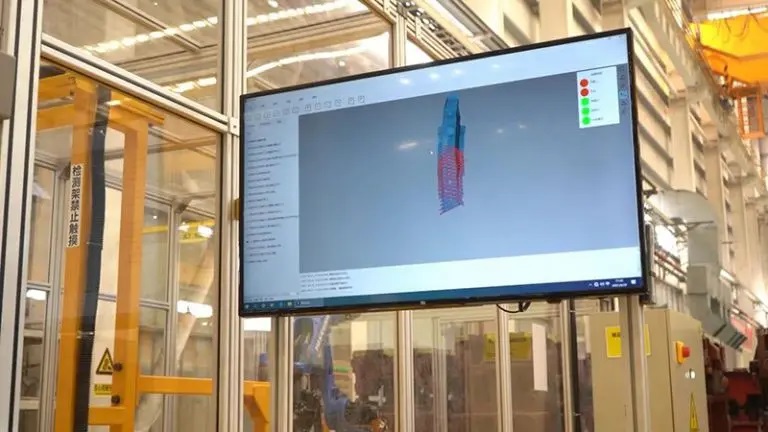
The workflow of an automated 3D scanning system generally includes the following steps: plan the scanning process, scan the objects, process the data, and analyze the results.
AM-DESK is an all-in-one optical automated 3D measurement system designed for measuring medium-sized parts. Its modular design allows for flexible layouts and speedy assembly. It offers an automated measurement solution for full life-cycle quality control.

Automotive stamping parts are metal components that are formed by a stamping press. They are used to make various parts of a car, such as the body, chassis, doors, hoods, and fenders. Inspecting automotive stamping parts can be challenging, as they are often large, complex, and have curved surfaces.

3D automated inspection is a solution that can improve the inspection process of automotive stamping parts. By measuring parts in a fast, reliable, and accurate way, automated 3D measurement systems can reduce inspection time and costs, and increase productivity and quality.
Summary
3D scanners are essential tools for many industries worldwide, as they offer high accuracy, mobility, and versatility. They generate a large amount of data that reveals the quality and potential defects of the product, even in unexpected areas.
They also enable the recreation and optimization of parts without documentation or CAD models, which can greatly reduce the design time for new parts.
Click on the following link Metrologically Speaking to read more such case studies about the Metrology Industry.


