Companies rely on their suppliers to create and deliver custom-made parts. If these deviate from the specified dimensions, significant problems arise during assembly. Companies therefore often subject the components they receive from their suppliers to internal quality controls or have them checked by third-party service providers.
Creaform has been offering measurement and engineering services for more than 15 years. Customers include leading international manufacturers in the aerospace, transportation, recreational vehicle and consumer products sector.
Leveraging the power of 3D measurement technologies at Bombardier
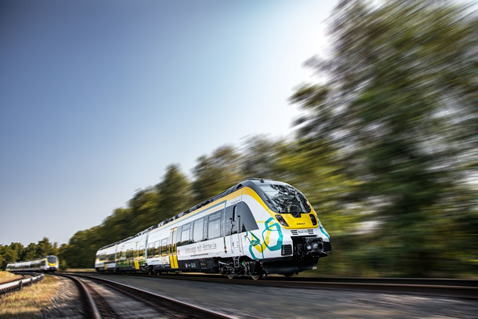
Bombardier Transportation, which is located in Hennigsdorf, Germany, builds rail vehicles. It also integrates supplier parts and complete assemblies on the trains. These products are delivered from all over the world and subjected to internal quality controls before installation to ensure that no problems arise as the vehicle is being assembled.
Recently, toilet cabin had to be measured. For the first delivered cabins, a geometrical test of some of the parts was carried out in order to ensure the functionality of the door. The aim was to find out if there were any deviations from the original specifications as well as encourage the suppliers to further stabilize their manufacturing processes in order to improve the quality of delivered products.
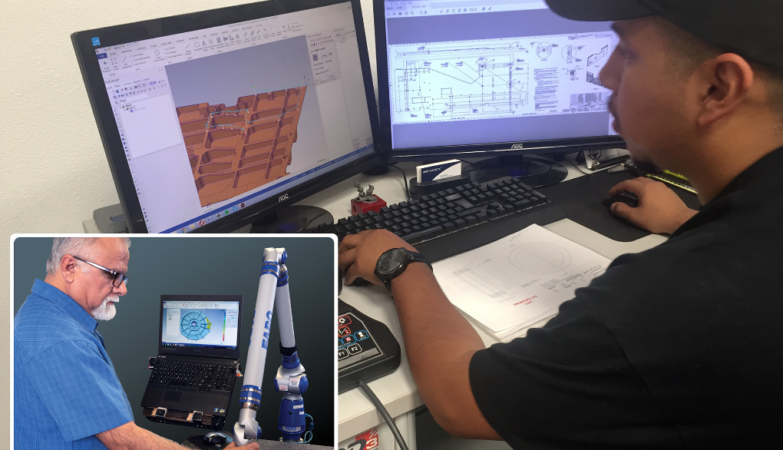
Creaform Engineering was mandated to assist in this project. With the MetraSCAN 3D Elite handheld optical CMM 3D scanner and Polyworks software, a complete toilet cabin in the warehouse was first digitized to document the condition of the door when opened and closed, door drives and drill holes.

An actual target comparison was then carried out to show deviations from the original specified dimensions.


“To ensure the proper functioning of the cabin, the door and system interfaces were examined with the 3D scanner. In particular, the dimensional shape and position tolerances were checked and adjusted. Thanks to Creaform’s 3D measurement technologies, we were able to optimize the setting specifications and compensate for deviations in the geometry. Systematic adjustments, primarily on the door drive, ensured that the process would work reliably during final assembly in the vehicle,” said Winfried Hellwig, Concept Engineer at Bombardier Transportation.


