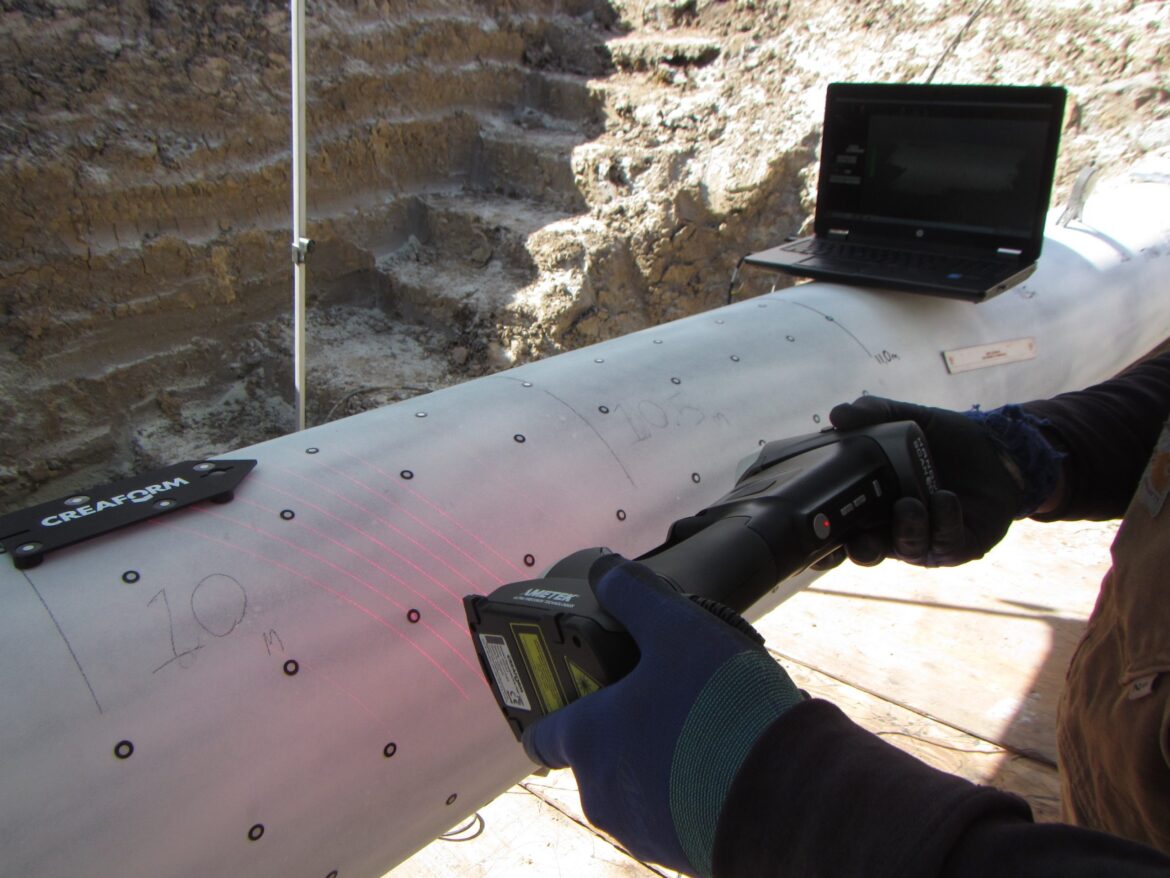
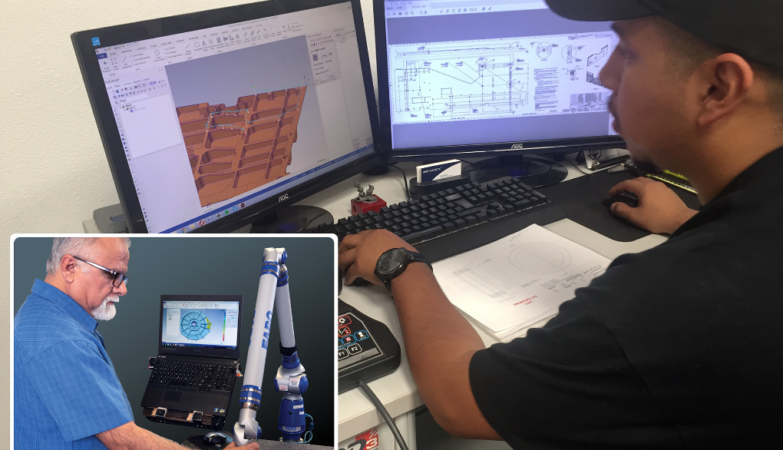
Now, more than ever before, NDT companies and pipeline operators are turning to new solutions to conduct fitness-for-service assessments of pipes; conventional methods often make it difficult to identify critical flows, including cracks, corrosion, mechanical fatigue, and mechanical damage.
One such company that is making the switch from manual processes to more advanced 3D measurement technologies is Tilt Inspection & Consulting, a leader in Western Canada for pipeline integrity inspections.
Tilt Inspection specializes in a wide range of NDE services, including pipeline integrity inspections, speciality automated ultrasonics, phased array, TOFD, corrosion assessments, weld inspections and much more. The company has been focused on pipeline integrity and NDE business since 2010.
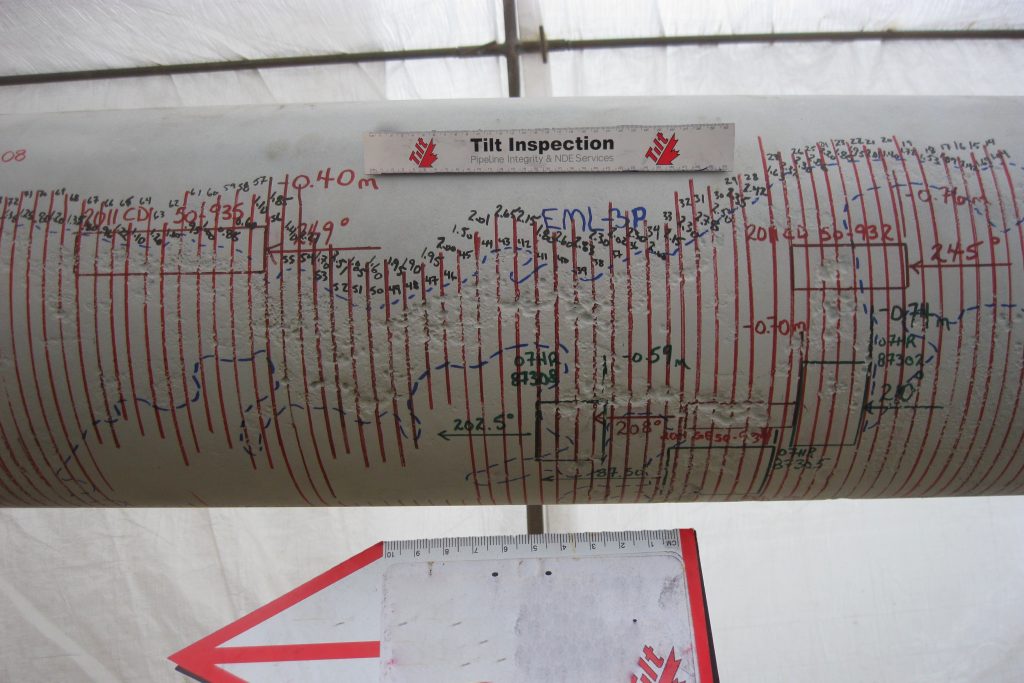
TRADITIONAL TECHNOLOGIES NO LONGER MADE THE CUT FOR PIPELINE INSPECTIONS
In the past, the pipeline integrity experts and NDE technicians at Tilt Inspection used many different approaches to carry out inspections, including basic hand tools, such as manual pit gauges, rulers, spray paint and chicken wire, and ultrasonic thickness meters.
The inspection crews would head out to the field, manually recording measurements and documenting corrosion/dents on paper grid sheets numbering in the hundreds. Then, engineers would take these thousands of data points, analyze the data, and run calculations to determine the remaining strength of the pipe.
The entire process was time-consuming and labor intensive, ramping up operational costs. In addition, because measurements were manually recorded, they could be prone to human error, provided limited data and require additional back-and-forth inspections.
Over time, the team at Tilt Inspection decided it was time to implement a new inspection technique. As the adage goes, necessity is the mother of innovation.
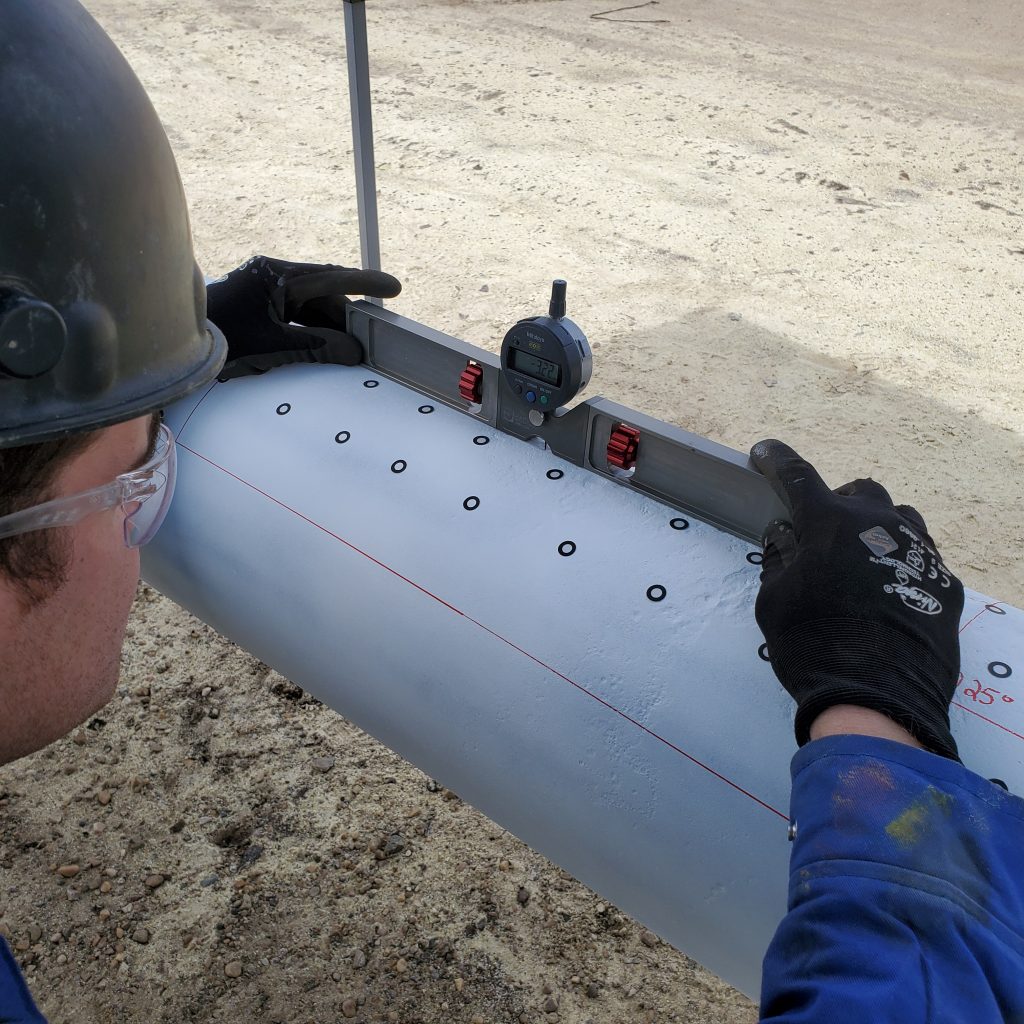
REQUIREMENTS FOR A MORE MODERN PIPELINE ASSESSMENT SOLUTION
“We needed more innovative solutions to better identify and inspect corrosion, dents, laminations and cracks. Recording corrosion depths with a pencil and paper was getting outdated, cumbersome and inefficient,” explained Kelly Dalke, President of Tilt Inspection & Consulting.
“We were also looking for advanced technologies to allow us to be more than a typical NDT company, cater to a fast-growing customer base, and help us maintain our leadership position in the field,” he continued. “Industry-wide, Creaform’s HandySCAN 3D handheld scanner and Pipecheck software were making waves in the pipeline integrity world when they first hit the market. We knew they would be game changers in our sector.”
The team at Tilt Inspection had many different requirements for their ideal solution, including:
• Efficient, accurate, repeatable and comprehensive data collection: The better the data, the better decisions engineers can make regarding pipeline integrity.
• In-line inspection/phased-array data importing: An easy way to correlate field data with in-line inspection tools
• Accurate pipeline records: The ability to generate a 3D model of a pipe for audits and reviews conducted by clients and third parties
• More advanced inspection possibilities: Features to scan and analyze dent depth and lengths, for example, as well as the possibility to carry out strain analyses
• Time and labor cost savings: The technology had to save time in the field, for data acquisition, and accelerate engineers’ assessments thanks to built-in analysis methods.

CREAFORM’S 3D SCANNERS AND PIPECHECK SOFTWARE CHANGE THE INSPECTION GAME
Tilt Inspection opted for Creaform’s 3D measurement solutions: the HandySCAN 3D scanner and Pipecheck software; not only did they meet all requirements, but they also proved to be easy to use and backed by end-to-end support and training from Rapid3D, an Authorized Distributor of Creaform’s solutions and a 3D technology service provider situated in Western Canada.
The company initially acquired a few HandySCAN 3D scanners to ensure their team could familiarize themselves with the new technologies. After Tilt’s employees and even clients noticed the improved data and time/cost savings, the HandySCAN 3D and Pipecheck became the standard for all of the organization’s pipeline integrity inspections.
“By moving the task of documenting and analyzing defects from pen and paper to the powerful hardware and software suite from Creaform, the new set of improved data in our reports, combined with the time and cost savings, makes our company more valuable in the eyes of our clients. We are consistently able to show that we are more than just a general NDE business,” Kelly added.
Over time, Tilt Inspection has acquired and tested other 3D measurement solutions from Creaform, such as the Go!SCAN SPARK professional-grade handheld 3D scanner, which also enabled blazing-fast data acquisition.
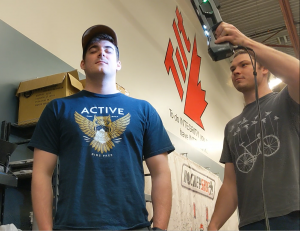

“The innovation of Creaform solutions has been a game changer in the pipeline integrity industry. It has enabled our company to rise to the top as a leader providing our clients with data that exceeds expectations. We have adopted Creaform into our business focus and strongly believe more unique opportunities will come our way in the future,” Kelly mentioned.
Tilt Inspection is already working on expanding its inspection services and technical capabilities with Creaform’s 3D measurement technologies, including flange face corrosion analyses, and scanning vessels to detect both internal and external corrosion.
The future looks very bright indeed for Tilt Inspection & Consulting!
Photos credit: Tilt Inspection & Consulting
Extra pictures:
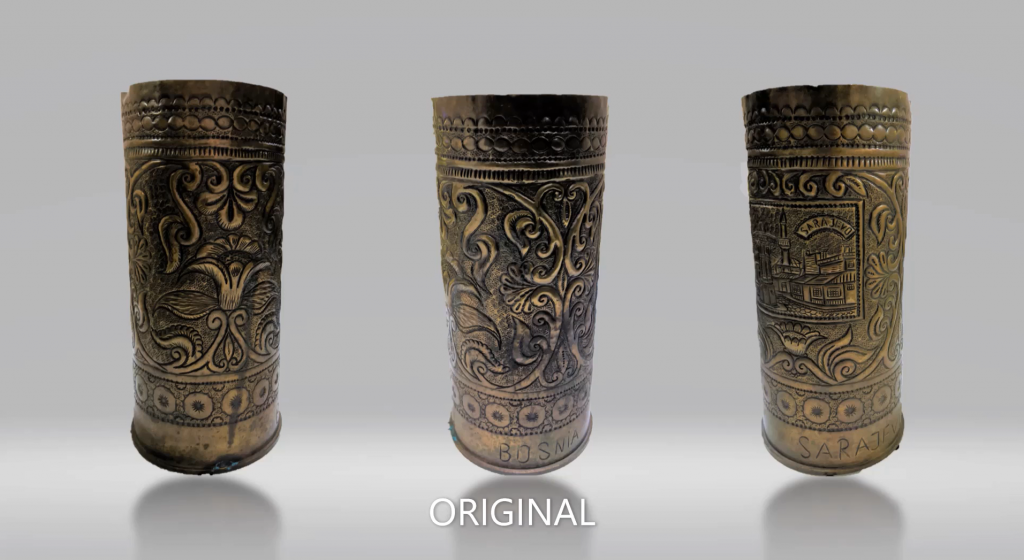
• In addition to pipeline integrity Tilt Inspection partnered with the Loyal Edmonton Regiment Military Museum to scan pieces in their collection to recreate a 3D printed model.


