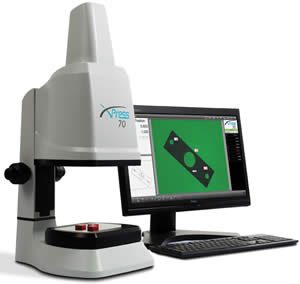
Measuring within the field of view is an entirely new way to accurately measure small, flat components, providing unrivalled speed and simplicity compared to alternative methods such as profile projectors, video measuring machines, or measuring microscopes.
But what is field of view measurement, how does it work and how could it help me?
What is Field of View measurement?
Field of view (FOV) measurement, or measuring within the field of view, is an entirely new way of measuring small components accurately, with amazing speed and simplicity. FOV measurement uses a specially designed high resolution video camera to measure a component within the optical field of view. Compare this to alternative methods such as:
Profile projectors – projects a magnified silhouette of a component onto a screen, with a measuring stage moving the component part so all of it can be measured.
Video measuring machines and measuring microscopes employ a magnified image, and like a profile projector, utilise a measuring stage to move the component around. With a small field of view, traditional optical measuring systems utilise a stage since only a small area of the component can be seen by the optics at any given time. Moving the stage allows different parts of the component to be ‘seen’ and therefore measured.


| Xpress 70 (57mm x 43mm field of view) | Example 1x objective (14.2mm Ø field of view) | Example 2x objective (7.1mm Ø field of view) |
Fig 1. Diagram illustrating the relative size of the field of view.
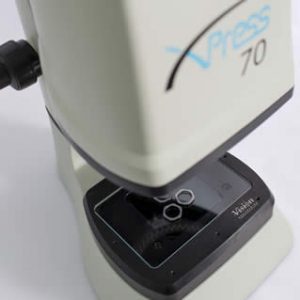
FOV measuring systems do not require a moving stage, since the entire sample is viewed within a large field of view (57mm x 43mm with Xpress 70). Compare this to the size of a traditional optical measuring system – approximately 0.5mm to 20mm. (Fig 1.)
A larger field of view allows the whole component to be seen and therefore measured, without the need for a measuring stage, providing some significant advantages, including dramatically increased speed and unrivalled simplicity.
How does it work?
‘Flat-field’ optics Field of view measurement employs a high resolution video camera, coupled with a large ‘flat-field’ telecentric lens system. The telecentric lens provides a flat image, across the full field of view, without any curvature or distortion, so you can place and measure your component anywhere within the field of view, without affecting the measurements.
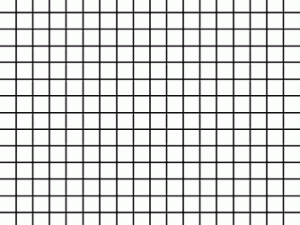 | 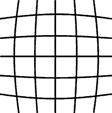 | |
| Fig 2. | Flat field of a telecentric lens | Curved field of a standard lens |
No need to focus * Moreover, the ‘flat-field’ telecentric lens system has been designed with an exceptionally large depth of field, meaning your subject is always in focus*. Typically a depth of field (focus) with a comparable measuring device varies between a couple of microns and a couple of millimetres. Typically, a FOV measuring system has a depth of focus of 40mm or more (lens dependant).
*Note: Once the system is focused, no further focusing is required for components of similar height.
Why measure within the field of view?
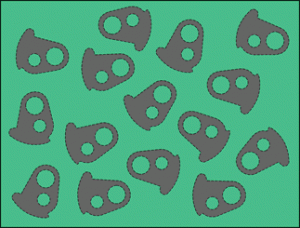
A wide-field telecentric lens allows the whole component to be seen within its large field of view, enabling all the features to be measured in seconds. Compare this to alternative measuring systems, which require a mechanical stage to be moved to capture all of the measured points, therefore taking considerably longer. Not only can the whole components be seen and measured, but multiple components can also be measured at the same time.
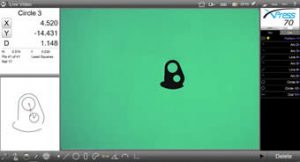
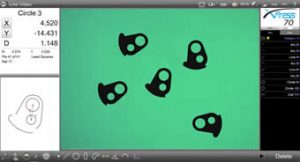
Fig 3. Single or multiple parts can be measured in seconds, using the same measurement programme.
No moving stage Since the entire component is ‘seen’ within the field of view, you therefore do not need a moving stage to measure the whole component.
Immediately, this fact brings numerous benefits. No moving stage means …
- There are no moving parts, therefore no mechanical variance affecting the measurement.
- There is no operator variance due to different habits or skills in taking the measurement.
- Time. There is nothing to move, saving you time. Lots of time.
View whole components This significant development opens up numerous highly advantageous possibilities. Viewing whole components means …
- You can view and therefore measure all the visible ‘features’ in seconds, not minutes.
- You can even measure multiple parts at the same time, saving you more time.
- You do not need to align or skew the part/s, saving you yet more time.
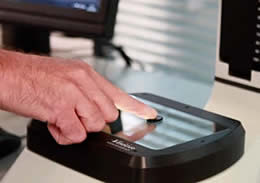
Simply place your part anywhere within the field of view.
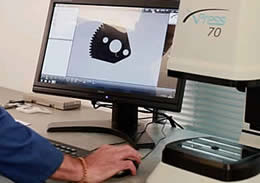
The software automatically recognises the part. Just press RUN.
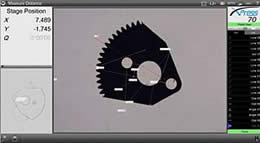
All the features are measured in seconds.
What can I measure?
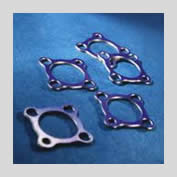
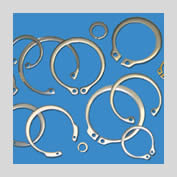
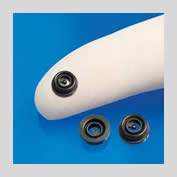
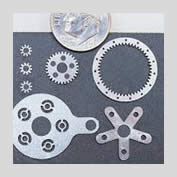
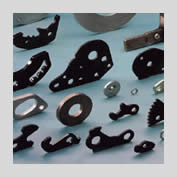
2D (X,Y) measurement within the field of view offers significant advantages over alternative dimensional measuring solutions. In order to benefit the speed and simplicity offered by FOV measurement, the major consideration is that your component must fit within the field of view (57 x 43mm). Typically, FOV measurement is ideal for 2D (X,Y) measurement of small flat parts, such as …
| Gaskets | O-rings | Stamped parts |
 |  |  |
| Circlips | Pressed parts | Laser-cut / water-cut parts |
 |  |  |
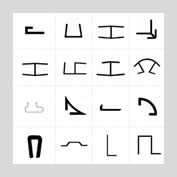
| Small plastic parts | Extruded materials | Cutting tools |
 |  |  |
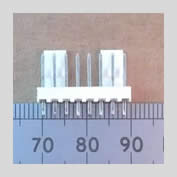
| Connectors | Other small flat parts | And much more … |
 |  |

Full range of non-contact measurement solutions
Measuring applications vary greatly. Vision Engineering’s measurement range consists of a full range of non-contact measurement solutions, ideally suited for a wide range of 2-axis and 3-axis measurement. The Xpress field of view measurement systems represent the latest development in this range.
To discuss how Xpress or any other of Vision Engineering’s products can help save you time and money, why not contact one of our Metrology Application Specialists to discuss your measurement requirements?
Please refer more information on vision engineering please refer https://www.visioneng.us/ .


