This article has been reproduced from Michigan Metrology’s website. Please refer to the below given link for viewing the original content :-
“https://michmet.com/scale-of-interaction/”
Faced with a production or quality issue, people regularly send parts and want us to measure the entire part surface with our 3D optical profilers, to figure out what is happening. I start by asking, “what really matters about the part’s function?” Quite frequently, in that discussion we determine that we only really need to measure a small area of the surface, because the smaller area is where the interaction that matters is taking place.
A real (3D) measurements produces an enormous amount of data about a small area of a surface. That data can give us great insight into the surface texture…but it can’t describe everything about the texture. Longer spatial wavelength texture (the waviness that might affect how a gasket will seal, for example) is too large to be seen in a single field-of-view. At the other extreme, interactions approaching the molecular level are lost in the instrument noise and require an atomic force microscope to discern.
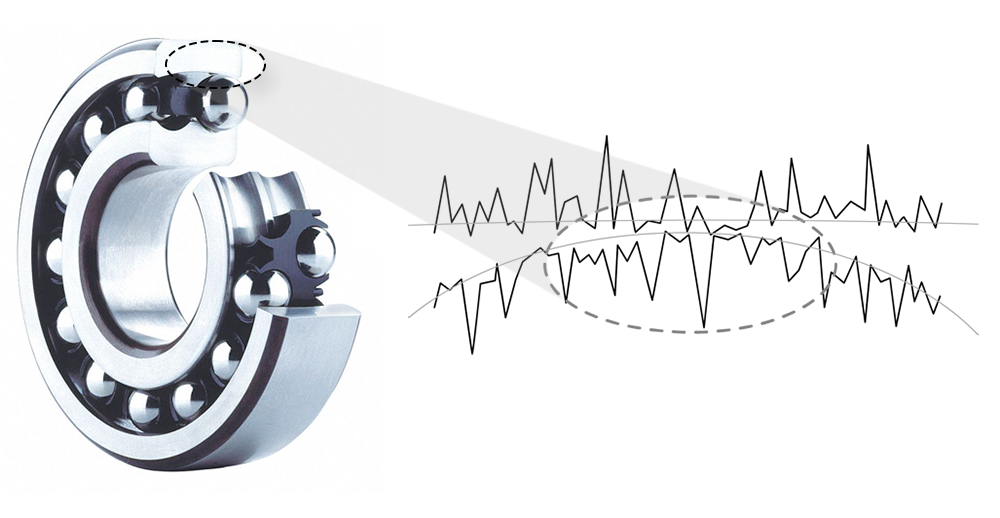
The choice of instrument type, and the spatial wavelengths to measure, are determined by the scale of interaction that matters for the application. Take as an example a steel ball in a bearing. While the ball may be several millimeters across, the actual area of contact may only be 100 µm2. If we are interested in that area of contact (say, if we want to understand the texture that will retain lubricant at the interface), then a 3D optical profiler will be a good choice.

If, on the other hand, we are trying to determine why a ball chatters as it travels along a screw, we may need to see the longer spatial wavelength “waviness” of the screw surface. We cannot capture those longer structures in a single optical profiler field of view; however, we may be able to analyze them if we stitch together multiple measurements as we rotate the screw under the optical profiler. Stitching can take a lot of time, however. For this application, a 2D stylus measurement may be better suited.

When it comes to surface texture, we must always be asking what is the best choice for the application, from the instrument to the cutoff wavelengths to the parameters that we track. You can learn more about measurement instruments types and applications in the Surface Finish: Instruments and Correlation module of our Surface Roughness, Texture, and Tribology short course, online at udemy.com.


