What are multi sensor DIC systems?
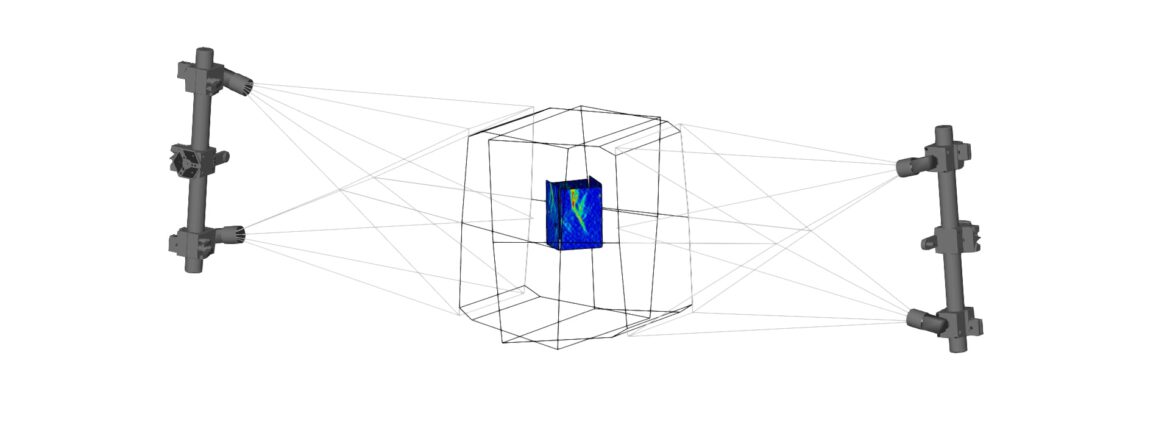
The combination of several ARAMIS sensors or ARAMIS measuring systems are called multisensor systems. Multisensor systems allow time-synchronized measurements from different perspectives that can be evaluated in a common coordinate system. The measuring areas of the sensors used in the multisensor system can be the same or have different sizes. By combining large and small measuring areas, multisensor systems can simultaneously record and evaluate global movements and deformations as well as local strain and deformation effects.

What are the advantages of multisensor DIC systems?
In general, one of the challenges for test engineers in mechanical load tests, such as compression tests, tensile tests and bending stiffness tests, is to know in advance where, cracks will form and how they will develop or where maximum deformations will occur. With conventional measurement tools such as strain gages (or strain gauges) and displacement transducers (LVDTs), engineers must decide in advance which area of the specimen they want to observe in the test and where to place the point-wise measuring sensors. This requires a lot of experience and even with the help of supporting simulation results, it can happen that the sensors are placed at the wrong locations and thus, the most important deformation areas are not captured. The ARAMIS system, with its full-field, non-contact measurement principle based on digital image correlation (DIC), offers the great advantage that test engineers do not need to know in advance where exactly cracks or the highest deformations occur. With ARAMIS, large areas of a test object can be measured and evaluated.
The multisensor concept, which combines several ARAMIS sensors to record parallel measurements from different perspectives with different measuring ranges, expands the possibility to analyze deformations and movements with ARAMIS.
In which testing applications are multisensor DIC systems used?
For the investigation of 3D movements and deformations in mechanical testing, multisensor DIC systems are very versatile. Among other things, multisensor DIC sensors are used for:
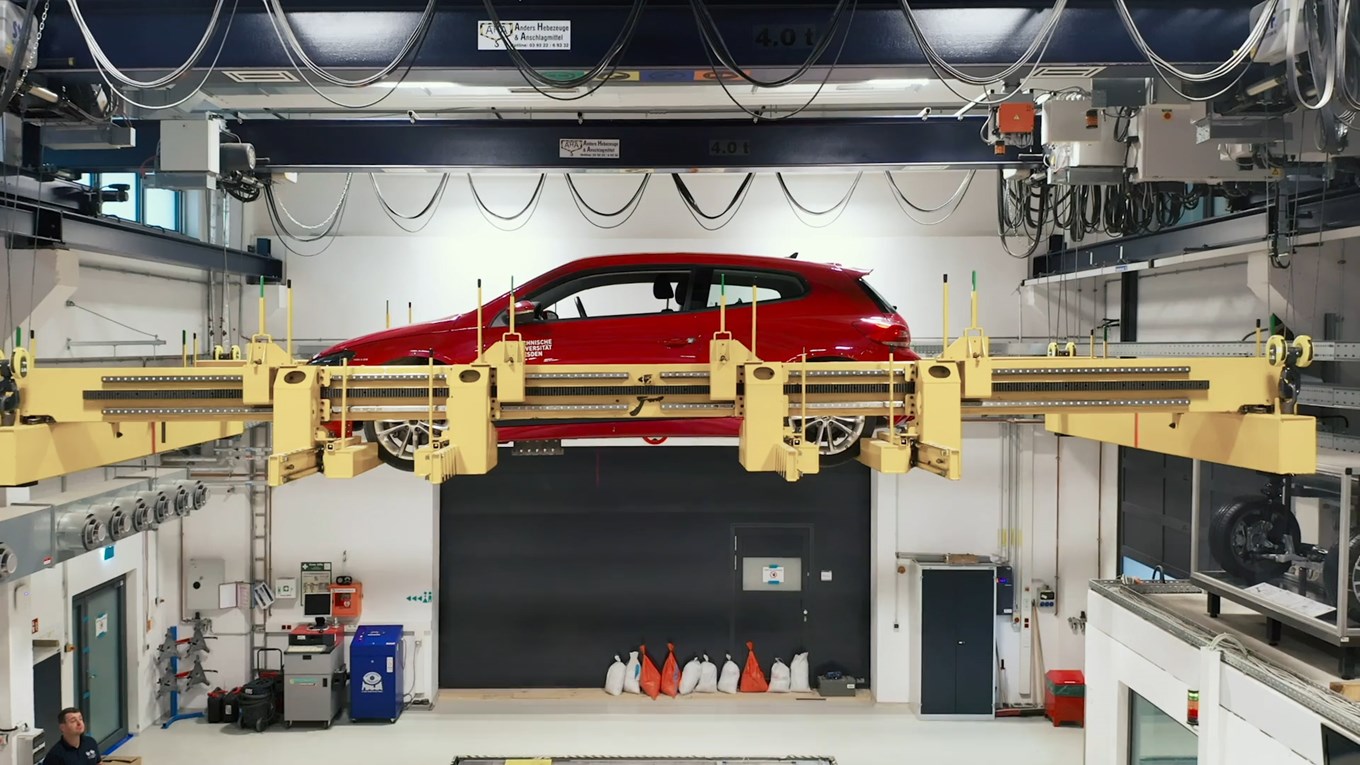
- The acquisition of vehicle dynamics parameters and wheel position variables of test vehicles on the complete vehicle test rig (4-poster test rig)
- The analysis of the buckling behavior of thin-walled cylindrical components and structures in the aerospace industry
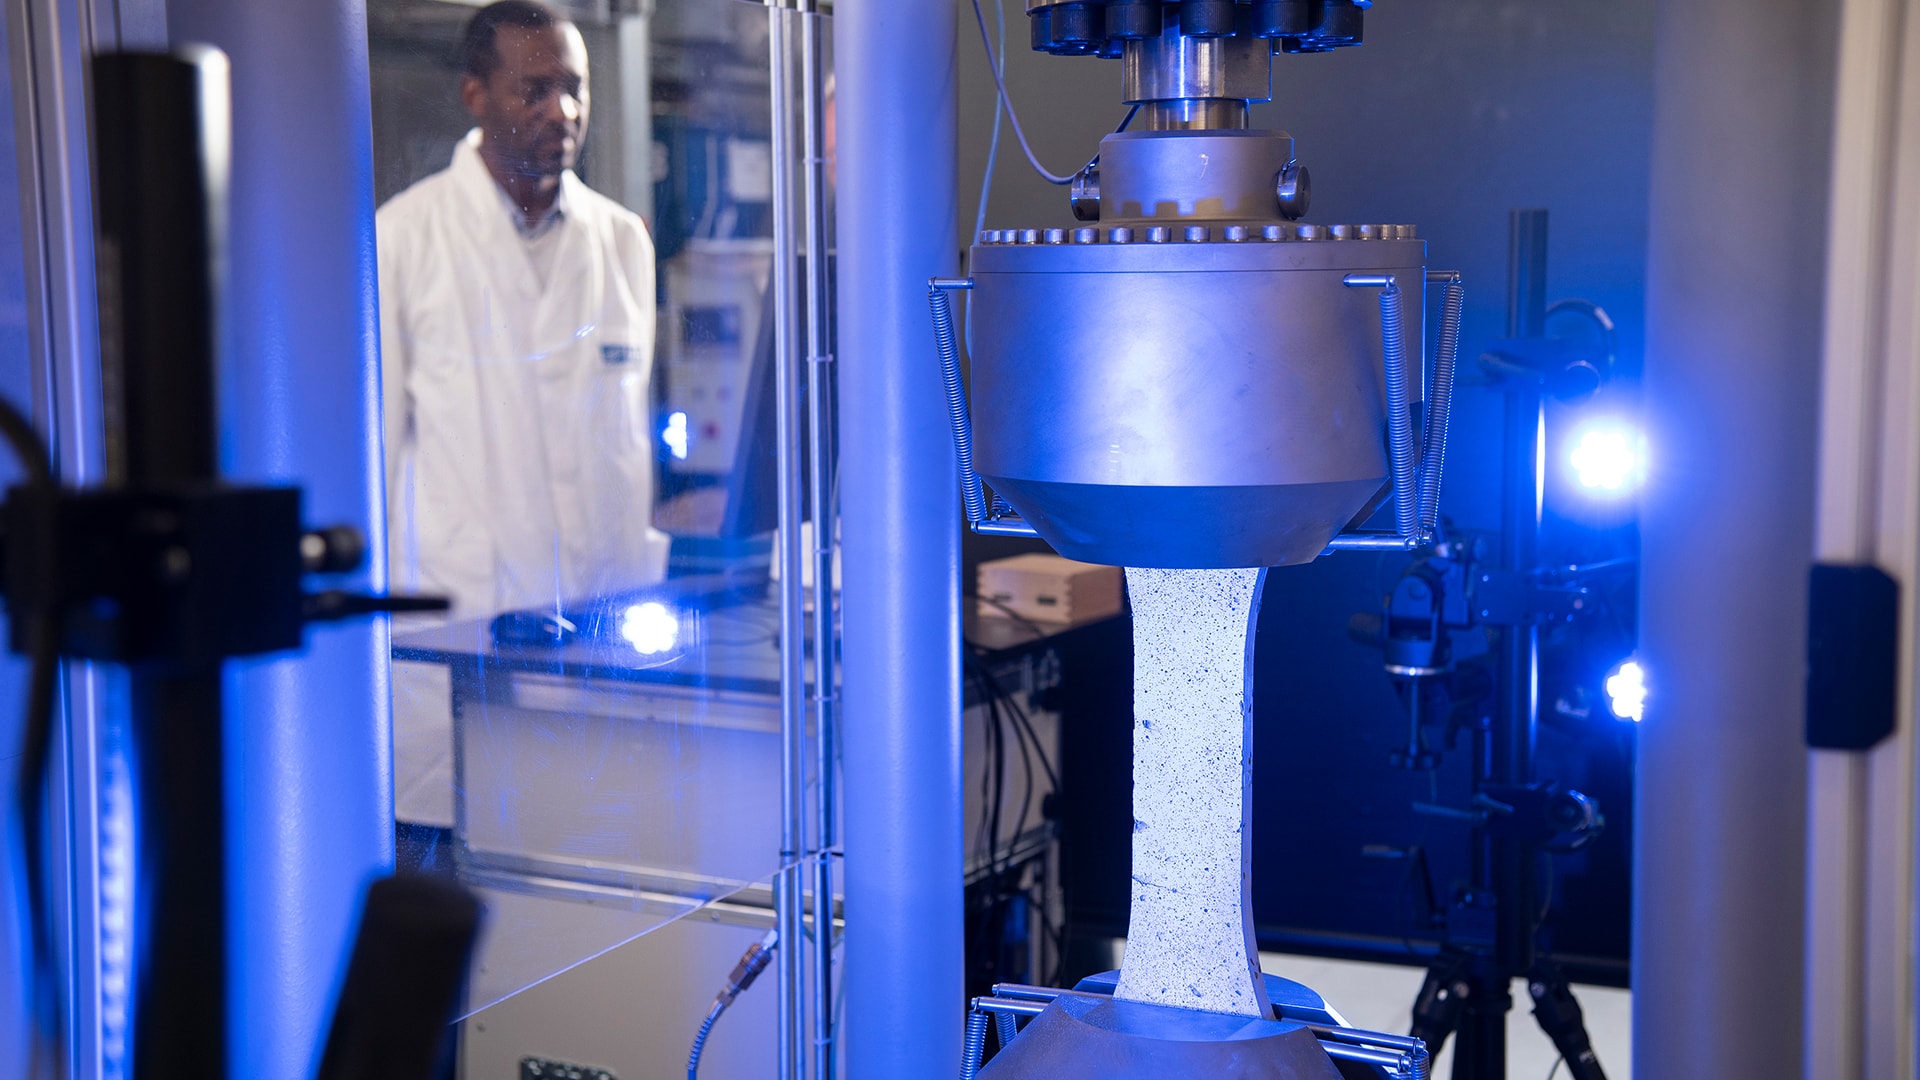
- The accurate study of the thickness reduction of tensile test specimens by measuring the front and back sides of the specimens
- Component testing in automotive and aerospace industries
- The crack analysis on building material samples
IAB Weimar, for example, uses an ARAMIS Multisensor for its material tests. For tensile tests on specimens, for example, the ARAMIS sensors are placed in front of and behind each specimen to record the deformations from two sides. This eliminates the need to know where cracks might occur before testing. In addition, a common coordinate system records and evaluates the measurement data. Measurement results from different systems can also be displayed simultaneously using GOM software, greatly simplifying analyses and comparisons and saving valuable time. In addition, crack tip detection enables the tracing and evaluation of the progression curve of crack points. Other quantities such as crack length, openings and modes in 3D can also be derived.
What is ARAMIS?
GOM ARAMIS is an optical measuring system for non-contact acquisition of strains, translations, velocities, accelerations, rotations and angles. ARAMIS combines the point tracking technology and the approach of digital image correlation to measure 3D coordinates and quantities that are derived from it over a period of time.
ARAMIS can be used in two ways to measure strains and translations. With just one camera for measurement, ARAMIS offers 2D DIC and point tracking functions. This means that flat specimens or objects can be measured and that translations in X- and Y-direction as well as planar strains can be determined.
The full capability of ARAMIS comes into play when two cameras are used for 3D measurements of strains and translations. Using a so-called stereo camera sensor, samples and objects of any form can be measured and translations and rotations in 3D space can be captured. For successful measurements with the optical 3D sensor, a rigid setup of the two cameras (ideally in a sensor assembly as offered by ARAMIS) is important as well as a calibration of the stereo camera sensor with suitable calibration objects is necessary.
Which ARAMIS sensors are suitable for multisensor setups?
It is possible to operate two ARAMIS sensors of the same type on one PC with two integrated GOM Testing Controllers. This statement applies to the ARAMIS sensors of the current generation (ARAMIS SRX, ARAMIS 12M, ARAMIS 2.3M). In this case also only one software license is required. The synchronization of the measurements of the two sensors is done by the GOM Testing Controller.
Furthermore, there is the possibility to use ARAMIS sensors of different types for a common measurement. In this case, however, a separate measuring PC for each sensor is required. The synchronization of the measuring systems is also done in this case via the GOM Testing Controllers.
Who can help me to find the right ARAMIS Multisensor system configuration for my testing application?
Our network of experienced sales engineers at GOM is happy to assist you with any question on the use of the ARAMIS 3D digital image correlation system in your high-speed testing application. With than 20 years of experience, our sales team will find the configuration that will perfectly match your requirements in high-speed testing and meet your budget.
3D Testing
3D Testing with GOM systems. ARAMIS, ARGUS and TRITOP enable a detailed and reliable analysis of component changes.


