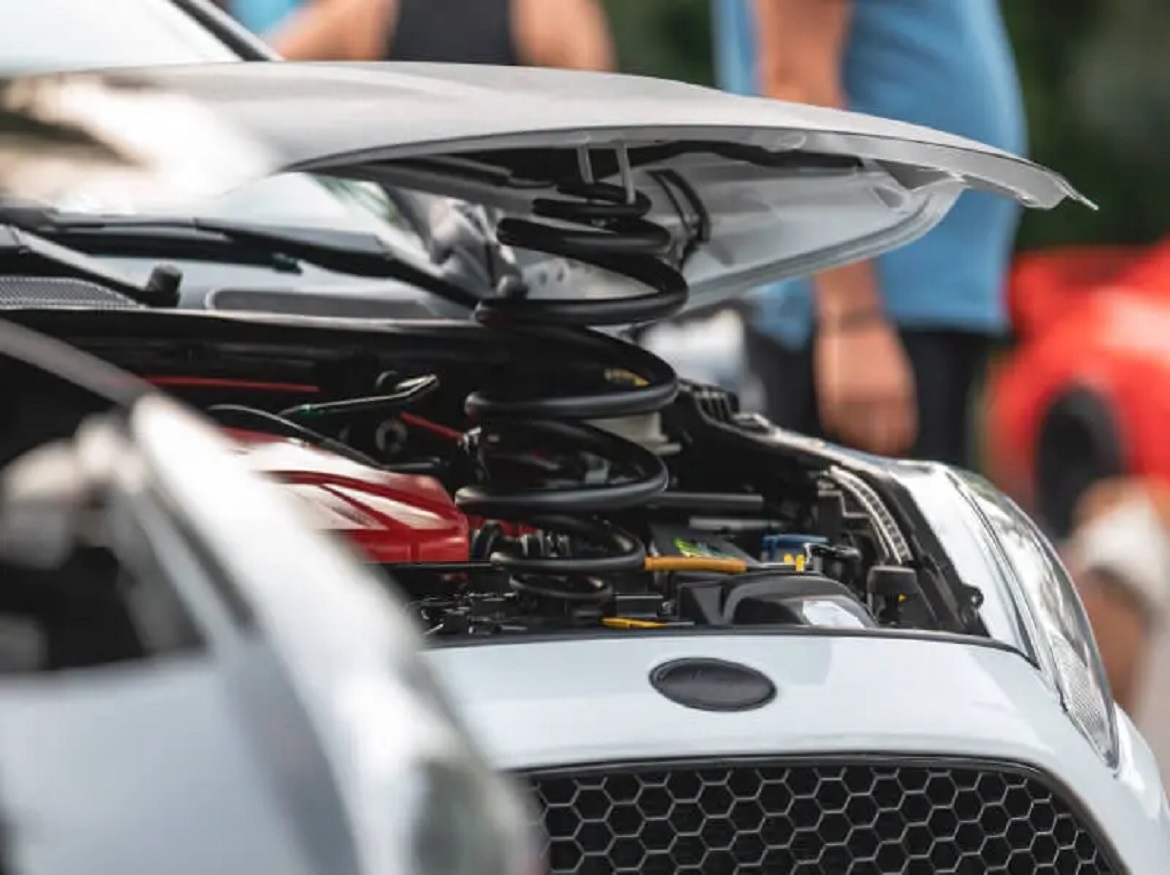
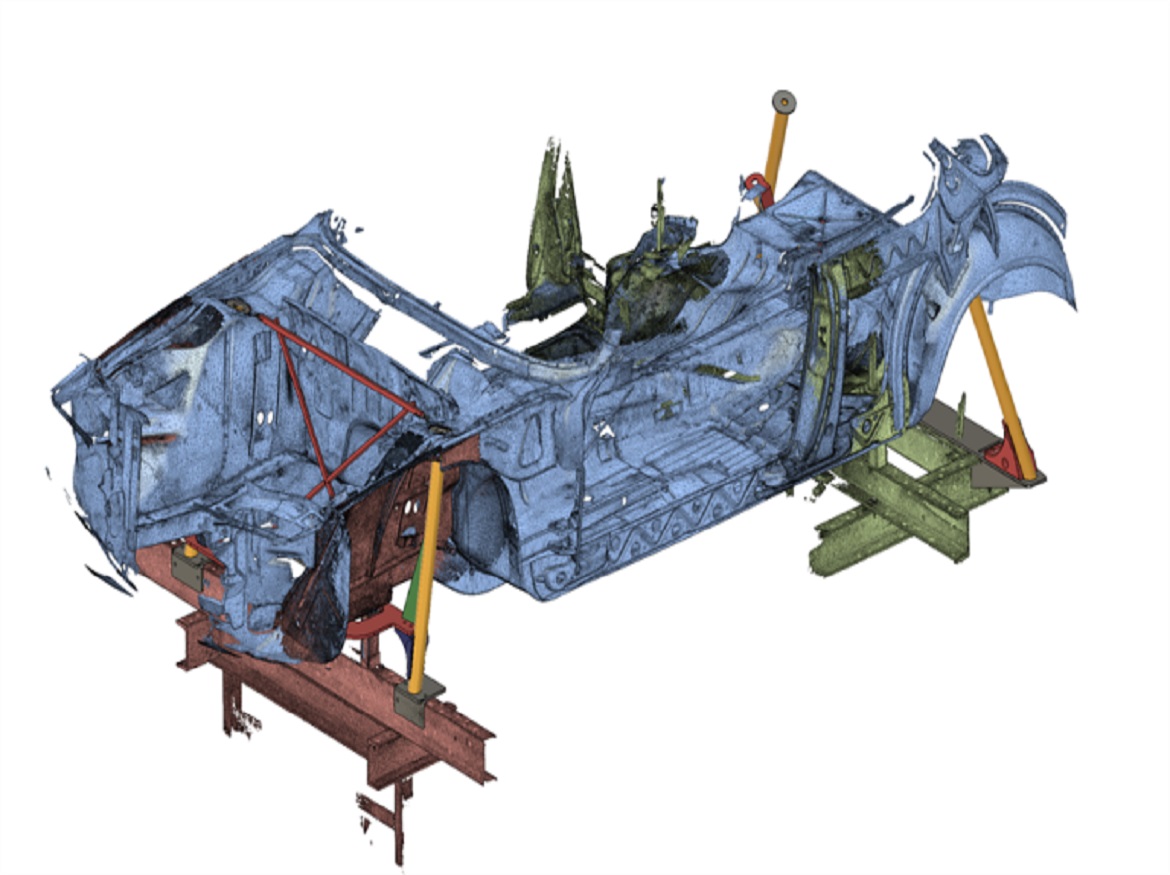
Introduction to Automotive Stamping Part A wide range of components are made using metal stamping, including copper, brass, and aluminium. In the production of modern
Category: MS Blog
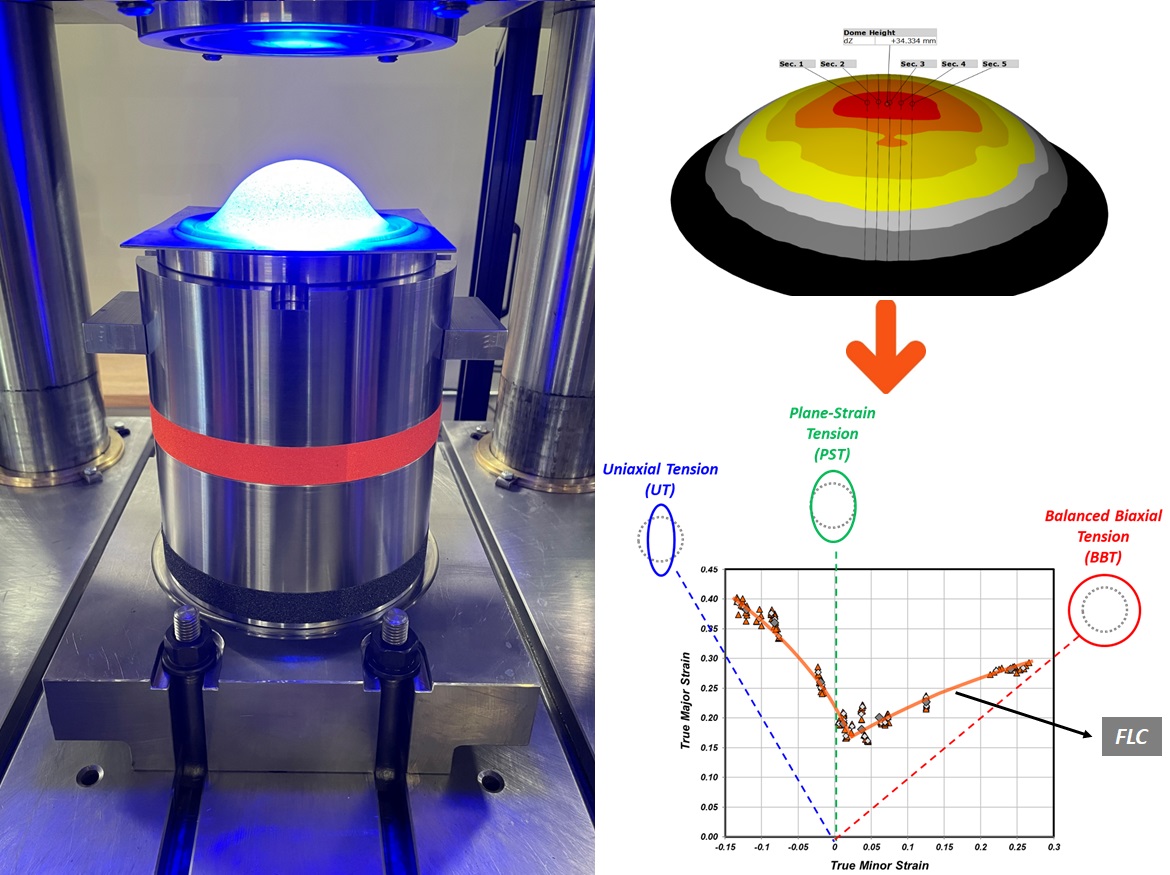
2D DIC advances Forming Limit Curve Material Characterization
In materials research, the ability to accurately measure forming limit curves (FLCs) is essential for tool and die designers, FE experts, and others involved in
3D Laser Scanners by ZEISS for Digital Warehousing and Reverse Engineering
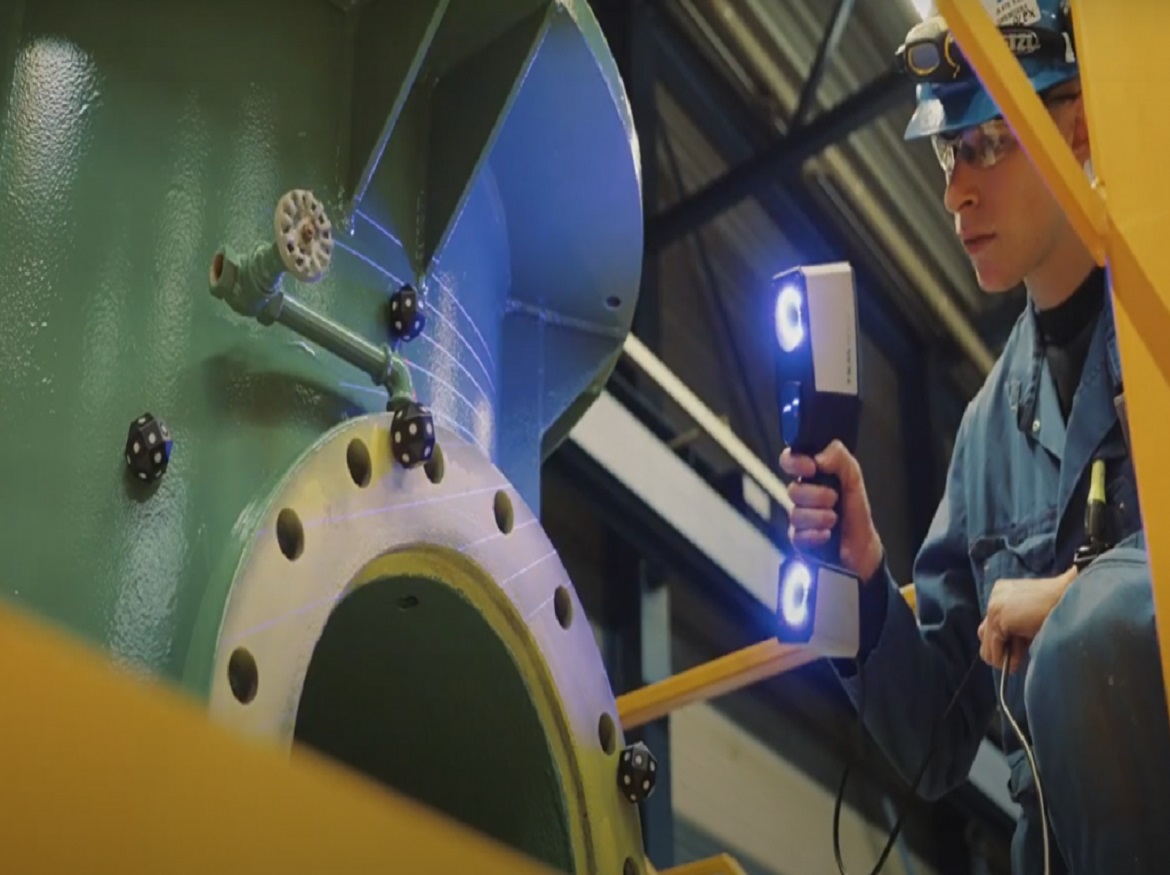
The company Stork maintains its customers’ part quality in the most varied industries with the use of 3D laser scanners. In this essay, we focus
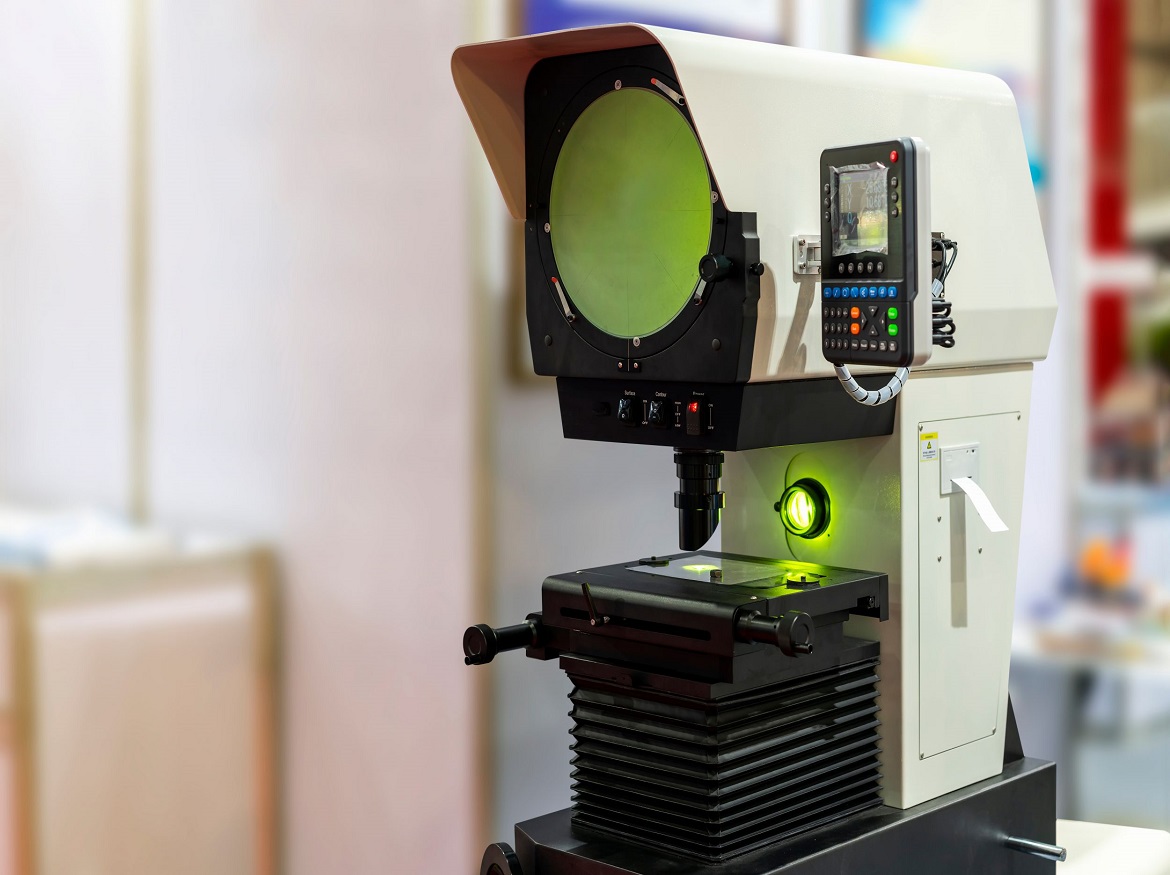
Choosing between a Profile Projector and Optical Measurement Machine
This inquiry is common on any shop floor, whether you’re replacing an old profile projector or getting your first measurement tool. I assume you are
3D Scanning and Reverse Engineering
Revitalizing Traditional Tasks with 3D Scanning and Reverse Engineering Reverse engineering is the practice of deconstructing and analyzing a product or equipment to ascertain the
With AI on a knife’s Edge
At a Solingen-based kitchen knife company, quality control up until this point was done by eye. Artificial intelligence (AI) has now been employed for this
Keep Connected with Tactile Scanning Technology
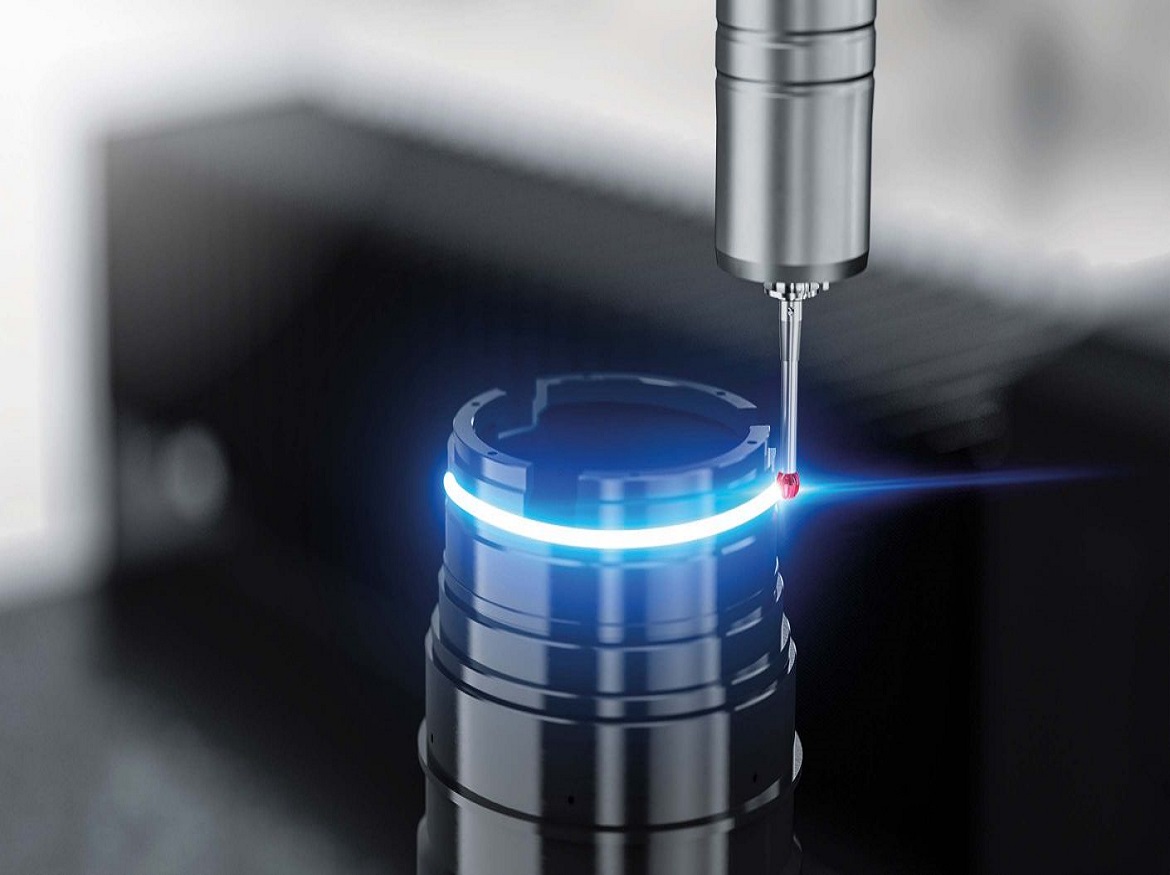
ZEISS coordinate measuring machines (CMMs) are synonymous with precision, consistency, and automated dimensional inspection. A new level of accuracy and productivity is made possible by
3D Scanning of Museum Artifacts Using Mobile Technology
Museums amass priceless historical artefacts. It serves as a portal to the past. Many sculptures, pieces of sculpture, and other historical artefacts serve to memorialise
The Ultimate Manual for Achieving Precision in Measurements
Accuracy is a topic that comes up frequently while discussing 3D scanners. How do you interpret the word “accuracy”? Does it denote accuracy, excellence, or
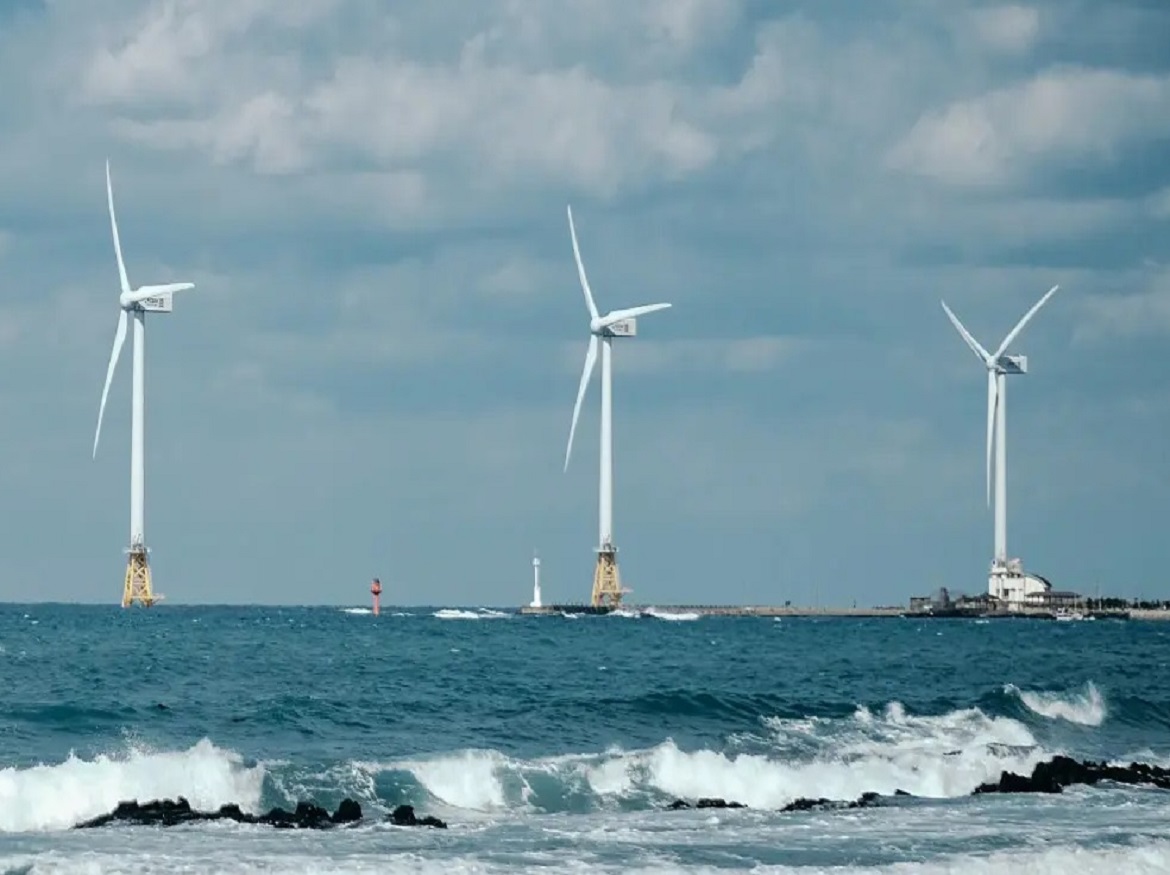
Full-Field Inspection of Offshore Wind Turbine Foundation Flanges
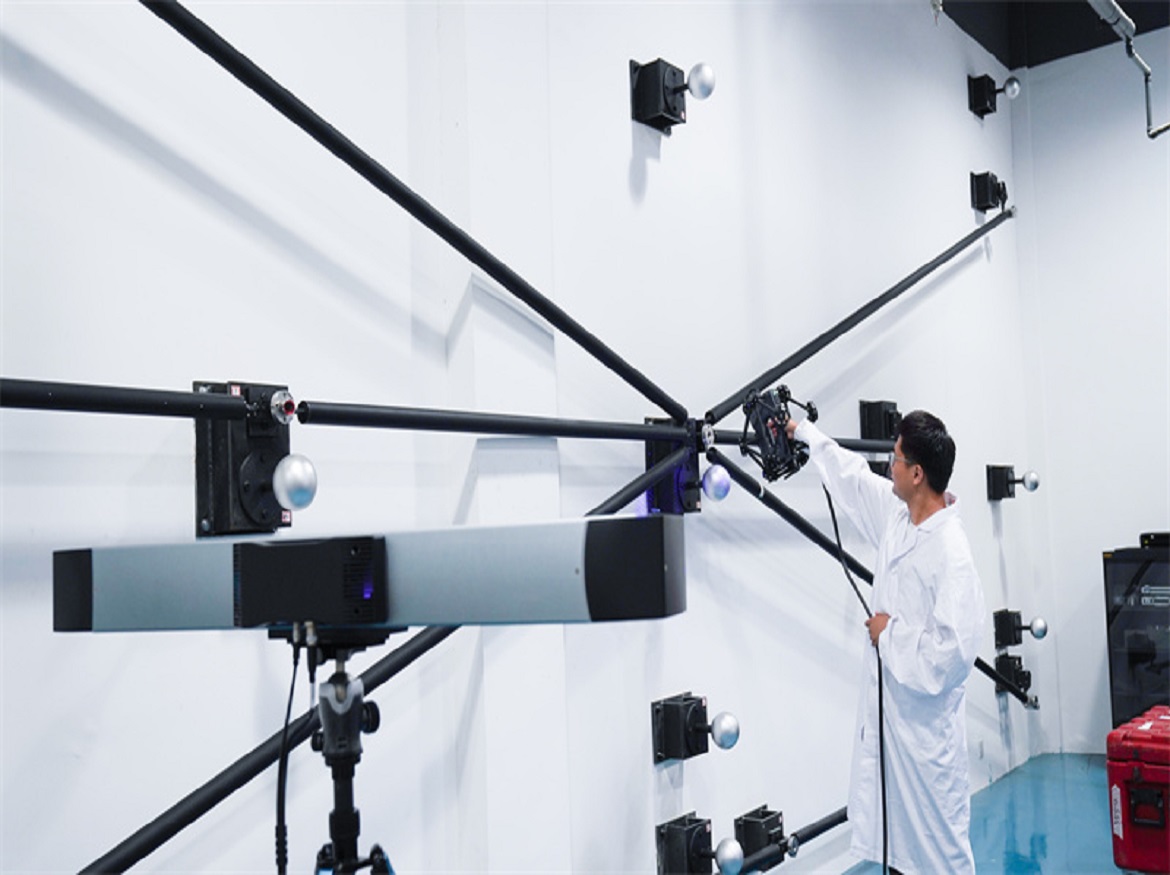
Summary Using Scantech’s portable 3D laser scanner KSCAN-Magic and photogrammetry system MSCAN-L15, technicians from a wind power equipment manufacturing business measured and examined a sizable


