Coordinate measuring machines can accurately measure the geometry of an object. The parts of a CMM are intricate, powerful and work together to ensure the equipment can offer precise and accurate measurement services. It is essential to understand the components that allow these machines to obtain such complex measurements.
To better understand how CMMs work and their role in product production, assessment, and reverse engineering, learn more about the different parts that comprise a CMM and their purposes.
The 4 Main Parts of a CMM
The many moving parts within a CMM work together to allow the machine to assess a given object. There are various types of CMMs offering different measuring capabilities, but all have four main parts:
- A Structure
- A Probing System
- A Controller
- A Metrology Software
1. The Structure
The structure is the basis of a CMM. Over the years, the material used to create this structure has changed. At first, manufacturers made CMMs with steel and granite, but CMM builders now use additional materials like ceramic and silicon carbide to manufacture a machine’s structure.
Ceramic silicon carbide, in particular, is used to make the Z-axis stiff for scanning. The need for this material has increased over the past couple of years. With the development of scanning technology, it is more critical that the Z-axis is secure and rigid.
2. The Probes
A CMM’s probing system plays an essential role in its measuring capabilities. These probes interact with an object and then measure the item based on the CMM structure’s coordinate system.
That said, probes have changed drastically over the years, and there are now different types of probes used in CMMs to suit varying metrology needs. Every CMM will use a probing system to measure an object. The probe used will ultimately be determined by the type of machine used, the measurements required, and the object of interest.
3. The Controller
A CMM’s controller maintains precision by targeting and houses the machine’s mathematical error map. It allows variable running speeds and performs circulator interpretation. The controller is the measuring system’s traffic officer as it directs information from motor’s scales and probe to the software.
4. The Metrology Software System
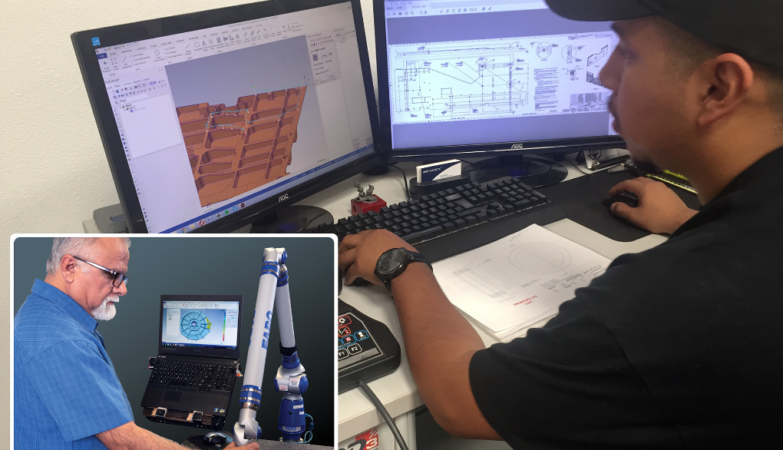
CMMs all have a metrology software system to obtain, collect, and display data. These systems are ultimately software that is updated every so often for improved data display. PC-DIMIS and Polyworks are the most widely used softwares for coordinate measuring machines.
Metrology software collects, analyzes, and mathematically deduces complex 3D forms to allow the display of numerical or graphical data results.
Additional Parts
Additional parts of a CMM that help to enhance their overall functionality include the following:
- Air Bearings
- Scales & Encoders
- Servo motors
- Joysticks
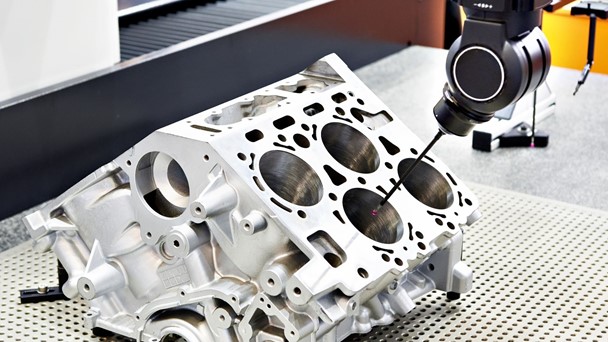
Probes: Types of CMM Probes
Probing systems are essential to all CMM machines’ functionality, but you can use different types of CMM probes and accessories for various measurement needs.
There are three types of probing systems used by a CMM:
- Contact probes
- Non-contact
- Combined or multis-sensor
Contact Probes
 Contact probes use an axis and probe ends (or probe heads) like discs and balls to contact an object and measure its dimensions. These probes scan the surface of a part or measure single points.
Examples of contact probes include mechanical probes and micro metrology probes.
Touch-Trigger Probes
Touch probes contact items so lightly that an object doesn’t even need to be secured to a table.
Non-Contact Probes
Thanks to countless CMM breakthroughs in history there are also probes that don’t need to directly contact an object to measure it. Non-contact probes measure the geometry of an object without need for direct contact. These non-contact systems are specifically designed to measure objects that are fragile or easily compromised.
For this reason, non-contact probes have made these machines essential in aerospace, automotive, and healthcare industries where accuracy and intricacy are crucial.
Non-contact probing on coordinate measuring machines is quite rare but can either be a laser or a camera.
These are the most common non-contact probes:
Laser Scanning Probes
As their name suggests, laser scanning probes use a laser to scan an object’s dimensions and reflect them digitally. Like touch-trigger probes, scanning probes calculate measurements of discrete points without direct contact. Laser scanners are flexible and can be used in all sizes and types of CMMs.
White Light Sensors
White light scanning systems accumulate data faster than any other system. These scanners are best suited to smaller components or a large volume of items that require consistent and repeated inspection of one component. You can automate these systems for seamless and repeatedly accurate measurements.
Combined or Multi-Sensor Probes
Multi-sensor CMMs utilize more than one sensor and combine both contact and non-contact probing systems. The main use of multi sensor systems is that they combine different types of measurement capabilities.
These probing systems are most often used when measuring objects that can come into contact with probes but have specific components that require the use of a scanner or non-contact probe.
You will get measurements from a traditional CMM and a digital display from a video scanner. With a multisensory probing system, you get both. Multi-sensor CMMs are more versatile than conventional CMMS. They are much easier to move and have a smaller footprint. That said, contact probing is still the most accurate system available today.
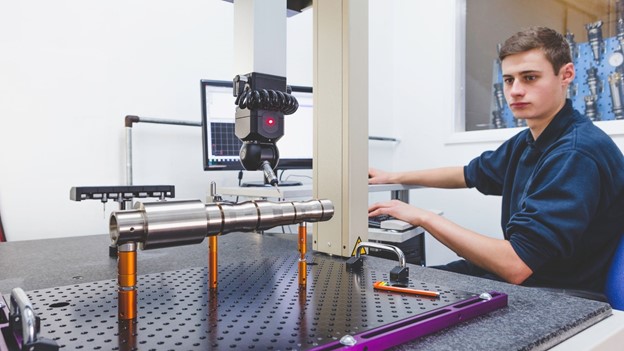
The Parts of a Portable CMM
Portable CMMs are unique in that they typically weigh around 20 pounds and can be easily moved from one site to another. A traditional CMM, on the other hand, is large in stature and remains on a factory floor. While portable CMMs have similar capabilities to other CMMs, they have specific parts that allow them to be portable and lightweight.
Portable CMMs will either have articulated arms or an arm-free scanning system.
Articulated Arms
Portable CMMs that have articulated arms utilize six or seven axes. Articulated arms use rotary encoders with rotary encoders instead of linear axes like traditional CMMs.
Arm-free Scanning System
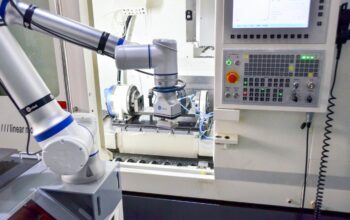
Optical CMMs, portable CMMs with arm-free optical scanning systems, are being increasingly used in the metrology industry. These machines utilize matrix array or compact linear programs to measure objects. They are smaller than the standard portable CMM and optical scanners can be mounted on robots.
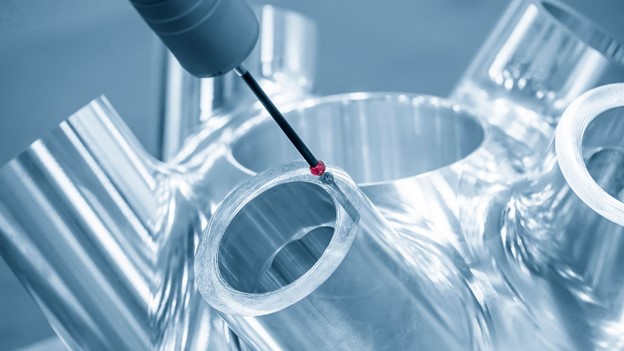
Other CMM Parts & Accessories
There are various secondary CMM parts and accessories used in tandem with the primary components of a CMM. In some cases, these pieces and accessories may enhance the capabilities of an essential part. Other CMM parts and accessories include:
Probe Heads
Probe heads are heads that are mounted at the end of the Z ram on a CMM. They are fitted to the end of a probe and come in contact with the object of interest.
There are various types of probe heads you will typically find on a CMM:
- Fixed Probe Heads: Fixed probe heads are, as the name implies, are fixed pointing downwards in the Z minus direction on a CMM. These probes are specifically economic when you measure parts that are flat and only require you to use the XY Plane. That said, there are a couple of ways these probe heads can measure complex shapes. One thing you can do is create a probing cluster with multiple styli to measure all planes. Another option is to use an exchange rack that will give you access to different probes so you can apply the one you want to use for a given task.
- Manual Articulating Probe Heads: While a manual articulating probe head will move in the B axis and rotate on the A-axis, it cannot easily return to their original positioning to repeat the action. As their name implies, you must manually readjust manual articulating probe heads if you require a repeated measurement. Some manual probe heads do have the ability to move back to pre-existing settings.
- Motorized Indexing Probe Heads: Motorized indexing probe heads boast the same rotation capabilities but are motorized to provide a higher level of performance. The way these heads work is that the probe head control system provides a feedback loop that allows a CMM to know where the stylus tip is at all times so the motorized probing system can program and measure objects. No preparation or manual interference is needed.
Extension Bars
Extension bars extend the reach of probes. There are various types of extension bars available; this includes PEL bars that screw in manually, PEL bars used with multiwire probe heads, and PAA extension bars. The latter allows you to ensure two touch-trigger probes fit auto jointed heads. These bars are used for additional probing capabilities and enable probes to access harder to reach areas.
Change Racks
Change racks are changing systems that allow a CMM operator to change their measuring tool, whether it be a probe or styli. There are two types of changing systems that can be used; a probe change rack and A Styli change rack.
Styli Change Rack: Styli change racks are compatible with a handful of Renishaw probing systems (TP20, TP200, SP25, and SP600), and all contain the main body and a module. With a styli change rack, the module is the only thing that can change. The rack will change one type of probe module.
That said, the advantages of this change rack lie in its cost-effectiveness and the fact that it does not require an electrical connection.
Probe Change Rack: The probe change rack will exchange probes that are usually non-modular. When affixed with an Autojoint, these racks provide exponential flexibility. They allow an operator to switch between technologies as needed. In some cases, this can mean a seamless transition from a scanning probe to a touch or laser probe.
Machine Checking Gauges
Machine checking gauges assess the functionality of your machine. They are used to periodically test a machine’s capabilities in the interim between your annual CMM calibration. These tools are especially handy as they only take 20 minutes to check the performance of your CMM.
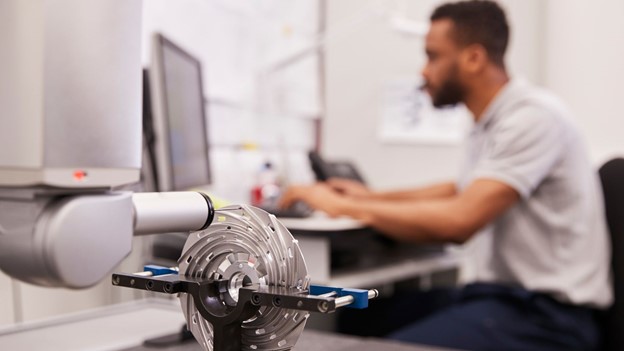
CMMYZ & CMM Parts
In addition to buying and selling CMMs, we also provide CMM parts services to ensure every part of your machine can work to its full potential.
Purchasing: Purchase any parts for your CMM from CMMXYZ. We offer a selection of various components upon purchase.
Repairs: As CMM service providers, we are prepared to repair any parts of your CMM that may need fixing.
Retrofits: We offer CMM retrofitting services to retrofit your machine with any additional parts you may need to improve or expand its capabilities.
Calibration: CMMXYZ offers CMM calibration services to ensure your machine and all of its parts are working correctly. We are an ISO 1725 accredited company, which means that every year we have an audit that assesses the equipment, procedures and operators we use. This ensures that, when someone has their machine calibrated, they can have peace of mind knowing that there are documented procedures and protocols in place to ensure they are getting the best possible provider available. If, for whatever reason, your equipment is not functioning correctly or as accurate as it needs to be, we will facilitate any parts repairs or upgrades required.
Training: We know that CMMs and their powerful parts can be overwhelming for new operators, which is why we offer training services. If you buy a used CMM machine or a new machine for your factory floor, you can use our various training programs to improve your understanding of CMM parts and how to use them to their full potential.
Contact CMMYZ with any of your new and used CMM parts needs. We are happy to walk you through your options and answer any of your questions to ensure your CMM parts’ quality.




This is a vastly attractive article. I like the fail you are correspondence . Keep it up and you wishes experience alot of fans soon. Vyky Terrence Marni