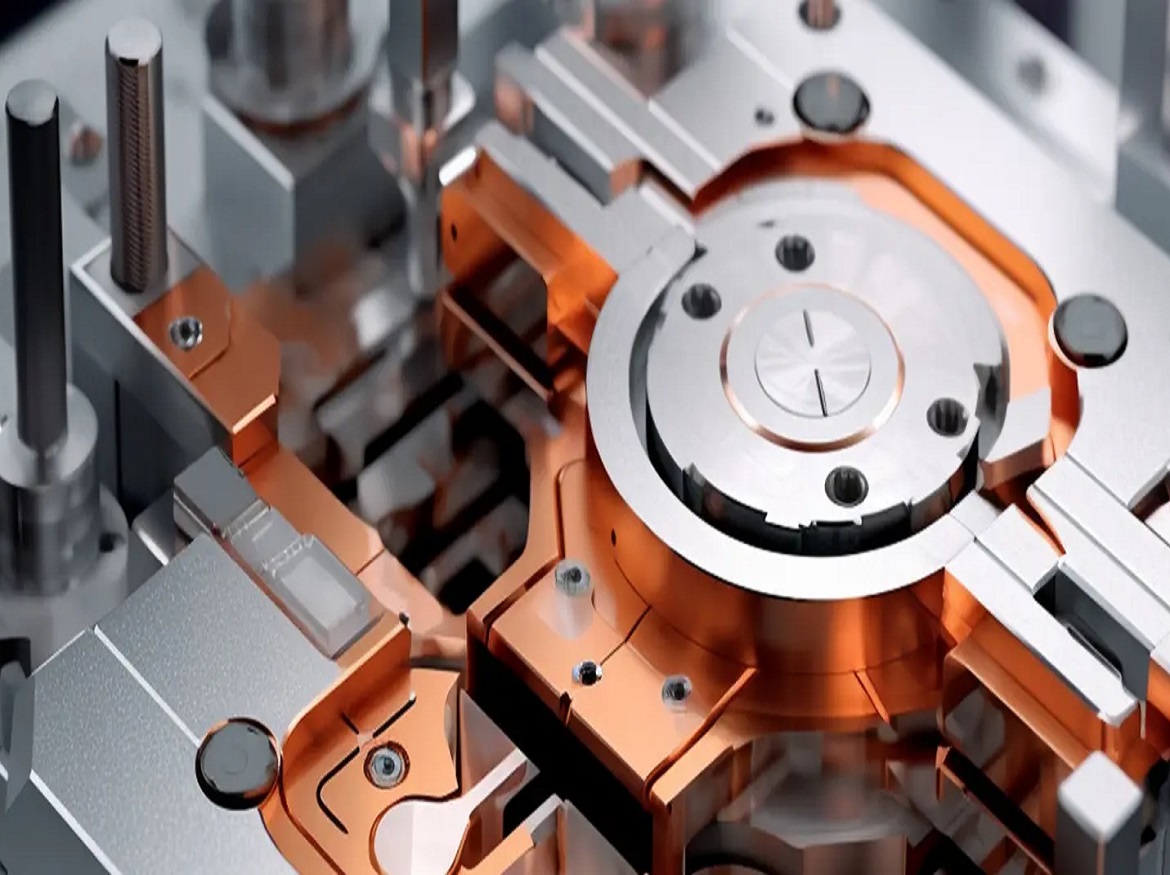
Die-casting is widely used in the automotive industry, where complex parts can be made with high accuracy and efficiency. Die-casting is a process of producing metal parts by forcing molten metal under high pressure into a mold cavity. During manufacturing, these molds are subject to harsh working conditions such as high temperature and high pressure, which may lead to defects such as cracks, erosion, dents, etc.
These defects can affect the quality of the dies, whose shape and characteristics affect the features of the final product. Therefore, it is essential for manufacturers to detect and identify the problems of the molds in a timely and accurate manner.
However, traditional testing methods are inefficient and it is hard for them to handle the complex structure, large size, and highly reflective surfaces of the molds. Scantech’s 3D laser scanners provide efficient and flexible solutions for inspecting die-casting molds.
Case 1
Inspect a die-casting mold of automotive parts
The customer in this case is a leading die-casting enterprise from South China, which specializes in R&D, production, and sales of automotive aluminum alloy castings. The customer has various manufacturing processes, such as high-pressure, low-pressure, and gravity die casting.
In this project, the customer used Scantech’s 3D inspection solutions to inspect the quality of a die-casting mold.
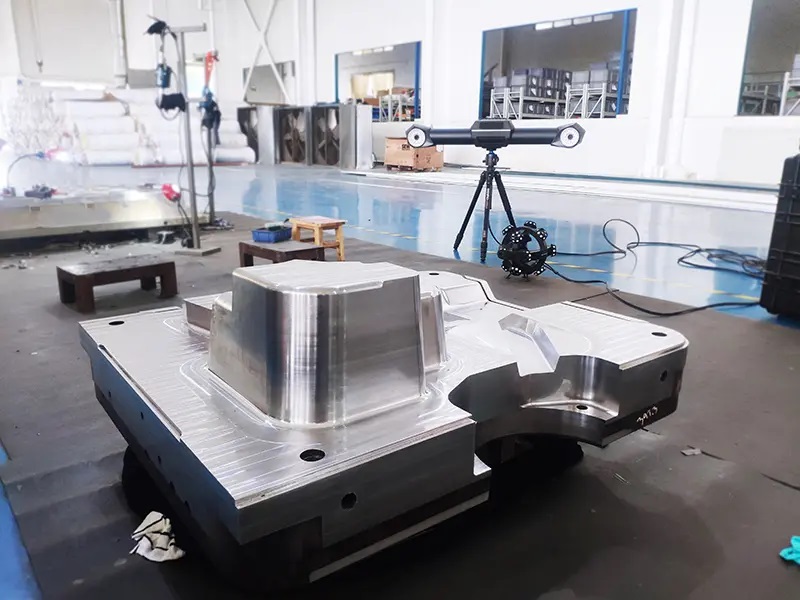
Goal and requirement for inspecting a mold
Quickly inspect the dimensions of the die-casting mold,which has a complex structure. A full-size inspection is needed for further machining.
Measure the die on site because it islarge and difficult to move.
Cannot spray powderson the surface of the highly reflective die because it needs to be polished and machined further. To save time and improve detection efficiency, no-target 3D scanning is preferred.
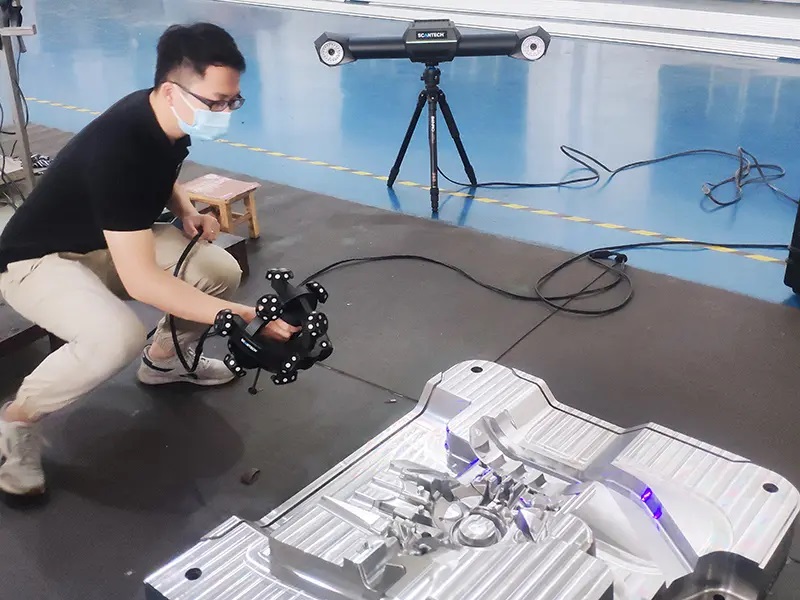
Shortcomings of traditional measuring tools
The customer’s original portable 3D scanner could not scan the bright surface of the mold without spraying powder.
Ordinary measuring equipment, which was easily affected by light, noise, vibration, and more,could not adapt to the complex workshop environment and failed to deliver accurate results.
Traditional inspection methods could not provide inspection reports that could fully reflect the geometries and characteristics of the molds.
Solution: high-precision optical 3D measurement system TrackScan-P
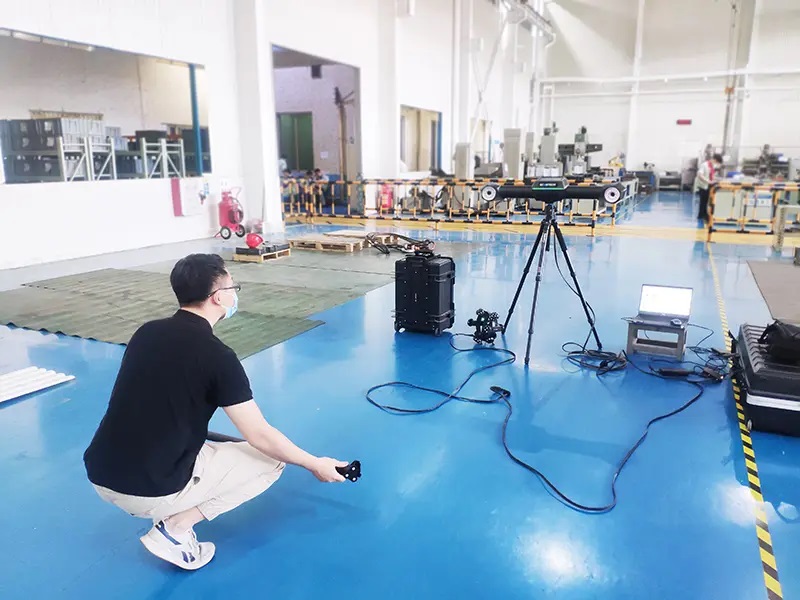
TrackScan-P is an optical tracking 3D measurement system, which consists of a tracker and a handheld 3D scanner. It has a scanning range of 4 meters, suitable for large-scale parts. Thanks to its robust algorithm and innovative technologies, it can scan highly reflective surfaces without sticking targets. It comes with professional testing software to compare 3D data against CAD models and generate reports.
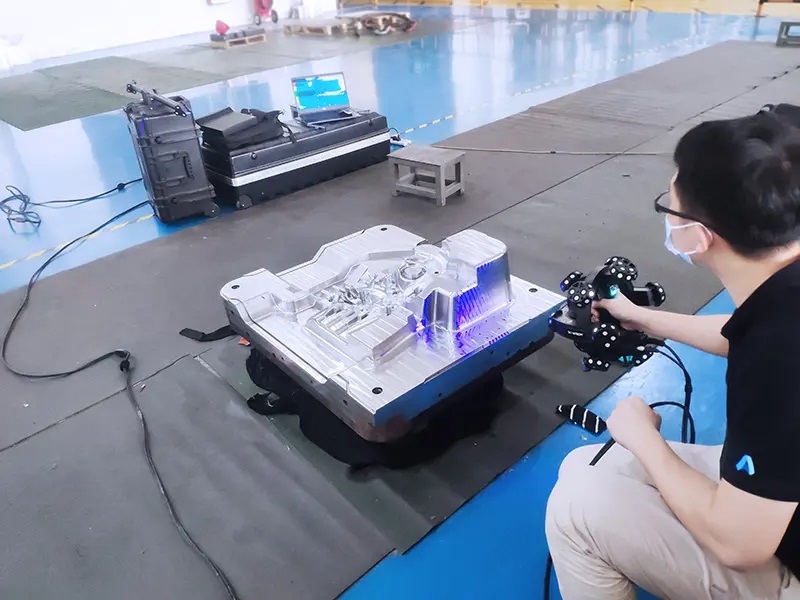
Advantages of portable 3D laser scanner TrackScan-P
Fast and accurate 3D scanning
With intelligent optical tracking and measurement technology, TrackScan-P can track and measure objects from a long distance without sticking targets or compromising accuracy. It reduces the frequency of moving the tracker and is suitable for scanning highly reflective surfaces. It meets the high-precision inspection requirements of casting molds.
Portable 3D scanner and stable performance
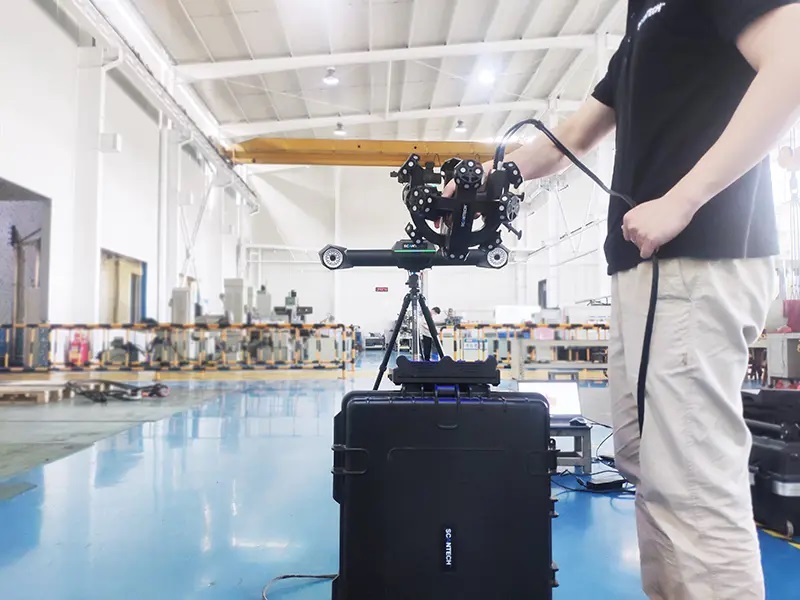
TrackScan-P industrial 3D scanner is a lightweight device with a stable spherical shape that makes it easy to carry around the shopfloor and measure parts in different positions. The system is not easily affected by factors such as vibration, high temperature, and noise in the workshop, which can ensure high-precision and high-stability operations.
Real-time and intuitive report
The software can compare and analyze the scanned 3D data with the original digital model and quickly generate intuitive quality inspection reports. The reports show the deviation on the mold surface, which provide good insight and greatly improve the efficiency of the subsequent mold correction.
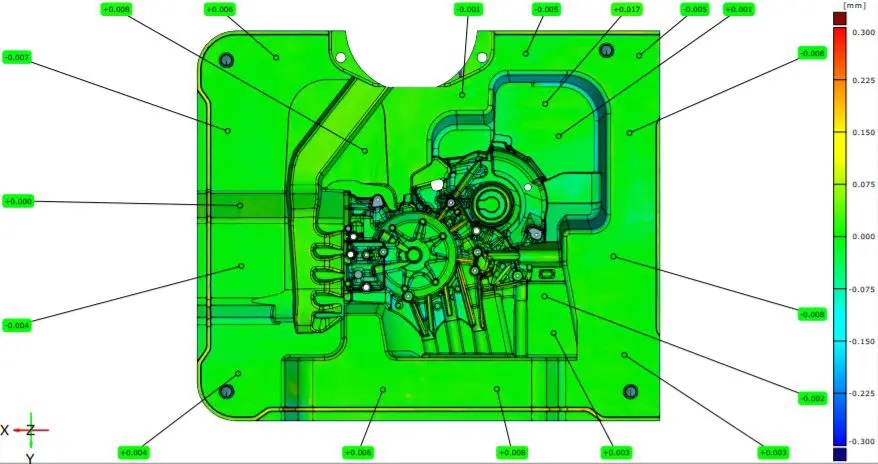
The customer used Scantech’s TrackScan-P industrial 3D laser scanner to obtain the full-size and precise 3D data of the die-casting mold and generate the inspection report accordingly. The report provided important data guidance for further mold processing.
Case 2
Inspect die-casting mold of automotive parts
The customer in this case is a large casting company in northeastern China that produces and sells molds and castings for automotive manufacturers. The main products include transmission housing, clutch housing, cylinder block, engine support bar, etc. The customer needs to inspect the surface of molds to identify defects and evaluate its quality.
Challenges in testing the inspecting molds
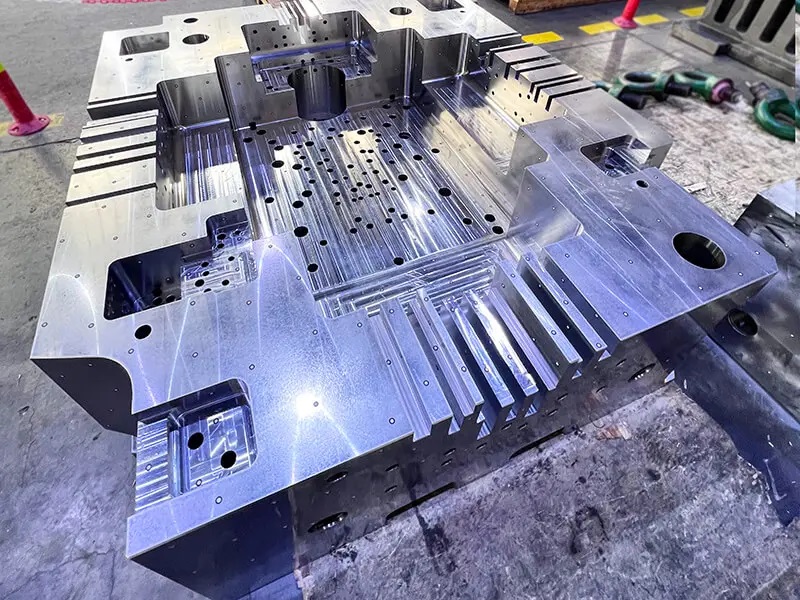
The mold is large and heavy, making it difficult to transport it to a specific measurement room.
The mold has a bright and reflective surface, which cannot be scanned by ordinary 3D scanners.
The customer needs a fast and accurate testing method that can provide intuitive and comprehensive reports on the mold surface.
Shortcomings of traditional measuring tools
Moving the mold required a lot of time and workforce.
The measurement method was inefficient, time-consuming, and cannot generate intuitive color maps.
The mold could get scratched or damaged easily during transportation.
Challenges of measuring a large mold
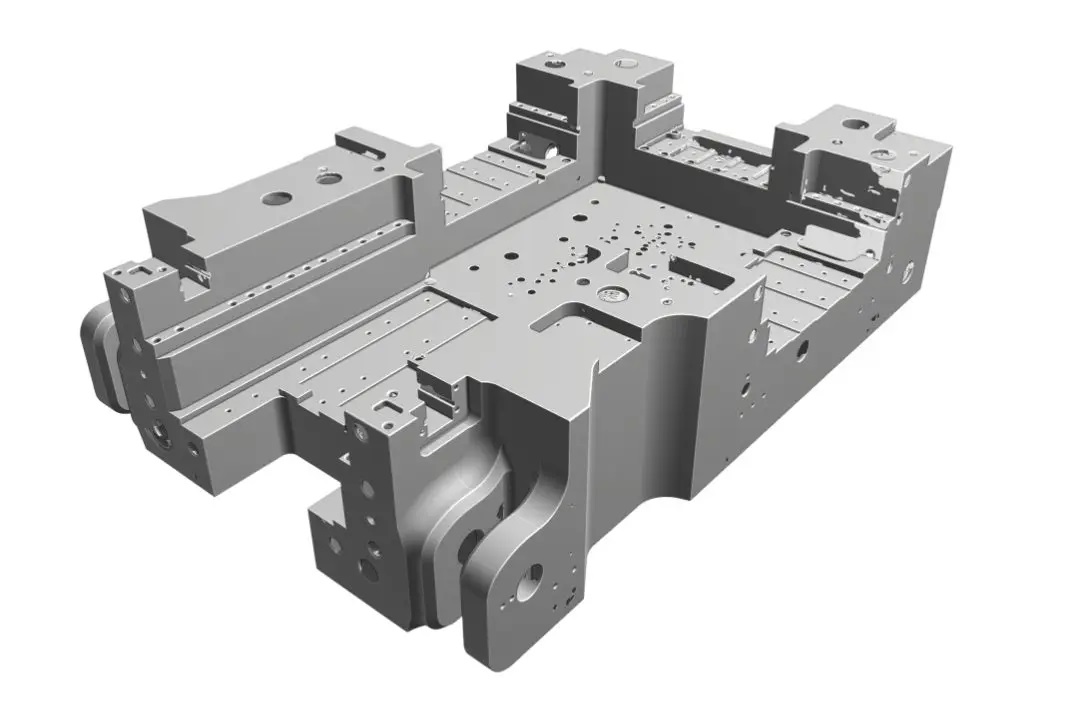
The mold is extensive, measuring 2.3m x 1.5m x 0.6m. The customer wants a fast and accurate scanning process. However, the mold’s surface is too reflective, which makes it hard to collect complete data.
Handheld composite 3D scanner for inspecting dies
We recommended the KSCAN-Magic series composite mobile 3D scanner for this project. It took 10 minutes to stick targets and 10 minutes to 3D scan the part. KSCAN-Magic features simple operation, high accuracy, and intuitive scanning results, which meet the customer’s needs for efficient and high-precision data acquisition.
Advantages of mobile 3D laser scanner KSCAN-Magic
Built-in photogrammetry
The industrial 3D scanner has a built-in global photogrammetry system that can obtain the coordinates of targets. This can effectively eliminate accumulated errors caused by large-scale measurements and ensure measurement accuracy.
Large–area scanning ensures efficiency
The scanner has a maximum scanning area of 1440mm x 860mm. It only requires a few targets to capture 3D data of large parts. This results in higher measurement efficiency.
Comprehensive five scanning modes
The 3D scanner has five standard modes to handle complex parts and obtain full-field 3D data. It also has a scanning function that is specifically designed for scanning black and reflective surfaces, which can capture high-quality 3D data of the mold’s bright surface.
Portable and adaptable
The scanner has a lightweight design that can be held with one hand. It can be carried to the workshop site and scan complex parts structures and on-site environments.
Click on the following link Metrologically Speaking to read more such case studies about the Metrology Industry.


