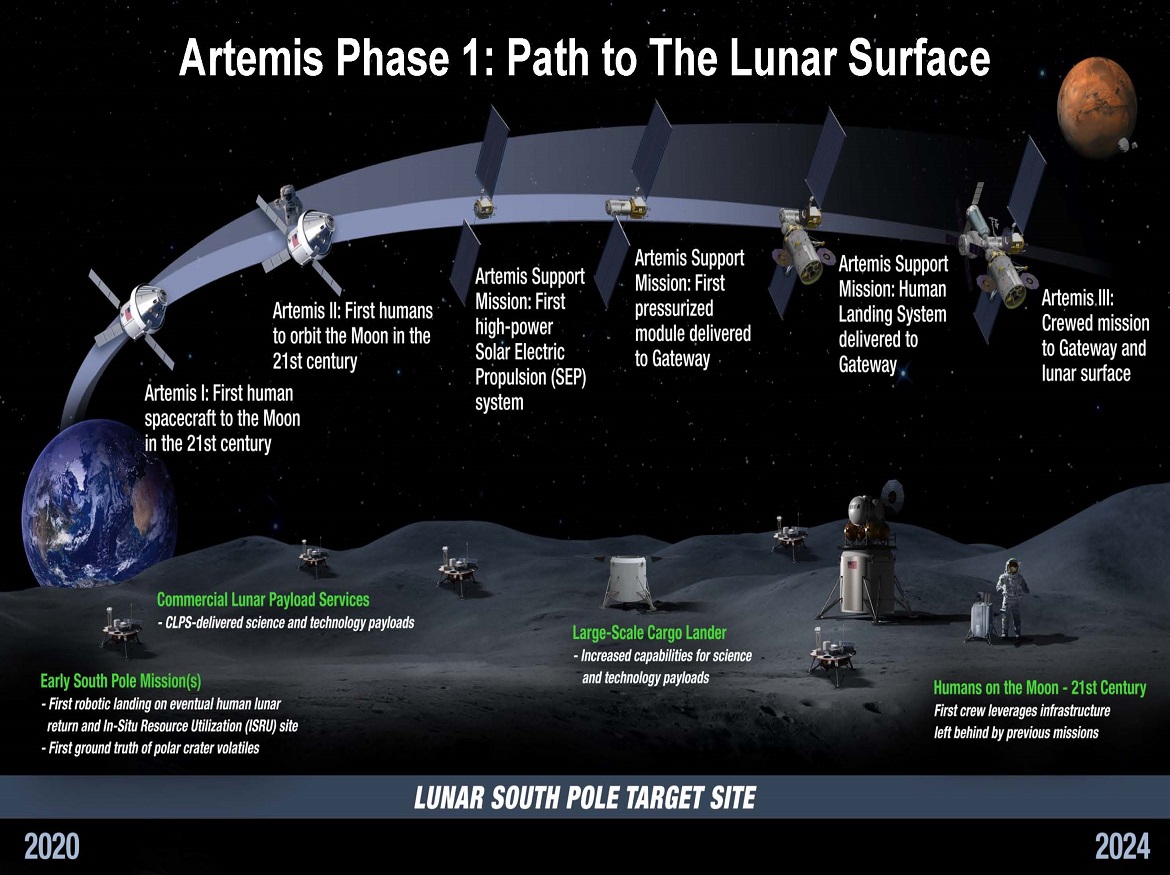
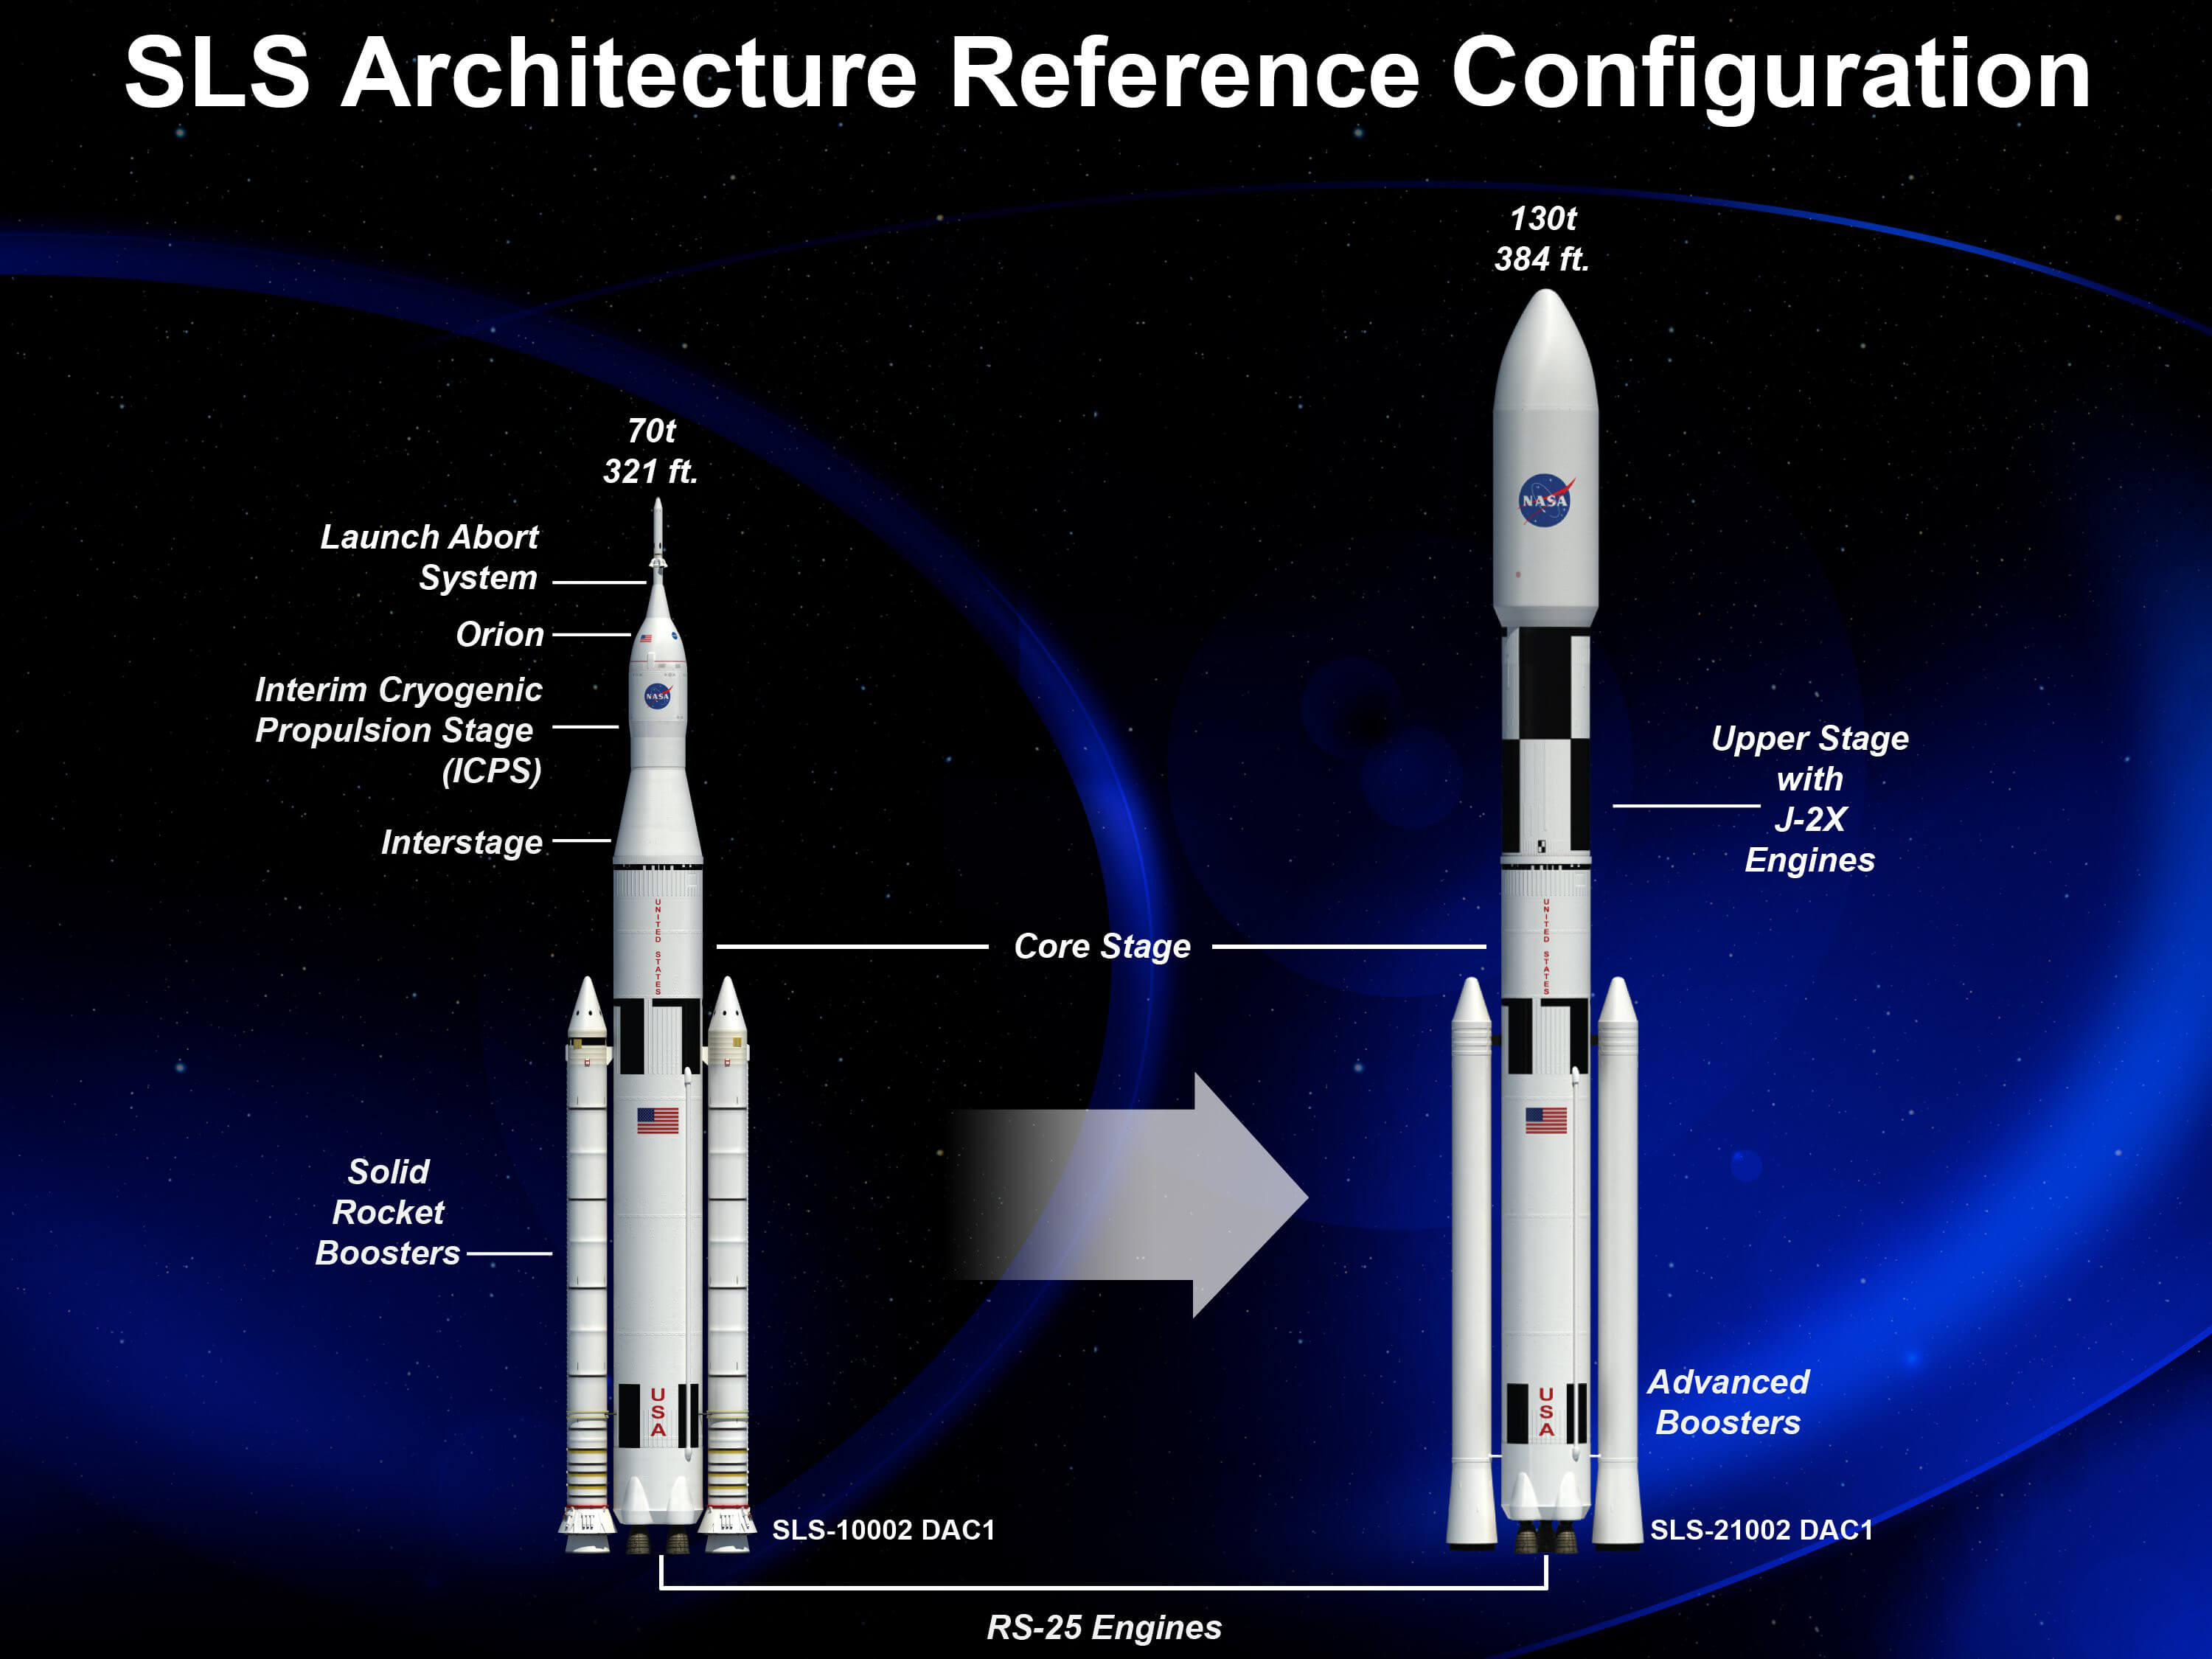
Artemis I is the first integrated test of NASA’s deep space exploration systems: the Orion spacecraft, Space Launch System (SLS) rocket and the ground systems at the agency’s Kennedy Space Center in Florida. The first in a series of increasingly complex missions, Artemis I is an uncrewed flight test that will provide a foundation for human deep space exploration and demonstrate our commitment and capability to return humans to the Moon and extend beyond.
Verisurf Automates SLS Rocket Panel Inspection
Watch the video version of this story below:
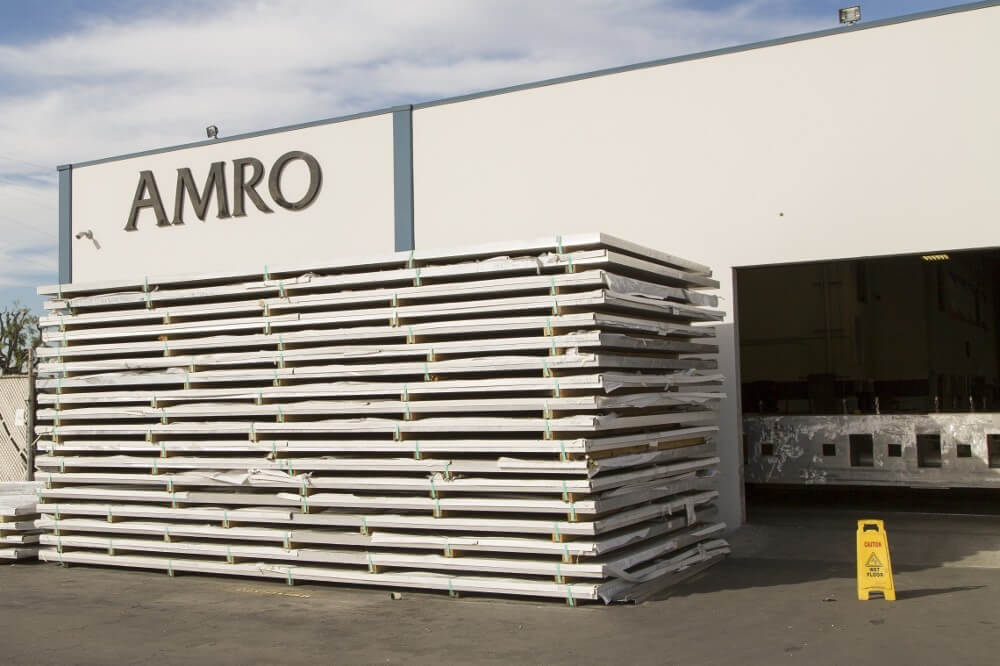
AMRO Fabricating chooses Verisurf software to automate the production inspection of NASA SLS rocket panels.
In space flight the first eight minutes are critical; this is when the greatest opposing forces of thrust and gravity are impacting the launch vehicle. The new NASA Space Launch System (SLS) will weigh 5.5 million pounds at liftoff, or roughly the weight of eight fully loaded 747 jets. Everything comes down to weight and the integrity of design and fabrication to insure success. Today, it costs $10,000 to send one pound of payload into orbit; since the entire launch vehicle makes the tripe to low earth orbit its net weight is a big consideration – lighter the launch vehicle greater the payload.
No one knows this better than AMRO Fabricating. They have been manufacturing precision machined and roll-formed Isogrid and Orthogrid rocket body panels since 1986. “We have evolved and perfected our fabricating processes over the years, with the greatest challenge always being weight,” said Steven Riley, Vice President of AMRO. “If a single rib is out of tolerance by as little as .002 it will translate to hundreds of pounds of added weight across the launch vehicle. At the same time being undersize will compromise the integrity of the panel.” To put things into perspective, if you were to scale down the SLS to the size of an aluminum soda can the walls of the SLS would be ten times thinner than that of the soda can.
Check, re-check and check again
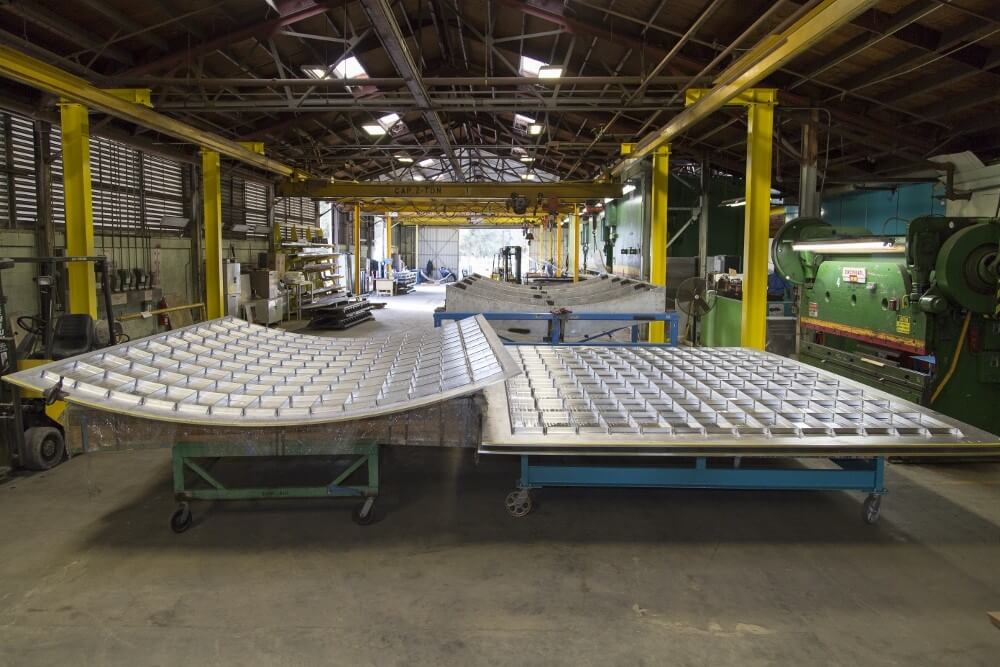
Every step in the manufacturing process of rocket body panels at AMRO is guided, inspected and reported using metrology software, laser trackers, portable CMMs, ultrasonic gauges, and precision check fixtures. By the time a completed panel is crated for shipment, it has been probed, scanned and inspected more than 20 times. Each panel is 12’ x 24’ x 4” thick; hogged out Isogrid and Orthogrid geometry provides lightweight structural integrity. Following completion of the manufacturing process, the finished formed panels are assembled into rings; eight panels are used to create one ring measuring 27.5’ in diameter and standing 24’ tall. Five of these assemblies are stacked to create one SLS core stage. Once fully assembled the height of the SLS will reach 371’ in its crew configuration.
Precision at every step
CNC Machining
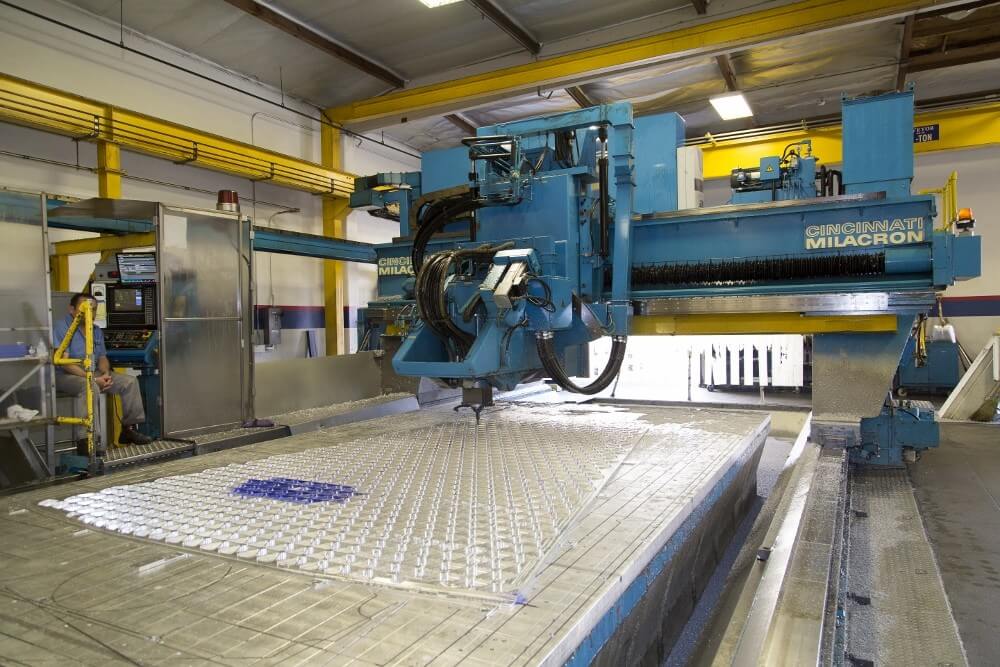
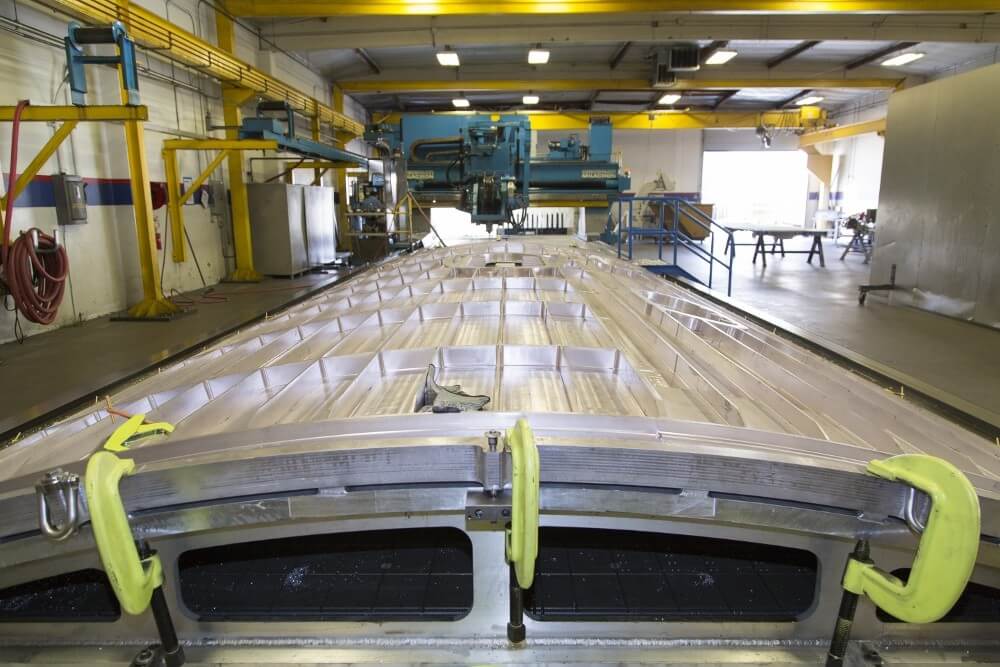
Aluminum plate material, milled to size, is hogged out to an Isogrid and Orthogrid structure using one of AMRO’s gantry CNC machining centers; precision holes are drilled for fastening points and other features. While still on the machine bed the part is deburred and spot checked using ultrasonic thickness gauges. Design and machining considerations to take into account the final machined part will be formed into a curved structure.
Flat Part Inspection
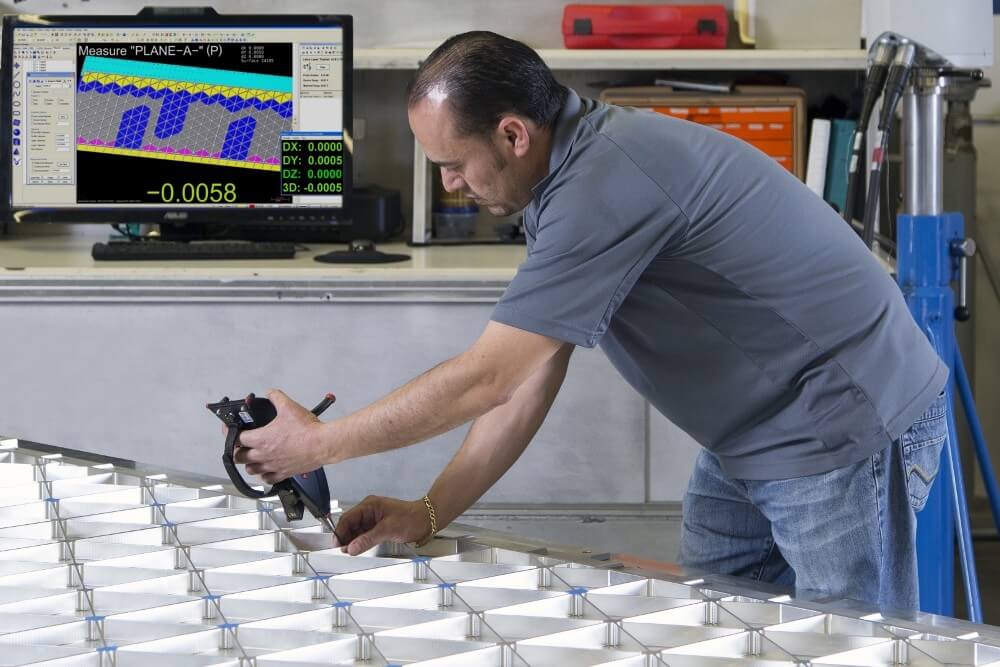
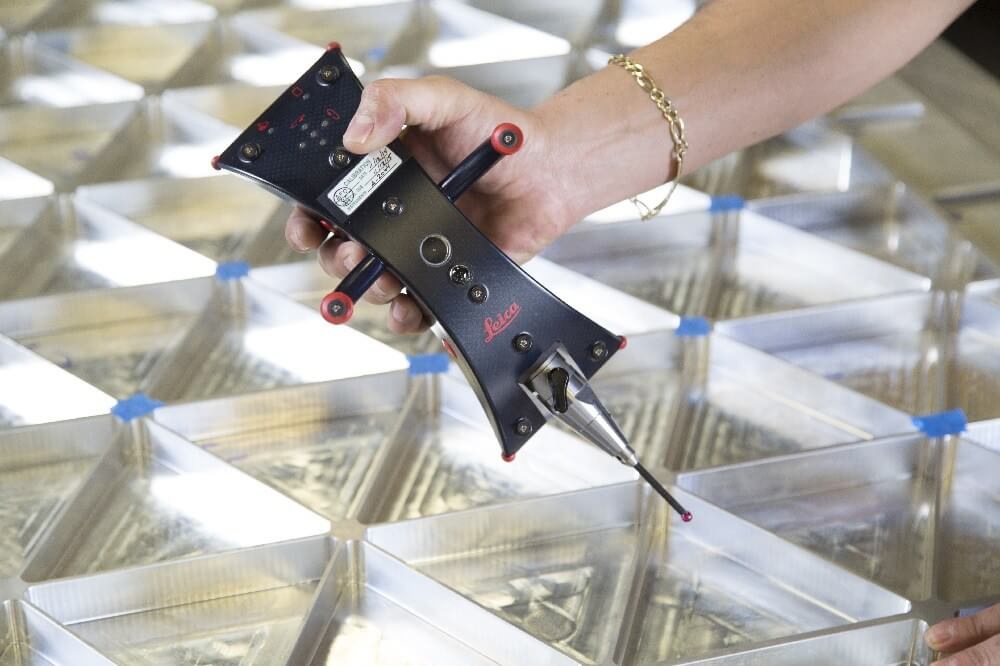
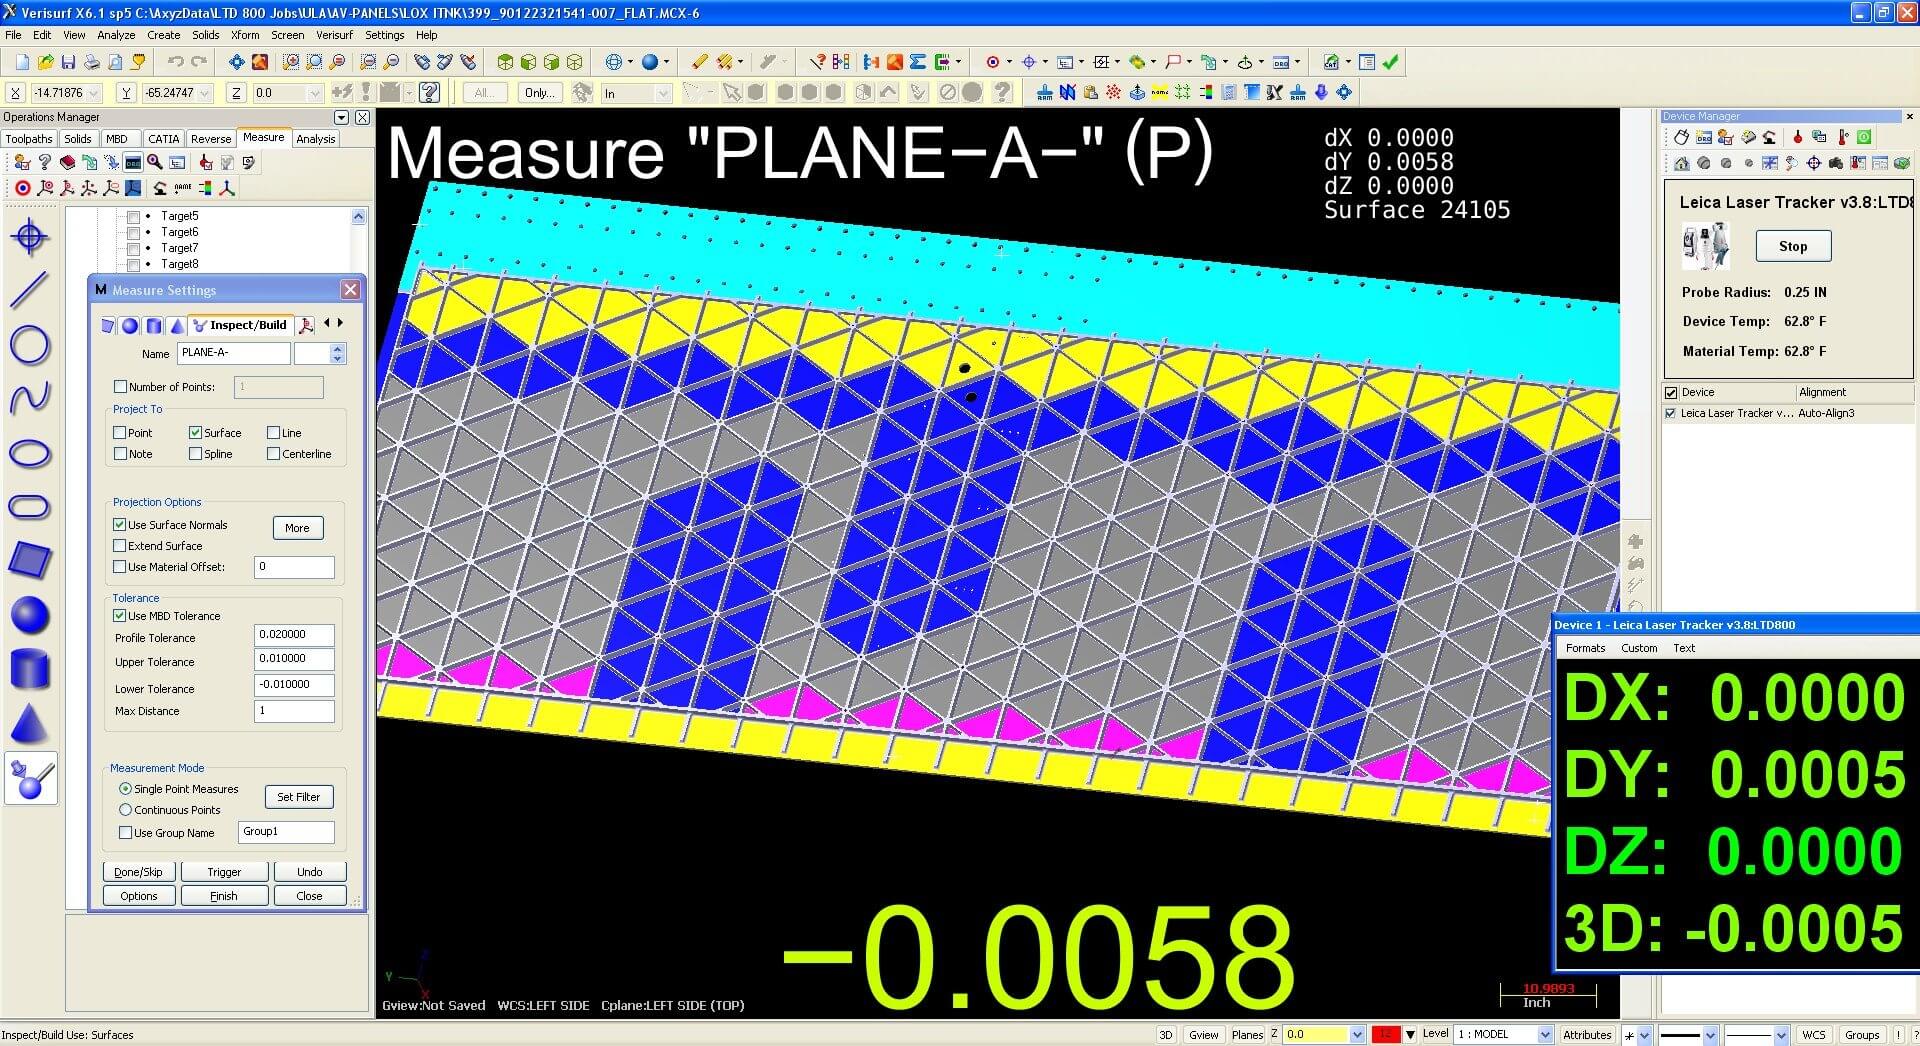
The finish machined part is moved to a special vacuum table where it is subject to a defined inspection routine. Using Verisurf model-based definition inspection software, a laser tracker and Leica T-Probe all geometry, wall thicknesses, floor radius locations, hole positions, and diameters are confirmed within tolerances based on GD&T datum callouts in the CAD model. The Leica T-Probe is an armless wireless ‘walk-around’ device that allows the laser tracker to remain in one position while probing hidden hard-to-reach surfaces such as behind grid walls. Verisurf software provides a 3D on-screen virtual view of the part and relative position of the probe during the inspection process. Real-time graphical inspection data is displayed showing the operator each inspection target as being in tolerance, out of tolerance low, or out of tolerance high. Following inspection, the software generates an AS9102 Inspection Report for the part.
Forming or Rolling the Part
AMRO has developed a reputation as a leader in metal forming. Using one of five high capacity break presses finish machined parts are formed, or rolled into specified curved profiles. The process relieves and distributes part stress inherent in the manufacturing of aluminum. This process is time-consuming, but you cannot simply use a form press to effectively shape large aluminum profiles; the stress has to go somewhere and if it is not managed you end up with a warped part. Through years of experience and expertise AMRO has perfected its forming techniques. Because forming is a manual process, the part must now be confirmed it is to spec and adjusted as necessary.
Precision Check Fixtures
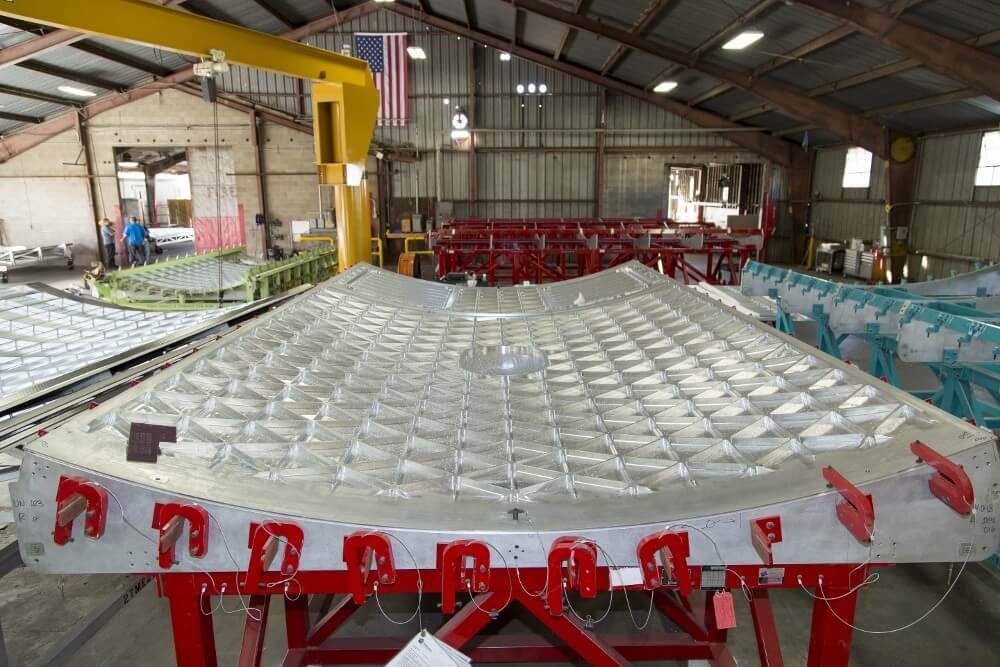
Precision check fixtures are used to ensure the finished curved profile of the part is accurate and overall dimensions are within tolerance. Measurement software is once again used to guide the assembly and inspection of these fixtures. Using Verisurf Reverse and model-based definition AMRO is able to create precision build tools to match the surface profiles of the panels and support their manufacturing process. Parts are placed in check fixtures and adjusted until a perfect fit is accomplished. Parts are then heat aged to stabilize the material following the forming process.
Final trim and QC – Following forming the part is placed in a trim fixture designed to precision trim the outside dimensions to tolerance. In each case, metrology software and portable CMMs are used to create fixture tools.
Final Inspection
Finish parts undergo a final QC inspection using Verisurf software and a laser tracker. All dimensions, hole locations and diameters, radii, and surface profiles are inspected and a final AS9102 Inspection Report is generated. “At AMRO the use of Verisurf measurement and inspection software has helped increase quality and efficiency. As a model-based enterprise we are able to maintain a digital work-flow and excellent documentation for every part we manufacture,” concluded Riley.
AMRO Fabricating Corporation (AMRO) is a leading manufacturer of precision machined and formed Isogrid and Orthogrid Skin Panels, Major Assembly Tooling, and Ground Support Equipment (GSE) for the Aerospace, Defense and Commercial Markets. Founded in 1977, by Michael and Thora Riley, today AMRO continues to operate as a “family” business. You can learn more about AMRO at www.amrofab.com.
Verisurf Software, Inc.
Verisurf Software, Inc. is an advanced three-dimensional measurement solutions company committed to delivering advanced computer-aided inspection and reverse engineering solutions. Verisurf software helps manufacturers of all sizes and industries produce higher quality products in less time and at a lower cost with automated, Model-Based Inspection processes. For more information, visit the Verisurf website at https://verisurf.com.


