Brunson’s KinAiry Solution Adapts to New ISO Procedure
Kansas City, Missouri, USA – With the release of ISO 10360-10:2021, laser tracker end-users can now test their instruments in the field with a simplified, internationally approved ISO process—in under 30 minutes.
“Laser trackers and laser radars are mechanical systems that rely on the relative positions of components within the instrument,” said Mark Meuret, Brunson Instrument Company’s Director of Engineering. “These sensitive and highly accurate components can be thrown off, creating misalignment and geometric error sources,” he added.
Shipping an instrument, wear and tear from frequent usage, environmental hardships, multiple end-users, or simply the age of the instrument can create internal misalignments that degrade measurement accuracy. (See ISO release excerpt in box, below.)
“This new ISO procedure is about empowering metrologists, letting them easily check their trackers in the field and maintain confidence in their precision measurement processes,” Meuret added.
Brunson Instrument Co. initially offered the KinAiry Laser Tracker Field Testing Solution based on the NIST IR-8016 test, and the company will soon update the KinAiry software process to accommodate the new ISO procedure. (See image below.)
“Brunson has been involved in laser tracker field testing from very early on,” said Meuret. “And applaud ISO for recognizing this vital need for end-users to maintain confidence in their laser tracker performance,” he added.
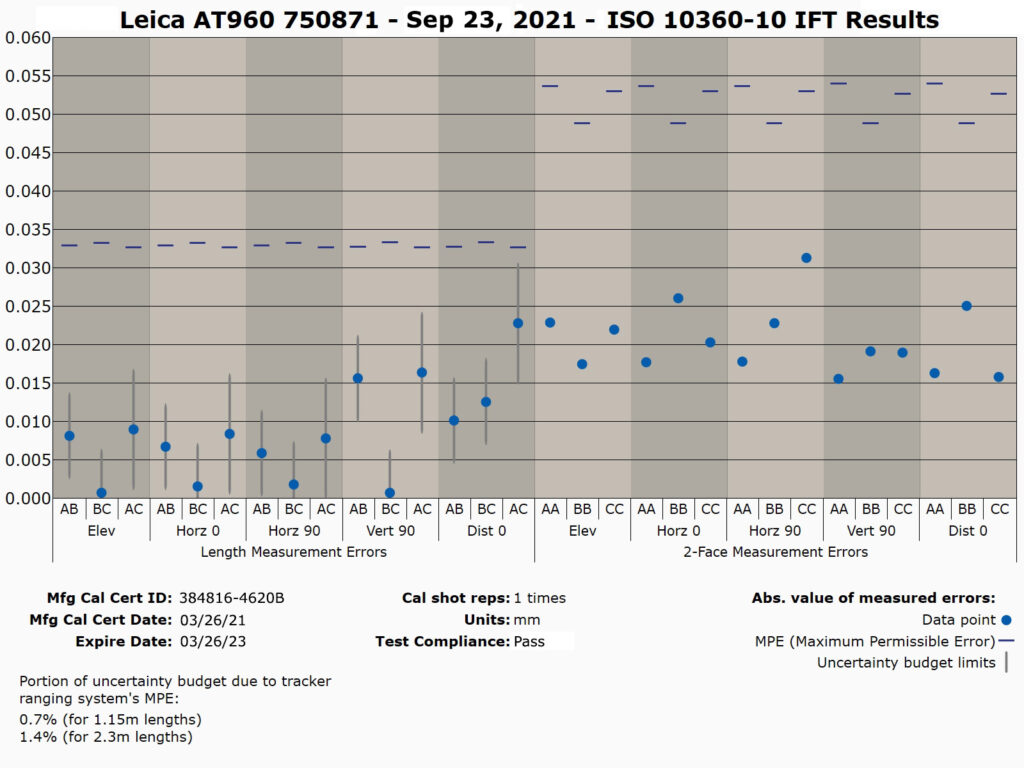
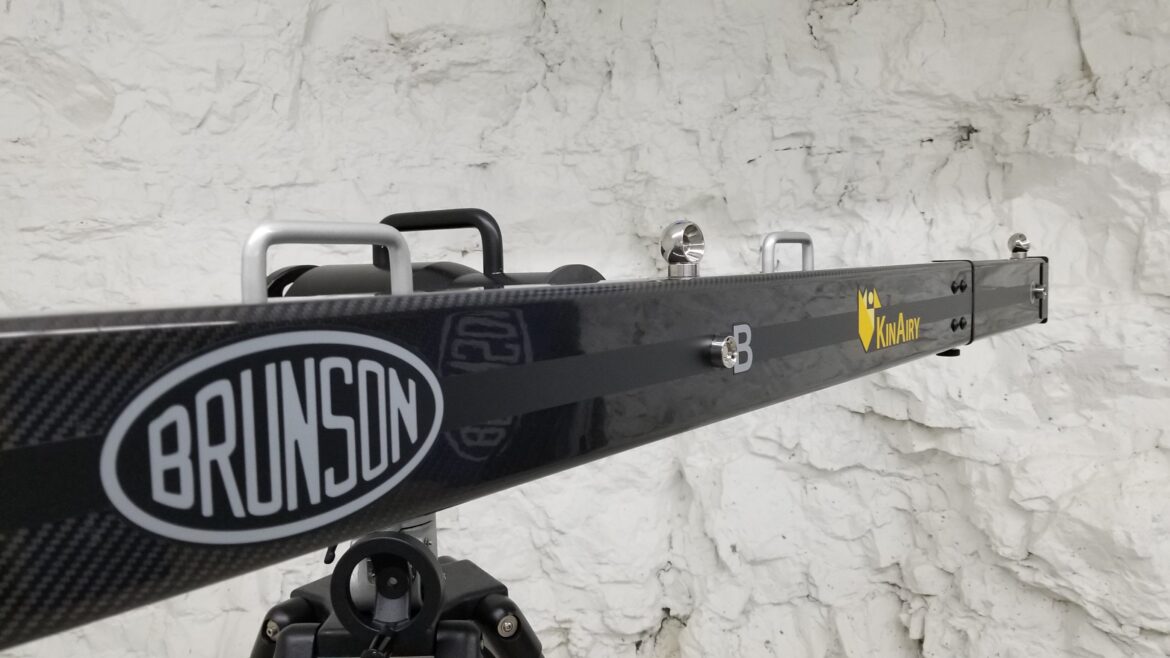
The KinAiry system features hardware—a 2.3-meter reference bar—that is custom-tailored to the precision requirements of the ISO interim field test. The three-piece, easily transportable 2.3-meter reference bar is kinematically mounted at its airy points to provide the required stability. KinAiry software guides the user through the process, which results in a graph that portrays tracker conformance to manufacturers’ specifications. (See image below.)
Diminished accuracy can become a metrologist’s worst nightmare. It can lead to unsatisfied customers, time-consuming research to validate past performance data, costly re-work, instrument down-time and, potentially, mission-failure. How frequently should an end-user conduct an interim field test? Below is an excerpt of ISO’s recommendations for tracker testing intervals.
ISO Guidelines for Frequency of Interim Field-Testing
(Excerpt from Annex E of ISO 10360-10:2021)
• Some users with high-value and/or safety-critical workpieces may elect to perform daily tests,
while other users will possibly test weekly or monthly.
• The frequency of interim testing is a matter of economics and necessity, i.e., the time period
between interim tests should be chosen in a manner that meets the needs of the
measurement system user while not compromising the integrity of the measurement tasks
performed.
• A laser tracker that is in a stable environment with a single user will typically need interim
testing less often than one that is frequently transported, used by multiple operators, or in a
harsh environment.
• The frequency of testing is also strongly affected by balancing the cost of interim testing
against the consequences of accepting a bad workpiece or rejecting a good one.
• It may be useful to consider the interim testing interval as a percentage of total laser tracker
operating hours.
• Interim testing should be conducted after any sort of significant event such as the laser tracker
being subject to excessive vibrations or potential damage.
Brunson Instrument Company designs, manufactures, and markets portable measurement and alignment solutions for high-precision industrial applications. The company’s product line includes metrology instrument stands, laser tracker target holders, calibration equipment, optical tooling instruments and scaling artifacts. In addition to private label and contract manufacturing, the company offers a full spectrum of client services for aerospace, automotive, shipbuilding, lumber, power generation and other industries. Headquartered in Kansas City, MO, Brunson Instrument Company serves its international client base out of its unique underground production facility through strategic distributors in Europe, Asia, and the Americas.

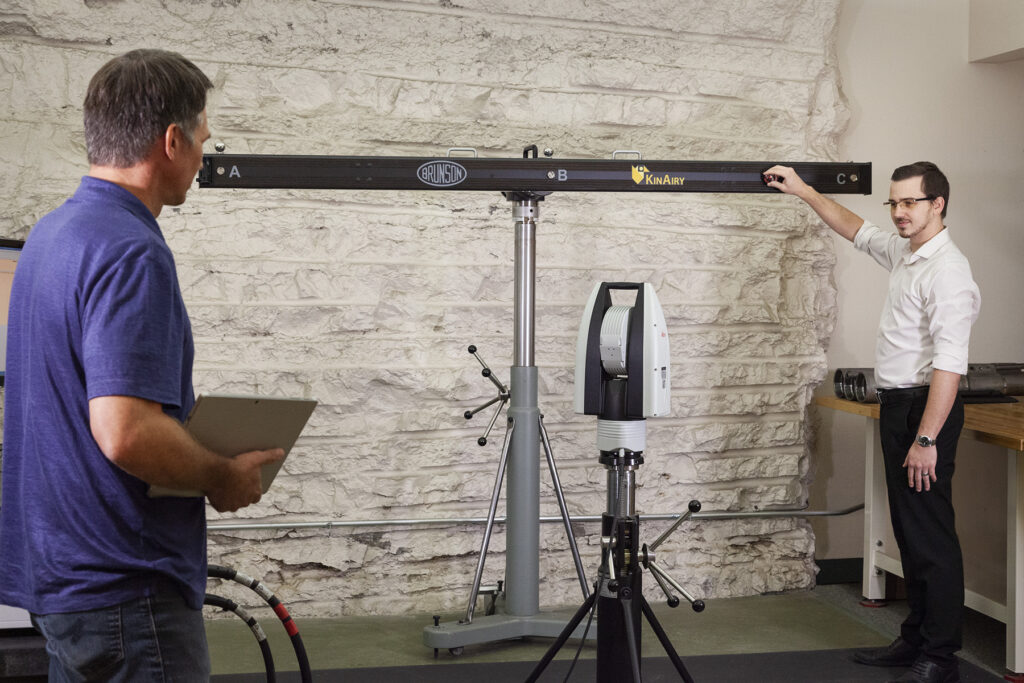
Mechanical Engineer Tyler Santoro (right), as Brunson Director of Engineering Mark Meuret
observes. The recently approved Annex E interim testing procedure is similar to the earlier NIST IR-
8016 process.

Confidence maintained. The KinAiry software generates a graph of the ISO 10360-10 field-test
results, displaying Length Measurement Errors (left) within a range, indicated in grey, representing the uncertainty associated with each measurement (95% confidence interval.) The 2-Face Measurement Errors are displayed at right. Millimeters are displayed on the Y-axis, and the blue, horizontal bars indicate the manufacturer’s maximum permissible errors. With the comprehensive, volumetric interim test complete, the KinAiry software reports a tracker that is measuring very accurately. Brunson will soon test this tracker again as part of a monthly schedule.


