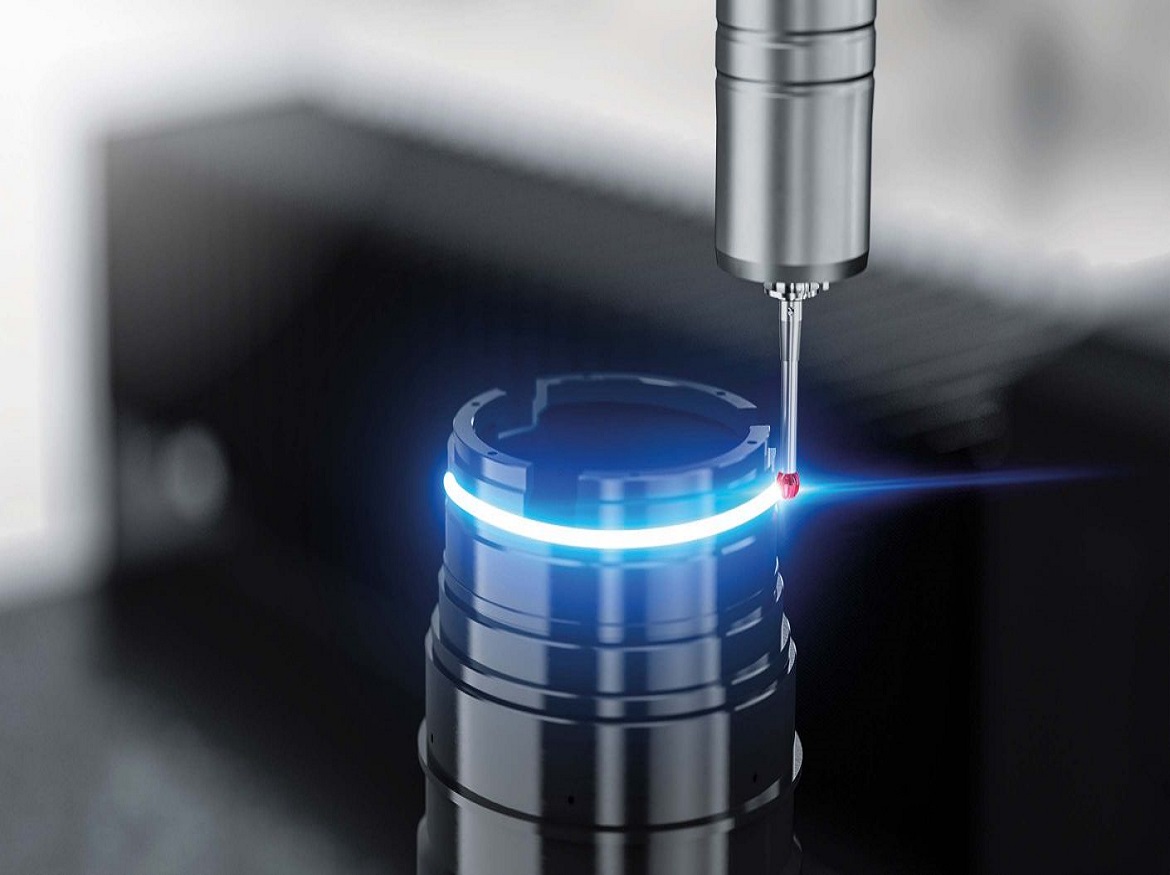
ZEISS coordinate measuring machines (CMMs) are synonymous with precision, consistency, and automated dimensional inspection. A new level of accuracy and productivity is made possible by tactile scanning probes, which count thousands of points along a path. Even faster measurement speeds are achieved with ZEISS active scanning technology. It is possible to maximize machine use while also identifying issues more quickly.
Choosing a suitable probe
The probe is crucial to getting accurate measurement data. The “woodpecker technique” is another name for touch-trigger measurement, which involves measuring at one point, moving to another, taking another measurement, and so on until the task is completed. This method requires a time-consuming workflow, which reduces data and, consequently, accuracy. While the stylus glides across a surface, tactile scanning technology, in contrast, uses a fluid, continuous motion to swiftly and precisely measure thousands of points along a path. This facilitates a quicker workflow and more accurate measurement outcomes.
Conventional and active scanning
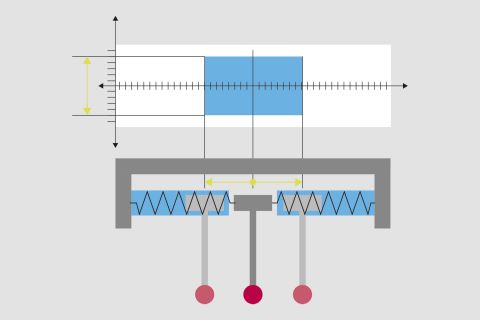
Between traditional scanning and active scanning, ZEISS makes a differentiation. They both use a stylus attached to a probe to record surface data, but their functionalities differ significantly. In conventional probing systems, hall sensors are used to monitor deflection when the stylus is moved across a surface or contour, and springs are used to retain the pen in its neutral position. Instead, active probing systems use software-controlled electromagnets and force controllers to keep the force on the stylus constant and low.

Highly accurate measurements: scanning
Scanning provides more operational safety and more accurate measurement than touch-trigger sensors. For instance, the surface of mechanically machined items has a generally smooth and low-roughness surface. Here, the compression of the springs can be kept within a restricted range, enabling you to scan more quickly and gather more data than with single-point measurement, leading to high throughput and higher certainty. To prevent the stylus from bending or losing contact with the part, the scanning speed must be slowed down if, on the other hand, there are parts with significant deviations and irregularities. The active system enters the picture here.
Flexible and future-proof: active scanning
With an active system, force controllers keep the stylus under constant tension regardless of its size, mass, location, or orientation. As a result, the stylus may go through a considerably wider range of motion without having to move the probe. The active system continuously tracks deflection and modifies the measuring force to maintain low and constant readings, improving accuracy and speed throughout the entire operation. Active scanning offers faster performance than traditional systems without sacrificing accuracy.
Benefits for day-to-day challenges
Parts may diverge from the requirements during manufacture due to things like tool wear and thermal deformation. The throughput of measurements is crucial. Faster scanning results in better machine utilization, earlier detection of issues on the production line, and less scrap and reworking of parts.
Click on the following link Metrologically Speaking to read more such blogs on Metrology.


