This content was originally written and published by the Nikon Metrology team on their website. Reproduced here from https://www.nikonmetrology.com/en-gb/industries/aerospace/large-volume-metrology
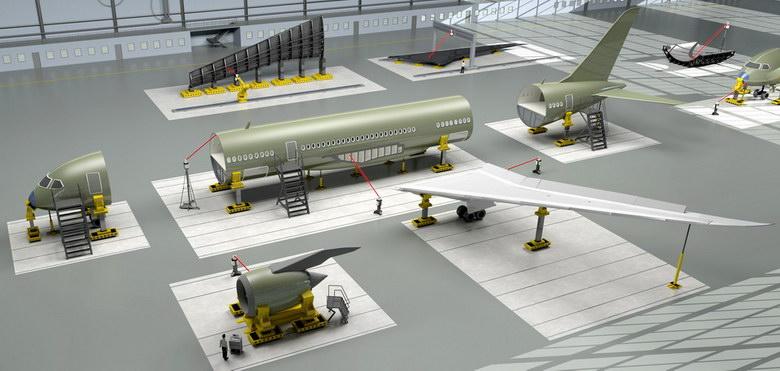
The inspection of large objects calls for a dedicated metrology solution and technology. The Nikon Laser Radar -based on innovative non-contact laser technologies offers accurate and contactless inspection capabilities that are used within a wide variety of large volume measurement and inspection applications: aircraft fuselage section analysis, tool assembly and alignment inspection as well as the inspection of aircraft engine inlet cowls and checking the geometry of aircraft wing.

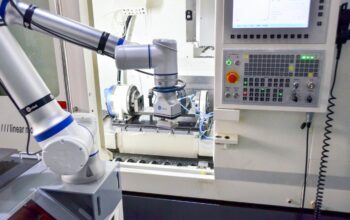
Laser Radar can be used anywhere a laser tracker is applied. The economic equation is in favor of Laser Radar because it does not require any type of handheld SMR (spherically mounted retro-reflector), regardless whether inspecting geometric features or freeform surfaces. This means that a single person can operate the Laser Radar system in manual mode, or start an automatic inspection job that runs unattended.
The Laser Radar is being used in many different aerospace applications today, reducing costs and improving quality:
| Mold & Tooling – The Laser Radar can quickly and automatically inspect tooling used to layup or form composite and other types of parts, insuring parts are right the first time. |  |
| Engines – The Laser Radar is used for nacelle, thrust reverser, and panel inspections. Tens of thousands of surface points can be collected on these parts automatically without the need for ladders or a dedicated operator; improving quality while reducing labor. |  |
| Barrel sections – Large barrel sections are inspected with the Laser Radar both at the factory and in the join station. The Laser Radar provides data that is used to optimize the fit of the barrel sections allowing aircraft manufactures to build straighter, more efficient planes. |  |
| Wings / Flaps / Tailfins – More and more aero structures are being built with composite materials, which drives the need for higher tolerance part fitting. The Laser Radar is used to measure the as built condition of wing ribs, skins and other control surfaces so proper shims can be installed to optimizing each build |  |
| Wing to body join – The Laser Radar scans the relative positions of the wing root and side of body in join position. This data is used to virtually fit the wing and side of body together, allowing shim packs to be installed prior to the join and also feeding back the relative location of wing to the join automation to ensure an accurate fit and optimize aircraft symmetry. |  |
| Flight control surfaces – Flight control surfaces are scanned by the Laser Radar during installation to Ensure optimal alignment, maximizing aerodynamic performance. |  |


