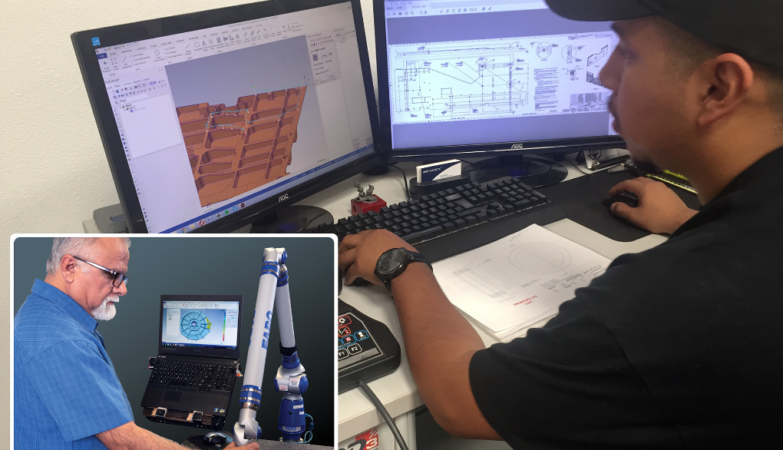
Bruker Alicona is a leading global supplier of optical metrology solutions based on the principle of Focus Variation.
Focus Variation works on the basis of moving a focal plane over a surface and collecting robust 3D data which can then be used to measure geometric form and surface finish from a single optical sensor.
Measurement processes can be fully automated and provide GD&T measurement
In this measurement, various form parameters are measured on the provided sample using Bruker Alicona’s Focus Variation technology to check quality of manufactured bone screw
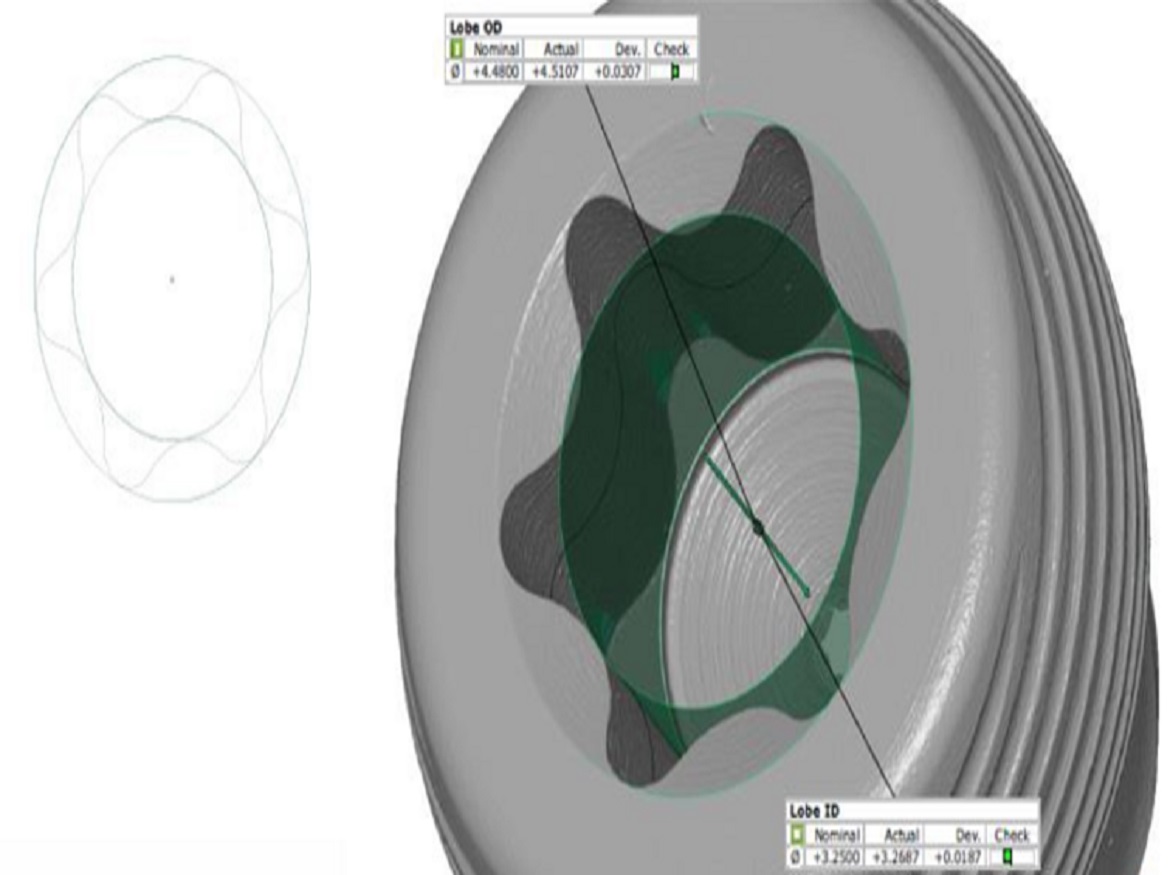
Select measurements on the head of the bone screw and thread profile are measured and compared to nominals/tolerances provided on the technical drawing. Bruker Alicona’s Focus Variation technology allows for complex measurements: a comprehensive Real3D (360° Acquisition) to measure both the ID and OD geometry of the bone screw head.
Introduction
This issue summarizes a report on the measurement of precision screws using the Bruker Alicona InfiniteFocusG5 measurement system. The screws used for this report are bone screws, this measurement process could also be used in any sector with precise tolerance requirements.
The full measurement report is available at https://bit.ly/2CBv9a2.
Measurement Task
1) Thread Profile
- Selected measurements of the thread profile are measured and compared to nominals/tolerances provided for manufacture. This is required to ensure the screw easily inserts into the bone structure.
2) HexLobe Screw Head
- In surgical applications the accuracy of the hexagon socket is vital to ensure precise mating between the hexagon driver and the screw head. This is required to a) ensure the head is not damaged during insertion and b) ensure the driver does not slip out and cause patient damage.
- The Focus Variation technology supplied by Bruker Alicona allows for complex measurements of this type. Real3D (360° Acquisition) allows the easy measurement of the ID, OD, tip and root radius plus surface finish of the thread form. Also, with the high depth of focus available with the technique it is a simple process to measure the internal geometry of the hexagon socket. It also offers, not covered in this report, the opportunity to measure and compare both the Hex driver and the socket for accurate mating.
Measurements available:
HexLobe Measurements
The Datasets shown below in Figure 1 have been obtained using the InfiniteFocusG5 with advanced Real3D rotation device. The data density is very high allowing measurements to be made.
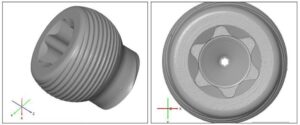
Figure 1
Screw Head Depth, Width & Geometries as in Figure 2.
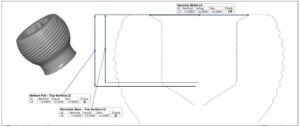
Figure 2
All the measurements are available in report form showing variation from nominal an example is shown in Figure 3.
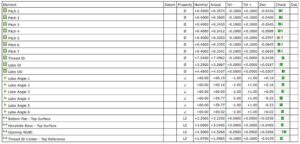
Figure 3
Full Thread Profile
Using the AdvancedReal3D it is now possible to measure the whole screw length in high resolution as illustrated in Figure 4.
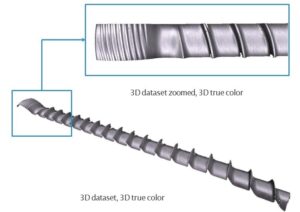
Figure 4
On this dataset it is now an easy measurement task to extract a profile across the surface and measure the full profile and surface finish on the thread form, shown in Figure 5.
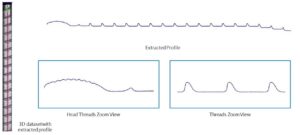
Figure 5
Summary
The Bruker Alicona Focus Variation technology allows for the robust measurement of various samples/parameters, providing high resolution 3D data:
- The sample on this report was measured using the InfiniteFocusG5 with AdvancedReal3DRotationUnit
Using just two measurement positions the sample was evaluated for a wide variety of parameters including:
− Radii
− Distances
− Angles
− Diameters
− Pitch
- The addition of the AdvancedReal3DRotationUnit allows for comprehensive 360° measurements of the sample.
- The system measures the sample at multiple rotation angles which are then automatically aligned to each other resulting in the Real3D
- The system also has capabilities to automate the data capturing and measurement process to provide a simple to use solution which requires less user influence/know-how.
- The output of these automated measurements would be a summary PDF with tolerance-based checks to give a quick “Go, No-Go” feedback for an operator.
- The Bruker Alicona Focus Variation technology provides a versatile system, not only providing complex form measurements, but also capabilities to measure surface roughness with high resolution.
Having a system with these capabilities will provide a new comprehensive way to measure samples while providing detailed insight into the manufacturing methods and quality.


