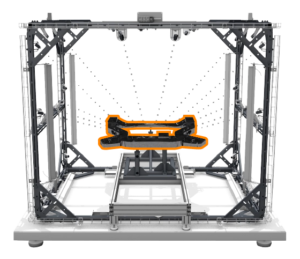
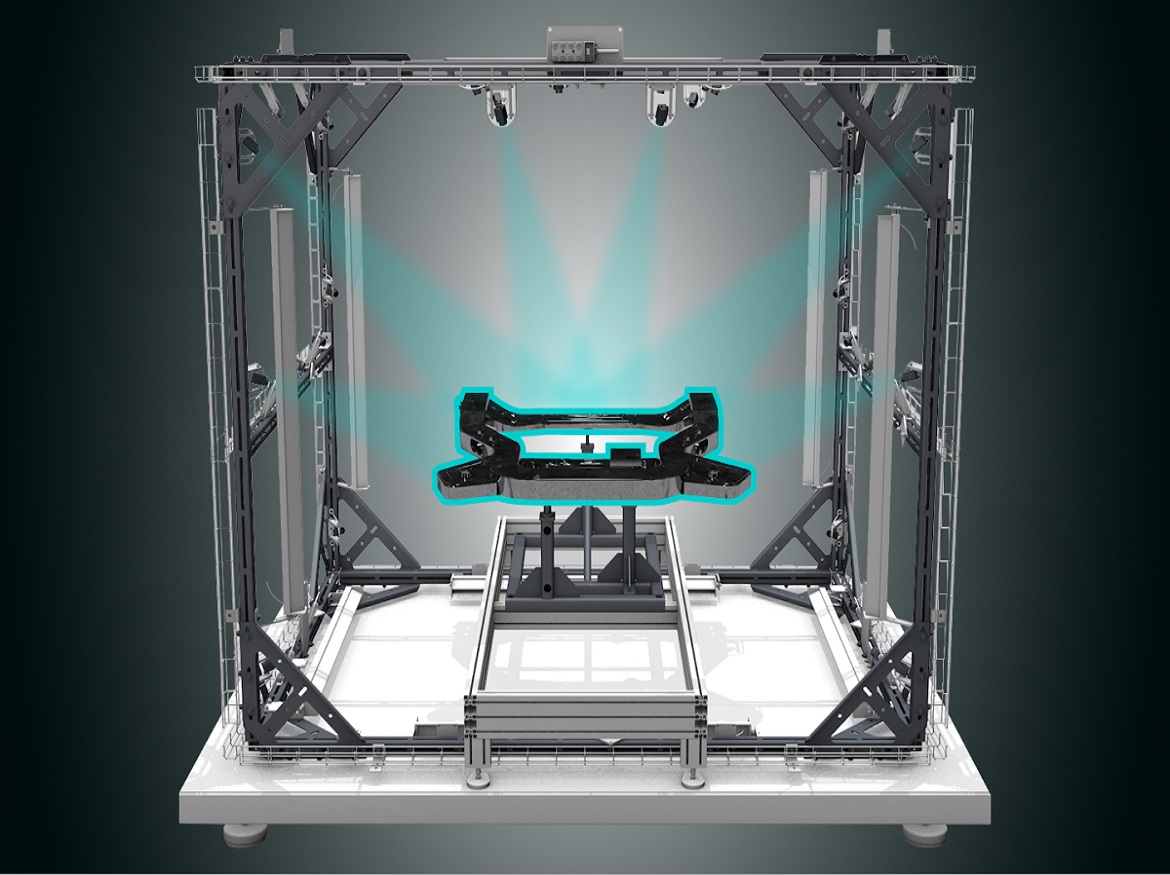
By incorporating robust machine vision and cutting-edge photogrammetric algorithms, the Multi-camera inspection technology overcomes conventional in-line inspection obstacles.
Over the past decade, vision systems used for in-line quality inspection have made remarkable progress, enabling manufacturers to move beyond traditional mechanical and tactile solutions such as CMMs, checking fixtures, and gauges. Nevertheless, the digitization and fundamental transformation of in-line inspection, let alone quality management on a larger scale, remain distant goals.
Manufacturers continue to rely on sampling as 100% in-line inspection is only practical for the most critical features. Moreover, they still lack a detailed, real-time perspective on process capability, resorting to statistical process control (SPC). Quality control and containment procedures continue to be manual and physical, such as with manual sorting. Achieving the tenets of smart manufacturing, such as zero-defect manufacturing, extensive operational flexibility, and rapid responses to quality incidents and change requests, still remains an elusive goal.
However, multi-camera inspection technology offers a novel technological approach that diverges from conventional vision inspection methods. By introducing new capabilities, previously unattainable, it addresses these obstacles. These capabilities include:
- Real-time inspection of hundreds of part features for each manufactured part within production Takt time
- Conducting new inspections on parts that are already shipped by using part digital twins
- Increased operational robustness through self-diagnostics algorithms for measurement accuracy.
These capabilities together enable manufacturers to take a step into the future by, for example:
- Verifying the quality of all features for each part at the moment of production to contain all defective parts, without having to rely on sampling
- Getting real-time feedback on process capability to take immediate corrective actions instead of backtracing through statistical process control
- Conducting sorting activities fully virtually and immediately, thus cutting costs of recalls and airfreight for replacement parts
- Avoiding system downtime and measurement errors even in case of sensor failures
Yet, in order to properly understand how multi-camera technology lives up to its promises, we must first look at the difficulties that traditional technologies encounter.
The Challenge with Conventional Vision Inspection Technologies
At the heart of all vision inspection systems lies photogrammetry, the science of measuring on photographs. Early endeavors to use photogrammetry for vision inspection concentrated on basic issues such as focusing on a specific inspection point and using the principles of photogrammetric triangulation to extract 3D coordinates and perform measurements. Although vision inspection systems have undergone significant advancement since their initial versions, the underlying technological approach has remained largely the same as those early attempts.
Currently, these systems, also known as sensor systems, continue to comprise a camera and an illumination source, typically a laser. Similar to previous applications, they still require the examination of each inspection point individually. This is accomplished either by relocating the sensor from one characteristic to another in the case of robotic sensor systems (or robotic measurement systems, RMS), or by attaching a fixed, specialized sensor to a framework for each feature in fixed sensor systems.
However, relying on basic photogrammetric principles and conducting inspections one by one for each feature with a single sensor come with significant constraints such as:
- Limitations on number of features that can be inspected 100% in-line for each part: Each additional feature to be inspected adds almost linearly to the inspection cycle time, putting a cap on the number of features that can be inspected for each manufactured part. As such, manufacturers still need to rely on sampling.
- Limitations on reliability and robustness: Any sensor contamination and sensor failure translate as measurement error and system downtime
- Limitations on flexibility: Adding new inspection points – or updating the inspection program for engineering change requests – means robot reprogramming or manual additions and adjustments to sensors
By introducing robust machine vision and advanced photogrammetric algorithms, multi-camera inspection technology overcomes these difficulties by fundamentally altering the underlying operational principles. Conventional technologies depend on examining individual points one by one with a single sensor, while multi-camera inspection technology observes the entire part in a matter of seconds and performs all inspections fully digitally by treating the gathered data as a digital twin of the product.
Introducing Multi-Camera Inspection Technology

Multi-camera inspection utilizes a “photography-based” inspection technology that captures photographic data of the entire part, treating the collected images as digital twins of the product. As opposed to triangulating each feature individually on the physical part, all inspections and measurements are carried out directly on the digital images.
Typically, the technology comprises 30 to 90 digital cameras positioned around an inspection chamber. In certain cases, there may even be more than 90 cameras, with each camera monitoring the entire part or large portions of it at once.
Each observation from the multi-camera inspection technology captures views of multiple features simultaneously. Additionally, different cameras provide multiple perspectives of the same features. Collectively, the digital images obtained from each camera deliver a comprehensive view of the entire part.
After collecting the digital images, they are treated as digital twins of the product, and all measurements and presence checks are carried out on them. Robust machine vision algorithms identify the features (i.e., the inspection points) on the images as specified in the inspection program. The photogrammetry algorithms then intersect 3D coordinates from the 2D observations made by the machine vision algorithms.
Multi-camera technology differs from conventional technologies in several ways, including the use of multiple cameras to collect data, gathering data from the entire part rather than individual features, and not depending on the physical part once the data is collected. These differences enable new capabilities that revolutionize quality management and enhance operational resilience. Although each capability merits a thorough examination, which we will conduct in forthcoming articles, we will briefly explore the primary ones here.
Click on the following link Metrologically Speaking to read more such blogs on metrology.


