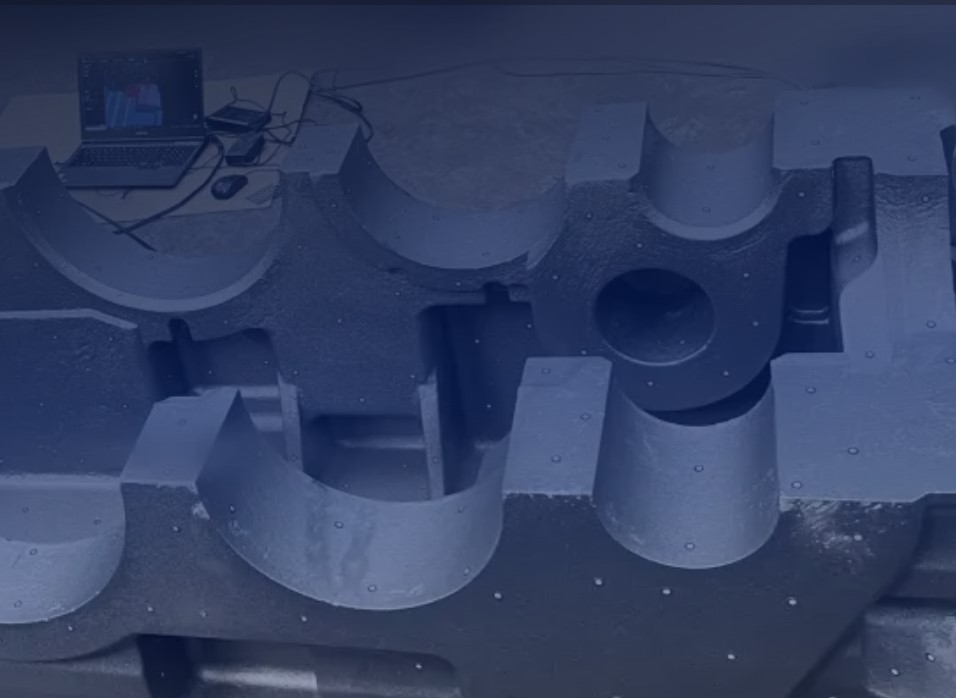
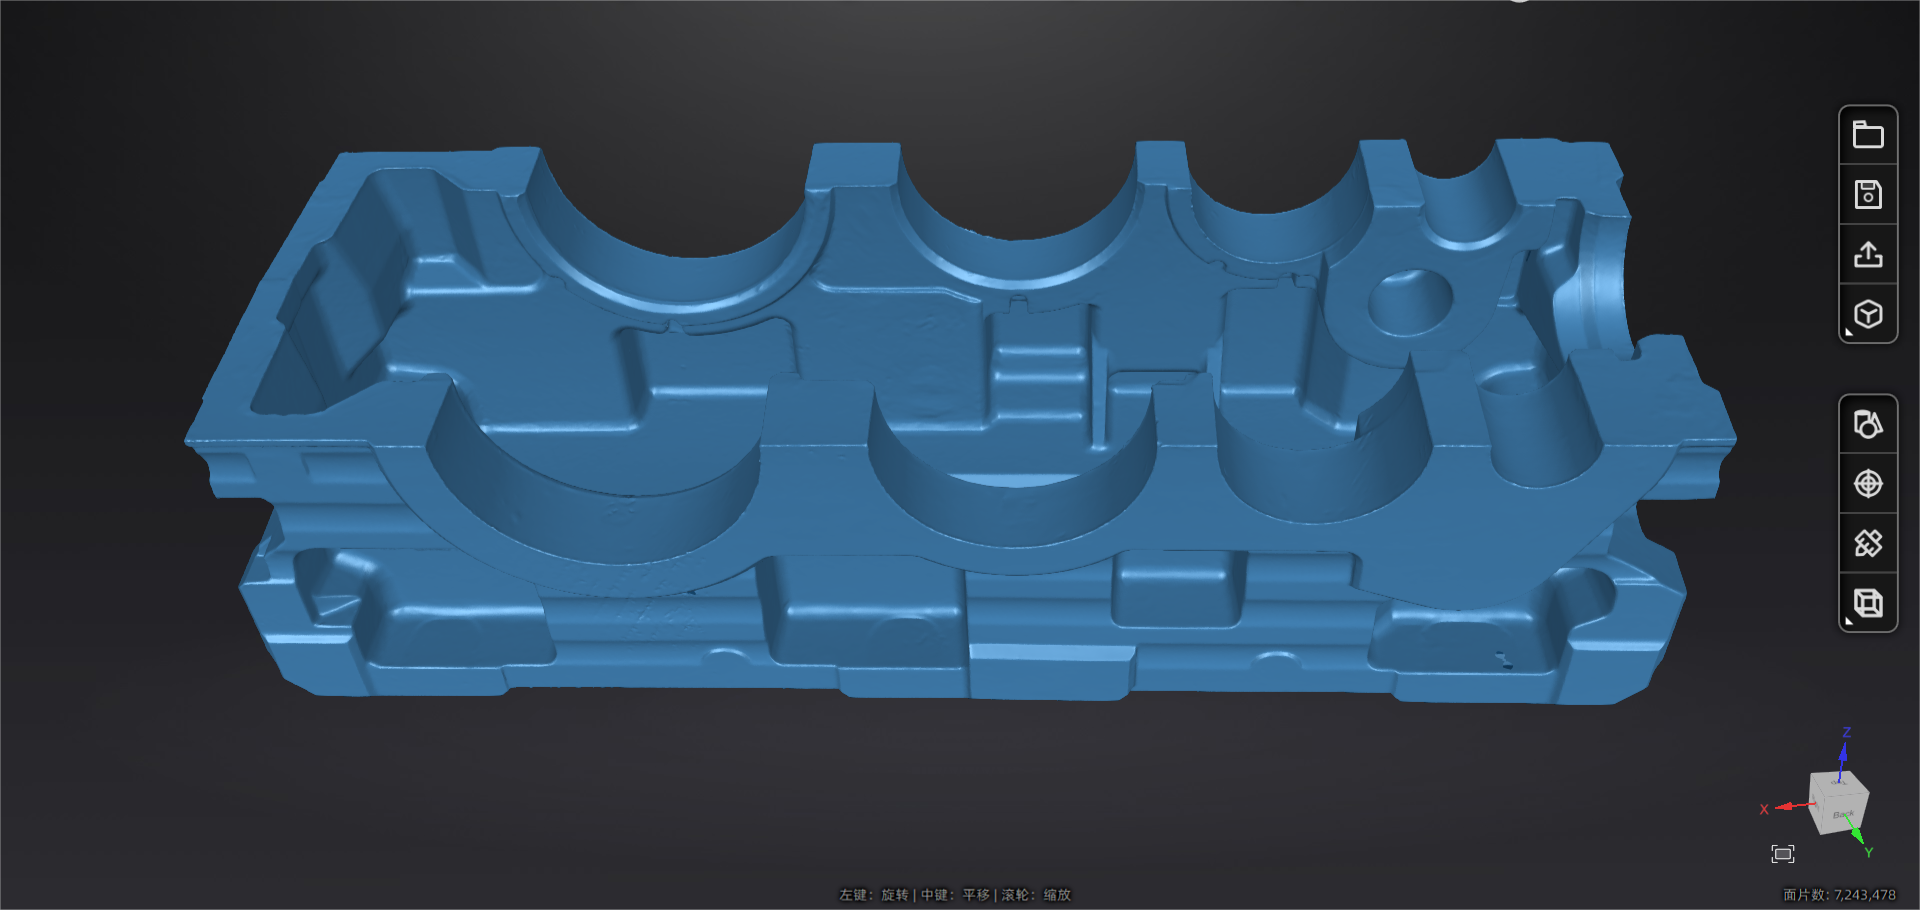
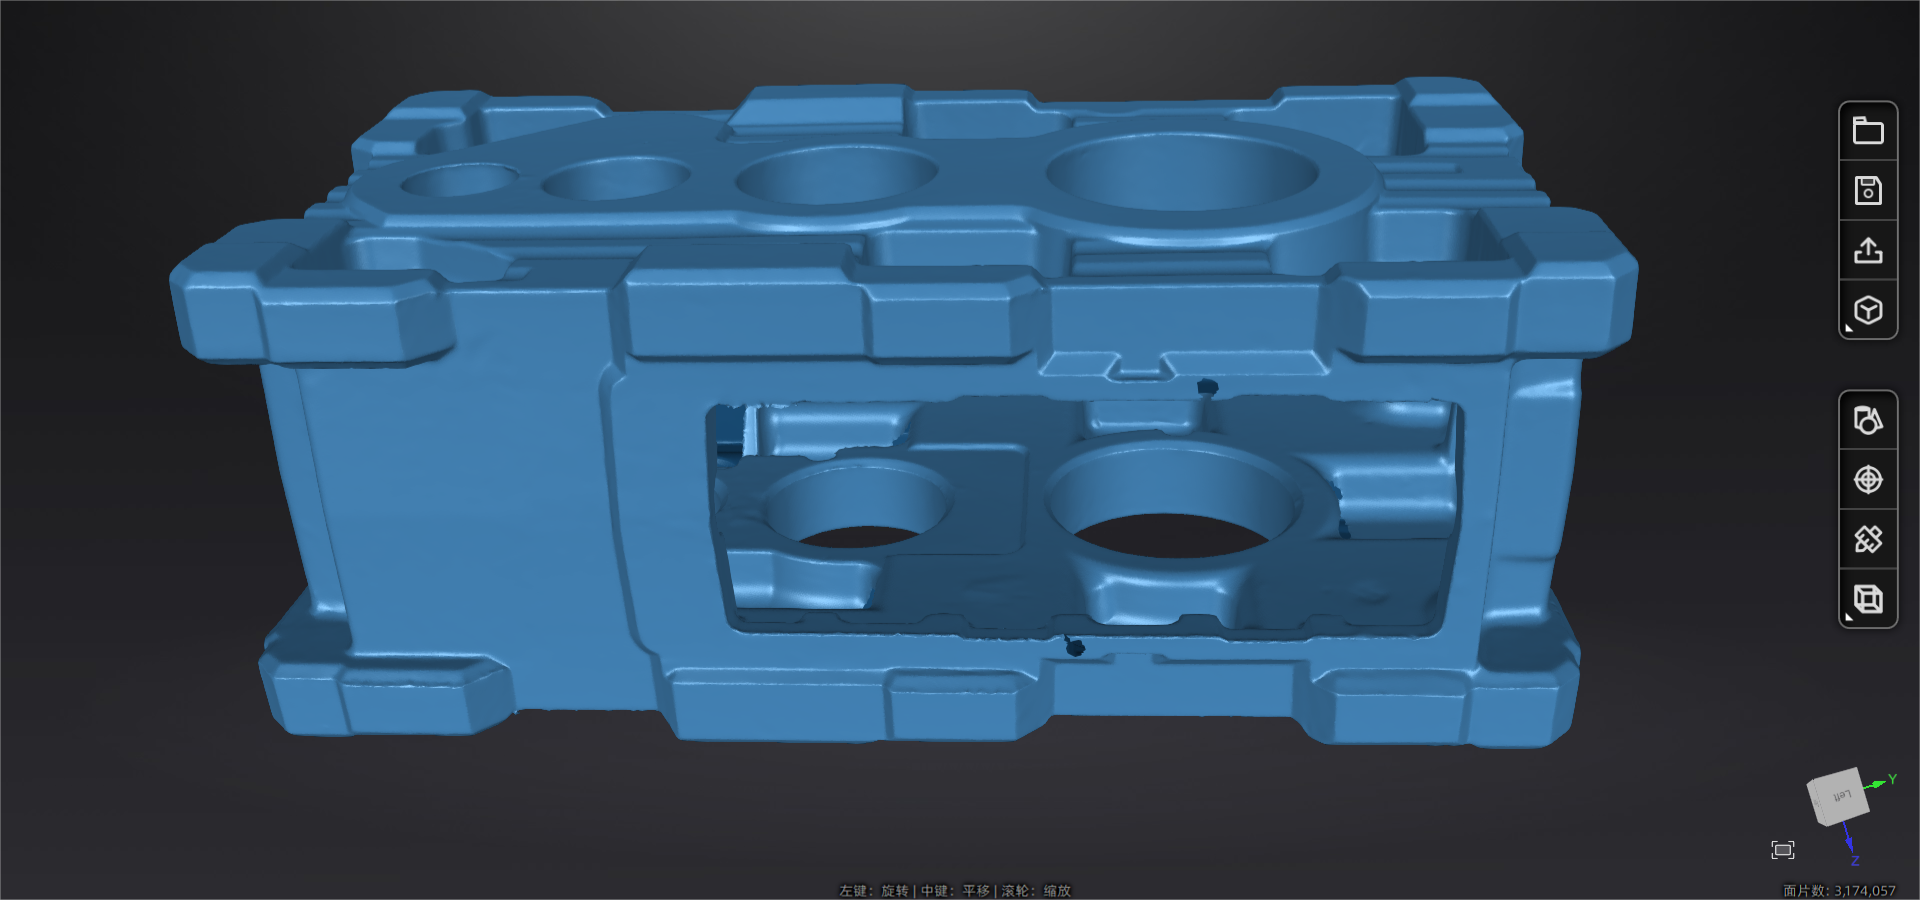
Using the FreeScan UE 3D scanner has significantly increased the efficiency of large reduction gearbox housing inspections, achieving a 30-fold improvement. This case study explores the challenges of traditional inspection methods and how SHINING 3D’s advanced scanning solution addresses these issues, providing faster, more accurate results.
Reduction Gearbox Housing Inspection
Various industries commonly use reduction gearboxes in applications like conveyors, cranes, and automotive systems. The reduction gearbox housing is the outer shell that encases the gears and other internal components of the gearbox. It serves multiple functions:
- Protecting the internal parts from external contaminants, such as dust and moisture.
- Providing structural support to maintain the alignment and position of the gears.
- Reducing friction and wear on the moving parts with lubricants.
Regular inspection of the reduction gearbox housing is crucial for several reasons:
Firstly, ensuring the housing is intact and sealed properly prevents contaminants from entering the gearbox and the lubricant from leaking. This can prevent premature wear and damage to the gears. Secondly, identifying cracks and deformations that could compromise gearbox integrity and cause catastrophic failures. Thirdly, an undamaged housing ensures correct gear alignment, which is vital for efficient and smooth gearbox operation.
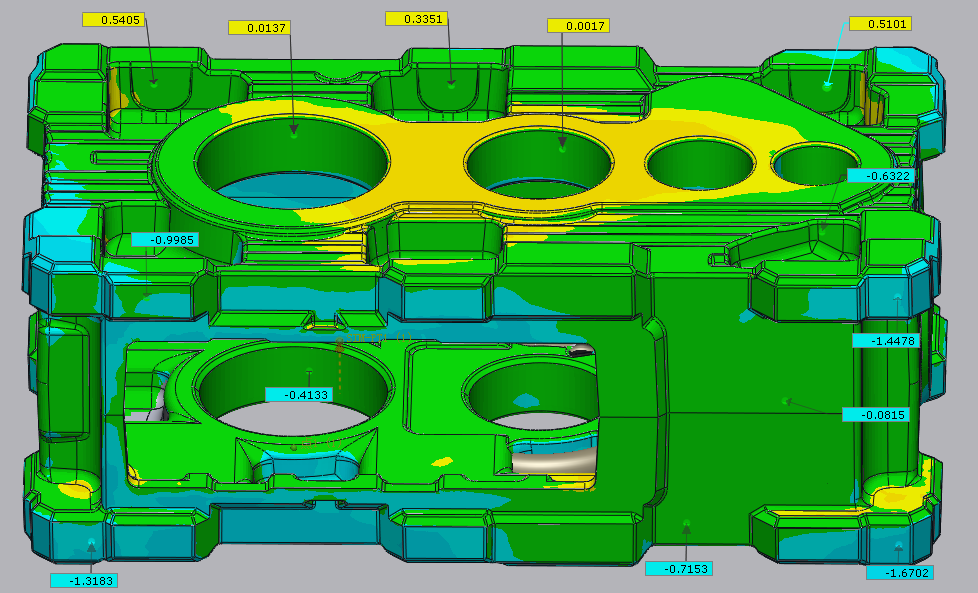
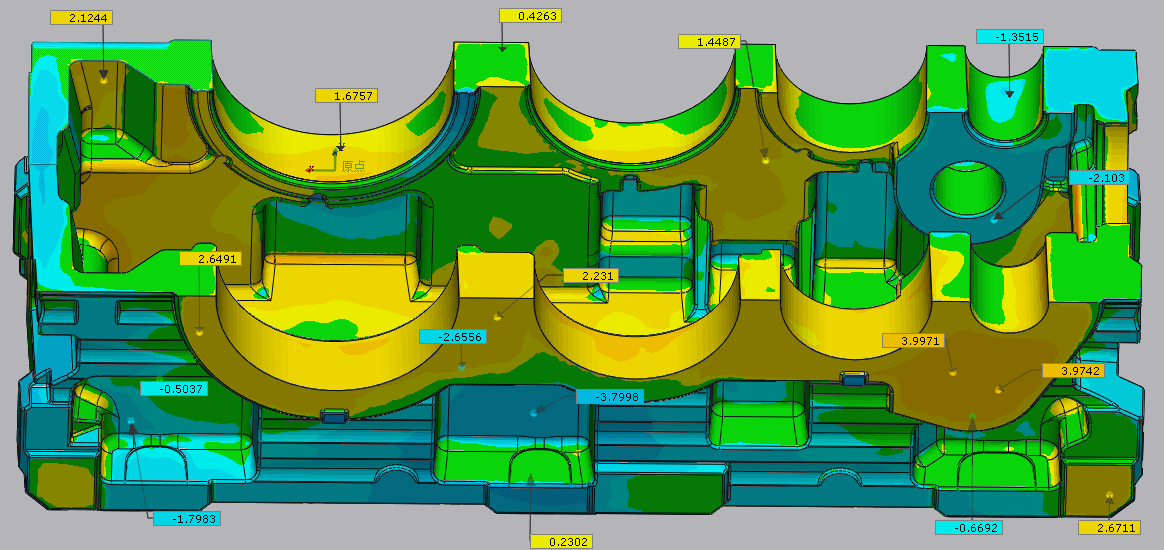
By importing the 3D data of a complete housing into the inspection software, you can quickly inspect the entire component for deformation and measure important dimensions at some assembly points.
Conclusion
In summary, the FreeScan UE has resolved the inefficiencies and inaccuracies of traditional methods. Thus, it has dramatically improved the efficiency of large reduction gearbox housing inspections by 30 times. It completes inspections in under 30 minutes, ensuring precise measurements.


