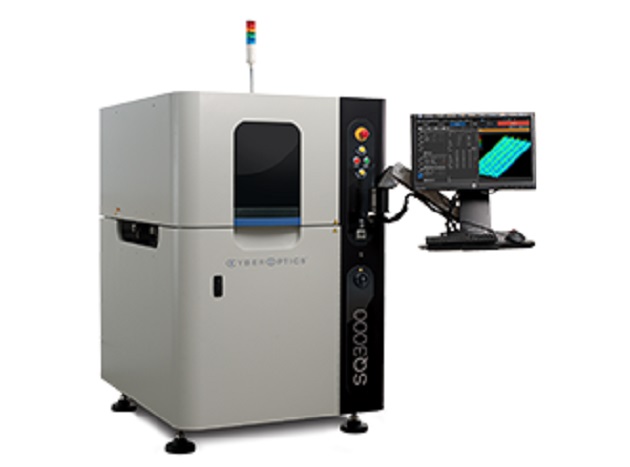
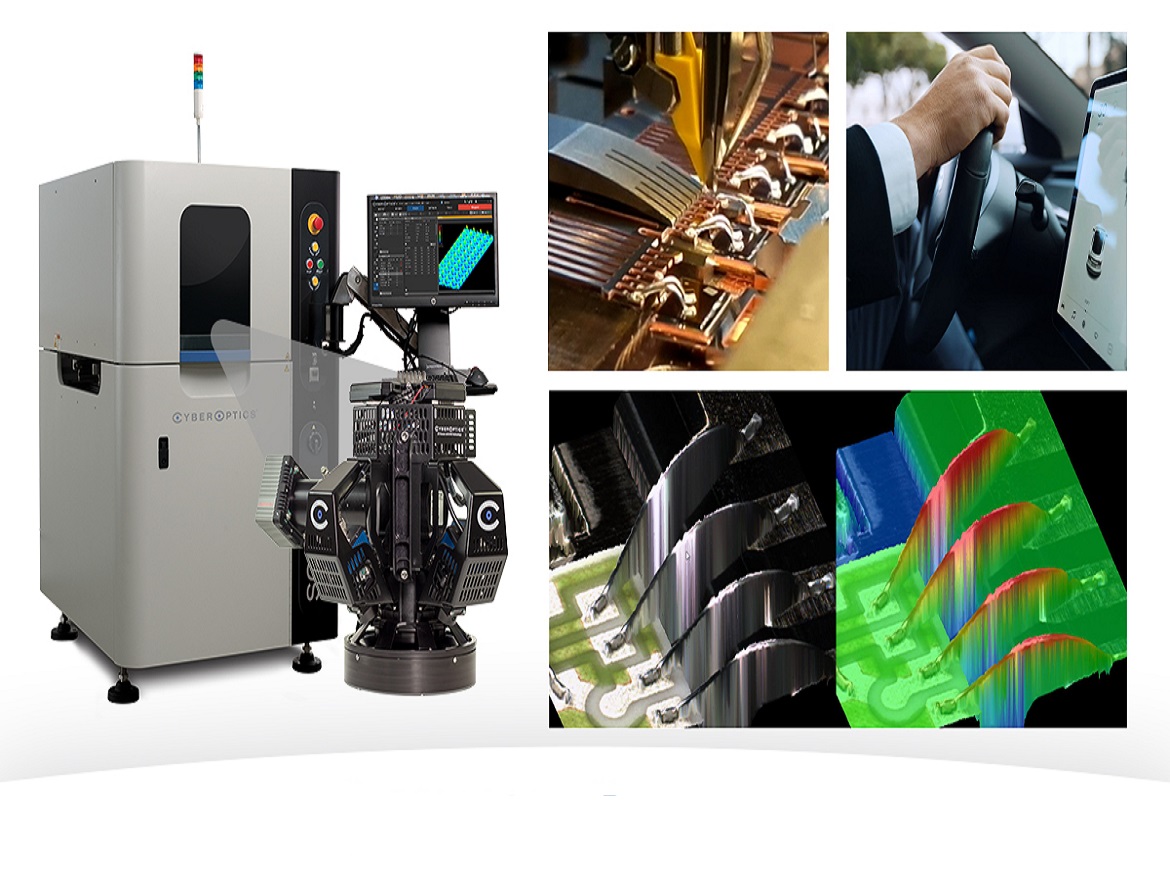
A significant auto supplier chooses the CyberOptics SQ3000TM Multi-Function system for 3D wire bond metrology.
The quantity of electronics in modern automobiles is increasing, which makes it more difficult to verify wire bonds because active components are getting smaller and bonds are being set up in more complicated ways. In order to replace labor-intensive and inaccurate manual inspection techniques for wire bonds and loop heights, CyberOptics addressed the need for an automated solution. A major international automotive supplier chose CyberOptics’ SQ3000 3D Multi-Function system for inspection and metrology over competing systems to meet their demands for wire bonding inspection.
Challenge
In current applications, the wire bonds between semiconductor devices are increasingly becoming microsized. On wire bonds, there may be hundreds of thousands or perhaps a million terminations, some of which may overlap. To form a useful bond shape, these bonds must meet exacting quality standards and termination requirements. For successful operation, the overall look and quality of the wires are essential—any damage might impede the proper operation of ICs and the systems they power. This means that components used in the car industry, like lighting, camera systems, and lidar sensors, all depend on the caliber of wire bonding.
The increase in car electronics has also been accompanied by a need to cram more features and capabilities into a given space, which has led to smaller devices and more difficult inspection. To provide a high-quality image from which a trustworthy measurement may be deduced, greater optical resolution is necessary.
Mistakes in the wire bonding stage of the assembly process could potentially endanger the safety of customers and result in recalls that would cost billions of dollars. Automotive suppliers are responsible for ensuring the functionality and safety of their vehicles. A system to inspect loop height and shape, bonding quality, and bonding position on wires as small as 80 m was required by one customer, a major automotive supplier. This supplier needed a dependable system with cutting-edge inspection capabilities because it serves well-known automakers with high standards for quality and reputation.
Solution
Dual Multi-Reflection SuppressionTM (MRSTM) sensors with excellent speed and resolution were provided by CyberOptics for the SQ3000. A 3D AOI system that could support the company’s in-line speeds wasn’t available before. The provider had previously employed a rival’s products, but gradually switched over to CyberOptics’ options. The customer used the devices from both businesses and discovered that CyberOptics offered the best resolution and the most cutting-edge software and measuring capabilities for their application. For their 3D wire bonding and loop height inspection needs, they now exclusively use CyberOptics.

In addition to comprehensive SMT failure detection, the SQ3000 provides the resolution and software capabilities necessary to apply direct x-y offset and height measurements to wire bonds and loops. The effectiveness of the quality control process is increased because to the coordinate measurement (CMM) capabilities, which allows the customer to undertake many more sophisticated metrology-based measurements.
Additionally, speed and usability are very valuable. CyberCMMTM software enables coordinate measurement attainment in seconds rather than hours, and a simple user interface with multi-touch and 3D image visualization tools reduces operator interaction and training time.
Programming is accelerated by special AI2 (Autonomous Image Interpretation) software, which also gives users the freedom to represent actual production situations in which measurements are not appropriate. AI2 saves operators’ time by performing pixel-by-pixel picture analysis and learning real-world variations autonomously rather than manually modifying parameters or fine-tuning algorithms.
Benefit Summary
The SQ3000 for 3D AOI offers a wide range of capabilities that are ideal for inspecting bond quality as well as loop height and quality. With industry-leading Multi-Reflection Suppression (MRS) sensor technology, which methodically recognizes and rejects reflections created by shining components, advanced optical engineering provides ultra-high resolution at production rates.
Easy-to-use Direct 3D measurements and SMT failure detection are both provided by CyberCMM software, which also shortens training and operation times. CyberOptics’ SQ3000 Multi-Function system for AOI, SPI, and CMM has shown a considerable ROI and enhanced the auto supplier’s yields, procedures, as well as its reliability among customers. It does this with superior measurements, fewer false failures, and quick implementation.
Credits: Cyberoptics
Click on the following link Metrologically Speaking to read more such case studies about the Metrology Industry.


