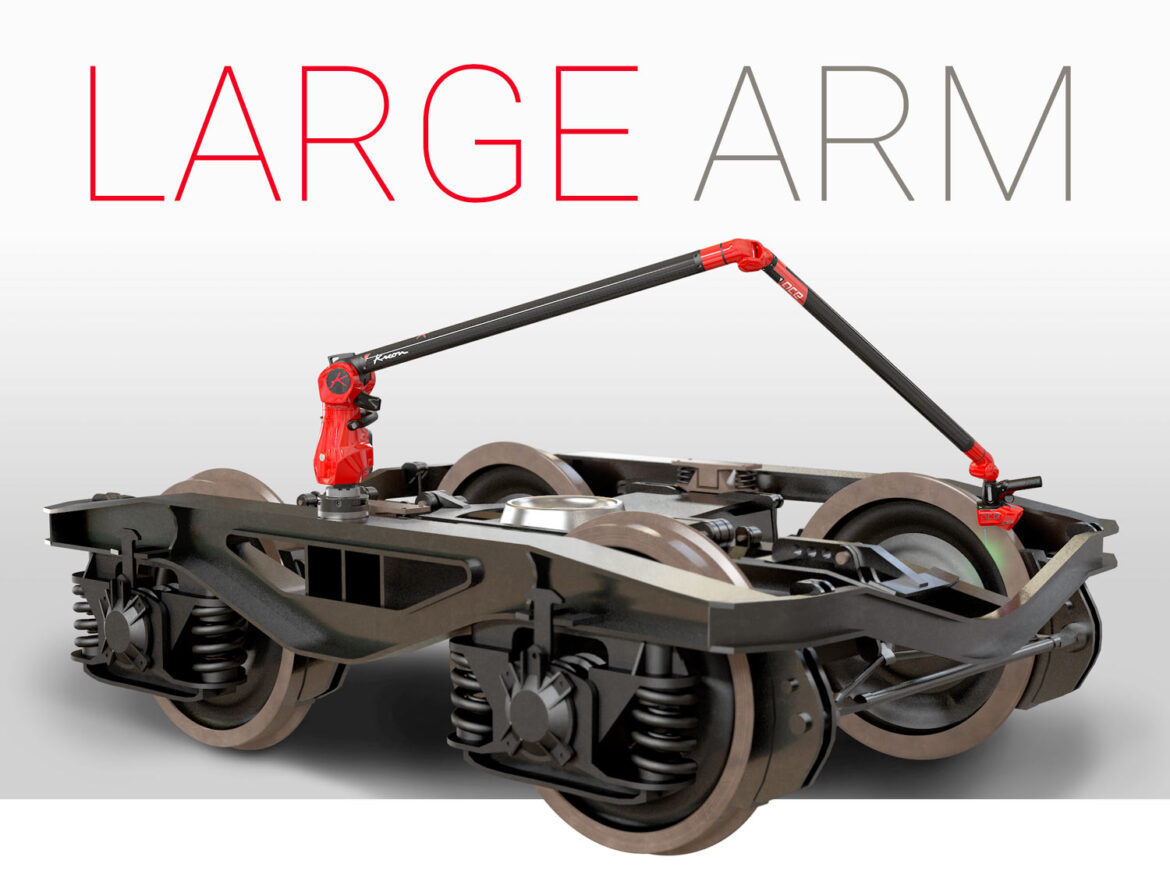
Kreon recently launched an Ace measuring arm with an exceptionally large working volume of 5 m to round off its existing range of large size measuring arms. The advantages offered by these arms are numerous and respond effectively to your needs when measuring large parts.
1 – Measuring large parts up to 5 m
Kreon measuring arms are capable of measuring up to 5 m. Their accuracy is maintained throughout their whole working volume thanks to their superior mechanical rigidity. Large measuring arms can be used in all industries working with large parts, such as maritime, rail, aviation, road transport and construction.
2 – Speeding up inspections
Large measuring arms are equally manoeuvrable and lightweight, allowing for very quick measurements. With their laser line of 200 mm and high acquisition frequency, Skyline Wide 3D scanners are able to scan large surfaces in record time. Whatever its size, the ease of use offered by an Ace arm also means operators can work without tiring, thus guaranteeing increased productivity.
3 – During production inspections
Its mobility and manoeuvrability allow the Kreon measuring arm to measure parts inside machine tools, in inaccessible areas in large assemblies, on machines to check tool wear without the need to remove them, and even in hollow forms such as barrels or tanks. Furthermore, it is almost impossible for systems using a tracker to carry out inspection inside large objects because it is difficult to ensure the necessary optical contact.
4 – Avoiding moving the arm while measuring the same part (leapfrog technique)
In order to measure the whole of a part using a small arm, it may be necessary to place the arm in different positions. Large size arms are not restricted in this respect, so inspections can be carried out in a single operation. This means measurements can be taken faster, while they are also more accurate and consistent and guarantee more reliable results.
5 – No need to move the part to measure it
Perhaps the part to be measured is too heavy, too fragile, could deform or it is impossible to move it without posing a risk or generating unreasonable costs. Mounted on a wheeled tripod, the Kreon measuring arm can be easily moved close to the part, allowing a full inspection to be carried out in perfect safety. The arm also has a magnetic base so it can be placed directly on ferrous parts.
In probing mode, the arm operates using WiFi and has an 8-hour battery life, avoiding those annoying cables in the workshop.
6 – Easily switch from scanning to probing depending on the areas to be measured
A probe can be mounted systematically under a Kreon scanner, allowing you to switch rapidly from scanning to probing according to the specific features of the areas to be inspected. An exact position or geometry will tend to be examined by a probe, while a more general deformation of a part will be scanned. The accuracy of Ace measuring arms allow faults to be displayed that are impossible to detect using other means of measurement.
7 – Using a tool that can be set up quickly
Ace measuring arms are immediately ready for use. In contrast to certain other systems, there is no warm-up time necessary. The arm has temperature compensation and can operate within a wide range of temperatures in the workshop. In order to be operational, there is no longer any need to laboriously paste targets on the parts to be inspected. The measuring arm is a compact system: it is not spread around the workshop like certain composite systems with a laser or optical sight and does not need a secure measuring area to be created, which takes up space and obstructs personnel moving around the workshop.
8 – Scanning parts with varied shapes and materials
The arm can inspect any type of part: welded structures, large assemblies, large parts in foundries or machine shops… Irrespective of the material, surface details will be scanned with great accuracy thanks to the high precision ensured by the blue laser and the very high scanning resolution. Contactless measuring of large parts that may be deformed through contact proves invaluable since it avoids this risk.
9 – Using a competitive system
The large Kreon measuring arm offers a very competitive alternative to systems using a tracker, without sacrificing accuracy. In addition, the Kreon Zenith software, which is offered free of charge when purchasing an Ace measuring arm, will satisfy your need for simple measurements carried out by probing and scanning, at no additional cost. The Ace arm is a very versatile tool which will prove its worth in your workshops, raising productivity and your quality of production. No matter what your application, the Kreon teams are at your service and can answer all your questions and advise you on the best configuration for your needs.


