
What is a georeferenced 3D model?
A georeferenced 3D model is a digital recreation of reality where the coordinate system of the model is related to a real-world system of geographic coordinates. The coordinates of the real world are transformed so that the digital replica can be analyzed and measured at a scale that is true to reality.
This is incredibly useful as it means that the 3D model can be used to analyze and inspect its real-world counterpart – whether that is a mine, a wind turbine pillar, or a building.
The benefits of a georeferenced 3D model include:
- Informed decision making
- Damage identification and assessment
- Locate and measure areas of interest
- Quantify material, e.g. stockpile volumes
- Merge multiple 3D models or point clouds by aligning common points
How to create a georeferenced 3D model with the Elios 3
The Elios 3, our specialized confined space drone, is capable of gathering georeferenced data that can be converted into a 3D model. This is possible through the drone using a LiDAR scanner to record millions of points as the drone flies around an area, which is then processed to create a “cloud” of these points.
If data collection with the Elios 3 is done correctly, these point clouds can be georeferenced and closely resemble the real world measurements, distances, and features.
Step-by-step guide
STEP 1: SITE PREPARATION
The georeferencing process starts as soon as you arrive at the scan site. Have a look around and ensure there are no risks to your flight (for example, excessive water or low-hanging live cables).
If not already in place, you should now set up your retro-reflective targets. If it is a location that is frequently surveyed, these targets may already be drilled into the wall or permanently fixed in place. The Elios 3 Surveying Payload package includes retroreflective targets but alternatively, they can be bought separately. These targets will be used in processing to georeference the data. You should spread them out around the target area and place a minimum of 4 targets around the area you will be flying – be it a mine or pipe. The positioning should be at various altitudes and it is best to avoid symmetrical placements. The ideal number of targets recommended by the Flyability Training team is 6 or more to avoid a possible bad scan of the target or potential errors by the surveyor.
STEP 2: GEOREFERENCING THE TARGETS
When the Elios 3 is in flight, it will capture the retroreflective targets. If those targets are georeferenced, that information can then be used in processing to tell the software what coordinate system to use.
You can use a total station to georeference the targets to a local and global coordinate system. This enables you to capture their absolute positions, and you should make sure that you use XYZ arbitrary coordinates (the XYZ order is particularly important for streamlining processing). Once you have recorded the absolute positions of the retroreflective targets, you can export this data as a CSV file which can be used in processing.
Here you can see a surveyor georeferencing the retroreflective targets that come with the Flyability Surveying Payload
STEP 3: TAKING FLIGHT
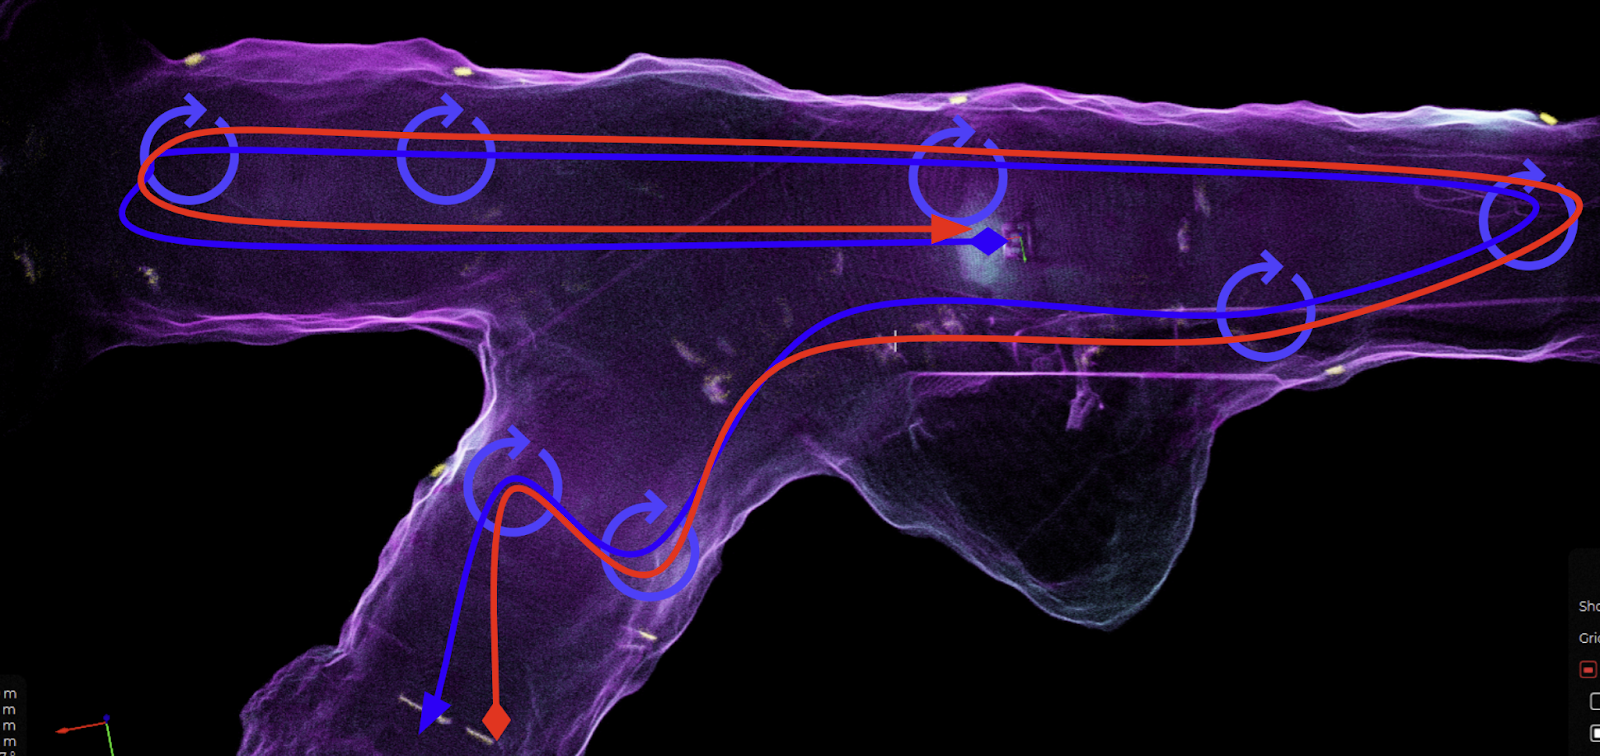
Now we can fly the drone! Be aware that although the Elios 3 is collision tolerant when you want to georeference data it is especially important to avoid collisions or crashes. Fly in the mapping mode with assist turned on, rather than the sport mode, and make sure to do the 15-second calibration prior to take off.
Once airborne, you should guide the drone to do a 360-degree rotation over the take-off area before moving on. Each time you pass a retroreflective target, make sure you are within 1-3 meters of the item and pilot the drone so it does another 360-degree rotation. Ideally, you should also make sure the flight trajectory is as smooth as possible, avoiding erratic inputs or behavior (such as a collision).
When you are ready to land, ensure the drone returns to the take-off point and completes a 360-degree spin again before landing. It is important to land within 1 meter of the take-off location. By landing close to it, and completing the 360-degree rotation, you will “close the loop” of the flight, which makes it easier for the drone’s data to be processed.
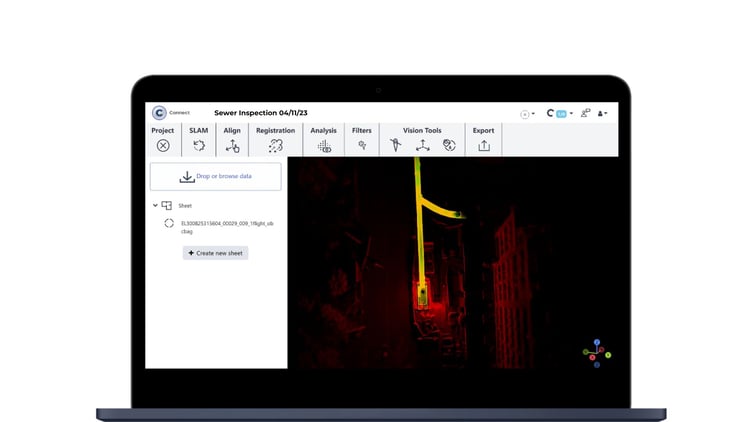
STEP 4: PROCESSING THE DATA Now that the flight is done and the drone is safely back in its box, you can export the data via FlyAware as normal. The post-flight processing will be done with FARO Connect.
FARO Connect has several pre-settings that can streamline processing data for an Elios 3. This starts during importation, where you select the Flyability processing template. Then, you can tell the software what type of environment you were surveying (such as tunnels, confined spaces, stockpiles, etc). This helps the software’s processing algorithms be tailored to your work.
The next step is registration, where you ensure the software knows what the coordinates of the retroreflective targets are. This will then automate the processing so that when the software analyzes the targets, it can use them to automatically localize and georeference the rest of the 3D model.
More details on these steps are available in Flyability’s Training material for FARO Connect, and if you follow this guide, you’ll be able to create nicely densified, filtered, and georeferenced *.las files.
What’s next: Uses for 3D models
Now that your 3D model has been georeferenced, you can use it for analysis or you can export it as a .las file. It could be used in CAD, or in specialized software that deals with georeferenced las files. This can include in-house asset management software or similar examples.
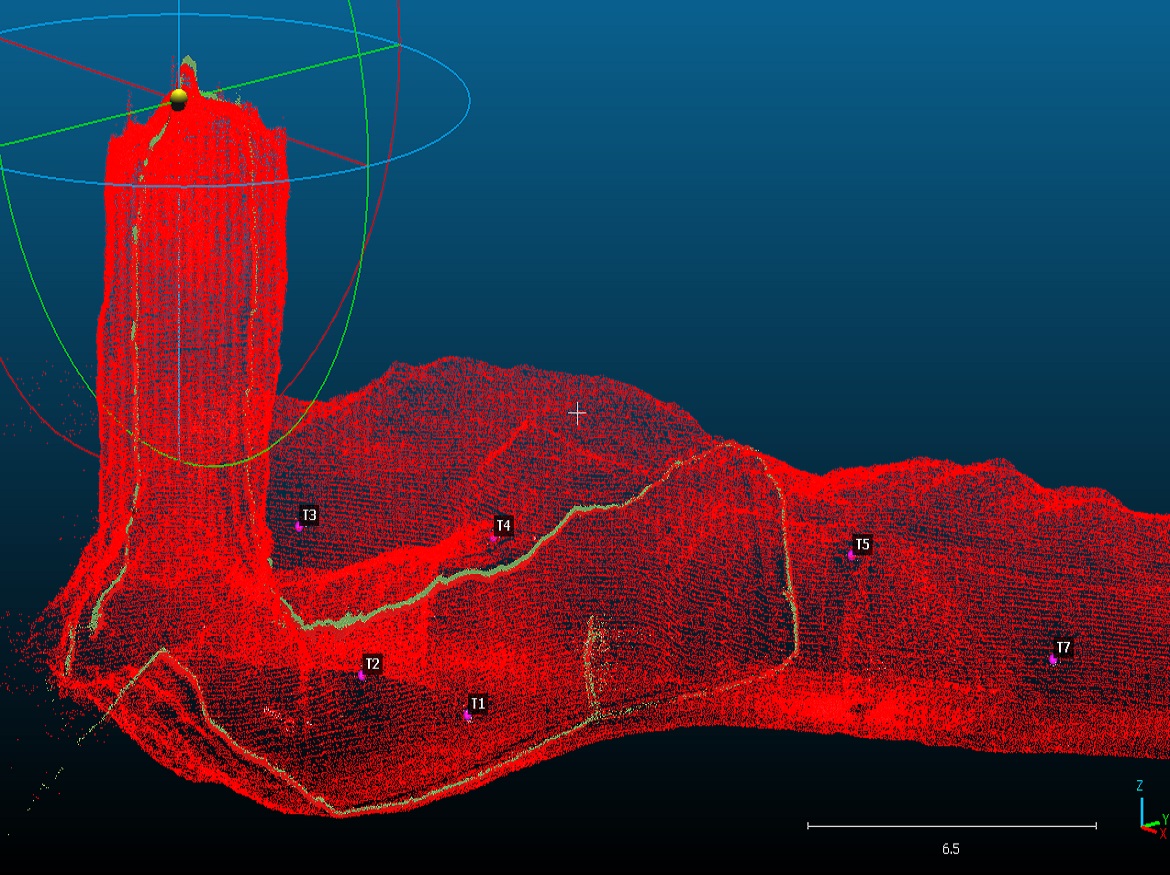
Here are two different points clouds that were merged through georeferencing by using common key points (targets)
Georeferenced 3D models are a key tool for surveyors, and can accurately inform teams looking to perform maintenance work or plan new asset installations or management. The value of these point clouds is spread across a huge variety of industries. You can see some examples here:
- Improving sewer management with safer drone inspections
- Identifying an orepass hangup with the Elios 3
- Measuring stockpiles with a drone
Georeferenced 3D models are just one of the multiple outputs possible with the Elios 3. Now, you can learn how to georeference your point clouds with the Elios 3 and FARO Connect from the Flyability Training Team. They will teach you the best practices of advanced data processing, automatically or manually aligning and merging flights, and automating georeferencing.
Credits: Flyability
Click on the following link Metrologically Speaking to read more such blogs about the Metrology Industry.