Companies in an increasingly competitive global manufacturing industry are looking to upgrade their technology to improve productivity and product quality. FABTEK Vietnam took a quantum leap forward in product inspection and reverse engineering by introducing SHINING 3D’s FreeScan 3D scanner. This case study looks at how FABTEK used the solution to optimize its workflow and increase its competitiveness in the market.
About FABTEK
FABTEK’s manufacturing business has been operating in Vietnam since 2003. The company manufactures quality products from steel, stainless steel, and aluminium for a diversified range of industries worldwide. They make products in medicine, construction, agriculture, automotive, mining, plus many more industries. FABTEK offers customers a high level of service from product development to client-specific branding and packaging.
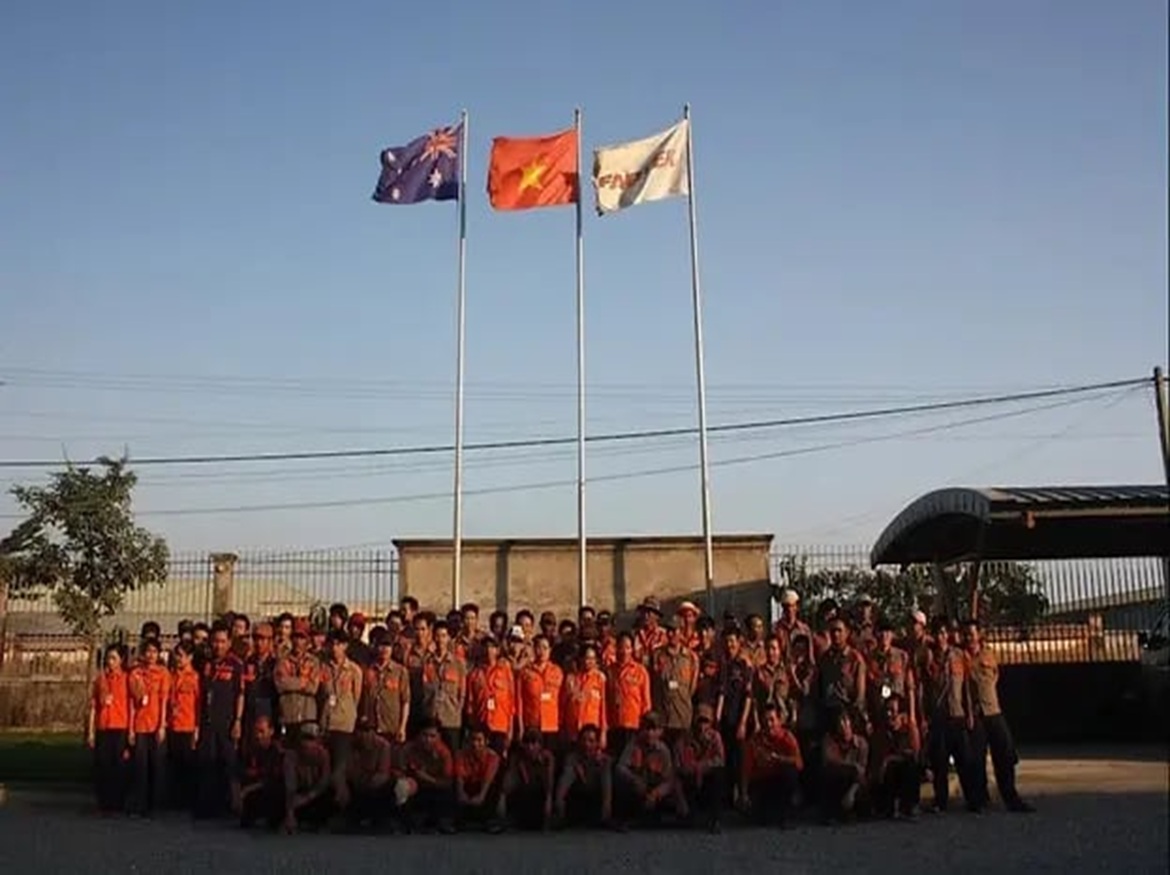
FABTEK employees
Challenges of Traditional Inspection Methods
Before implementing a 3D scanning solution, FABTEK’s quality control processes heavily relied on tools like calipers, micrometers, and gauges. These tools presented several challenges:
- Time-Consuming and Inefficient
A complete inspection of a single component could take 4 to 5 hours, especially for complex or large-scale parts.
- Inconsistent Accuracy
Manual measurements were susceptible to human error and environmental factors, resulting in varying levels of accuracy.
- Inability to Measure Complex Geometries
Curved or freeform surfaces—common in automotive and machinery parts—were virtually impossible to measure manually.
- Delayed Error Detection
Hidden flaws often remained unnoticed until assembly or post-delivery, affecting customer satisfaction and increasing rework costs.
Phan Van Chi, a FABTEK’s QA department member, noted: “In the past, inspections took hours and were very labor-intensive. We sometimes discovered issues too late, which delayed delivery and affected our reputation.”
Transformative Impact of FreeScan 3D Scanner
To overcome these inefficiencies, FABTEK deployed SHINING 3D’s FreeScan laser 3D scanner along with Geomagic Control X and Geomagic Design X. After initial training and support from a local reseller, the new system was fully integrated into FABTEK’s operations.
.webp)
.webp)
The member of QA department is scanning a large scale part

Discover the product you’re looking for
– Full specifications
– Using scenarios
– Key features
– Even comes with a bundle!
- Over 50% Reduction in Inspection Time
Inspection tasks that took 4~5 hours can now be completed in just 2~3 hours using the FreeScan scanner, freeing up valuable labor resources and improving factory throughput.
“Large mechanical components were extremely difficult to measure manually. Now, with FreeScan scanner, it’s quick and highly accurate,” says FABTEK’s QA engineer.
- High Precision and Repeatability
With metrology-grade scanning accuracy, the FreeScan scanner enables accurate capture of complex geometries, enhancing measurement reliability and quality control.
- Early Defect Detection for Faster Delivery
The ability to quickly scan and identify flaws helps the team correct issues before final delivery, especially valuable for rush orders or high-priority clients.
.webp?width=1920&height=1080&name=3D%20Inspection%20with%20Geomagic%20Control%20X(1).webp)
3D Inspection with Geomagic Control X
Conclusion
For FABTEK, adopting a 3D scanner wasn’t just about keeping up with industry trends but solving real, day-to-day production challenges. From the first scan, the impact was clear: faster inspections, higher accuracy, and an immediate improvement in how their team approached quality control and reverse engineering tasks.


