This content was originally written and published by the Vici Vision team on their website. Reproduced here from this link.
A leading supplier of complex components and sub-assemblies to the aerospace and defense sectors, says an investment in optical measuring solutions technology has ‘revolutionised’ its part inspection capabilities.
Benham Precision Engineering’s 22 machining centres work around the clock to create parts such as manifolds, bodies, castings and casings. Products that are critical to safety, even the smallest of errors cannot be tolerated.
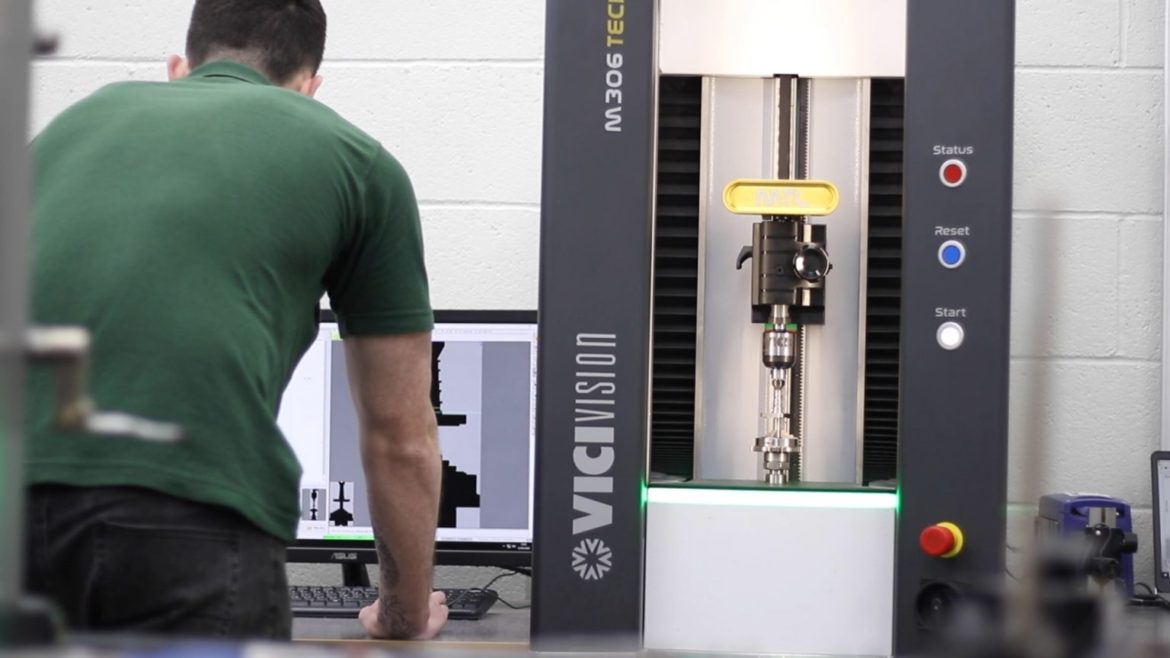
Across its two sites in Southampton, the company is now running three non-contact metrology systems supplied by VICIVISION UK. Programme Manager Joe Benham says they have taken Benham’s quality control processes to a whole new level.

He said: “Speed, repeatability and accuracy were three things we were looking for as a business. Obviously on-time delivery to our customers is absolutely essential, as well as the quality of the parts.
“We need to make sure that our customers are able to satisfy their demand requirements, but also maintaining the fact that a lot of our product is critical to flight and safety and therefore the quality needs to be absolutely 100 percent.
“What VICIVISION has provided is a reliable, repeatable, accurate measurement solution. We work down to sub 10-micron tolerances on our machine tools and we’re able to reliably repeat those processes using the equipment around us and the technology to verify what we’re doing.
“The VICIVISION machines have become evident as tools for reducing different methods of verification. So previously where we would be utilising micrometers, height gauges and shadowgraphs to check components, now we’re capturing all of that within 30 seconds to a minute on a VICIVISION machine.
“It’s completely revolutionized the way that we go about inspecting parts within Benham.”
Speed, accuracy, repeatability:
Derbyshire-based VICIVISION UK’s world-leading optical measuring solutions cater specifically for turned, ground, and cylindrical parts. Using a combination of advanced video camera technology and light projection. The machines automatically deliver detailed and consistent results on even the most complex features in just seconds, down to the last minute detail.

Having installed an MTL1, Benham now also runs two systems from VICIVISION’s flagship Techno range. Thanks to their wide measuring fields, impressive load capacities, high-resolution capabilities, and intuitive software.
The M306 and M309 are both suited to current and future manufacturing demands. The improvements they bring to quality control processes contribute to a significant reduction in rejects and rework. Immediately increasing throughput and positively impacting profitability.

Mr. Benham said: “We could see from the first moment that we utilized the VICIVISION machine within the department that the rate we were inspecting work increased rapidly.
“We’ve definitely seen reduced lead times to our customers, which has given us an advantage over other businesses within the sector in terms of enabling us to get the product to our customer, to their lines, quickly and efficiently.
“Going forward as a business we want to very much focus on productivity through technology, and we believe the use of optical measurement equipment to assist in that will be key.
“Having seen the capability of the VICIVISION equipment we knew it was a sound investment for Benham and we knew that the investment would be paid back.
“It’s enabled the business to move forward and up another level.”

To know more, please check Vici Vision.


