his content was originally written and published by the Olympus team on their website. Reproduced here from this link.
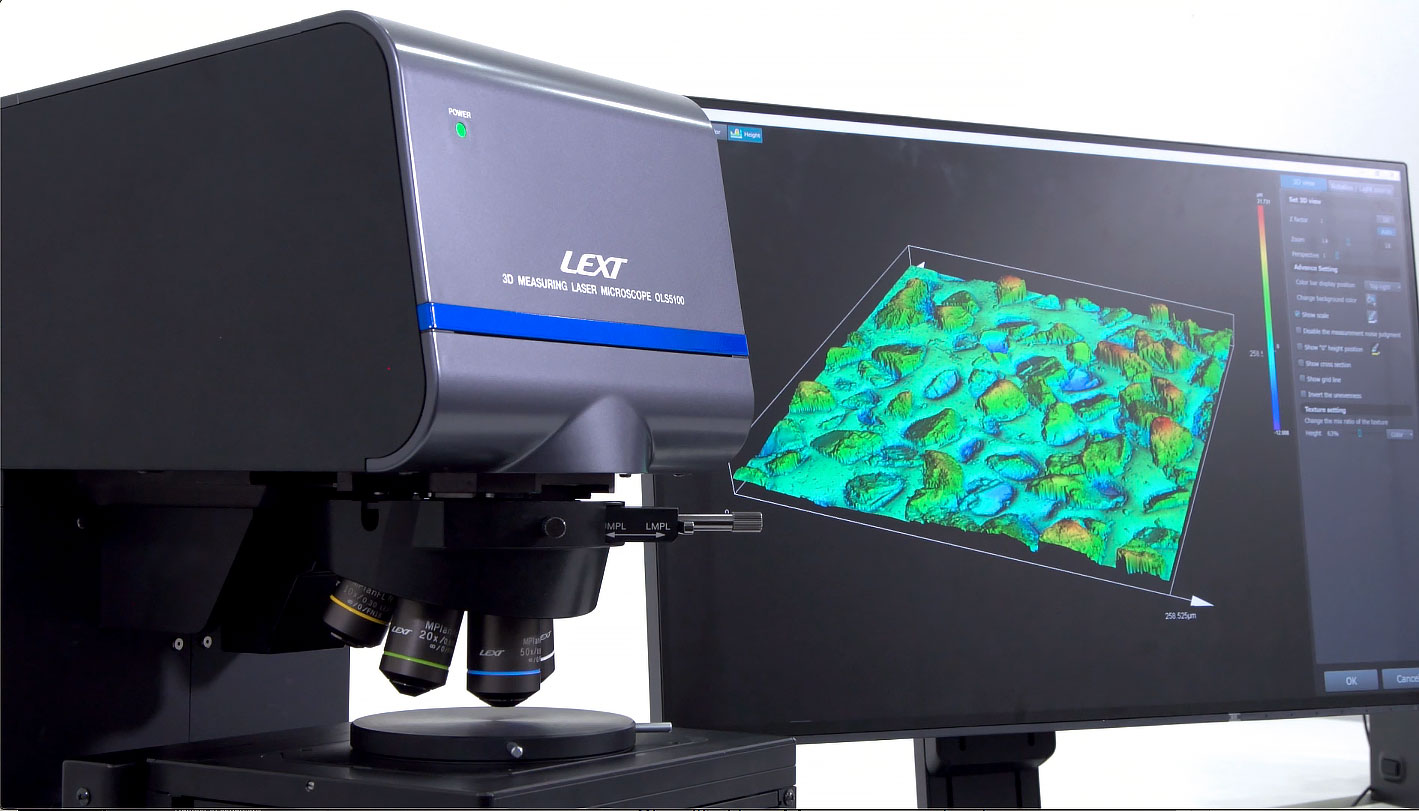
The LEXT™ OLS5100 laser scanning microscope combines exceptional accuracy and optical performance with smart tools that make the system easy to use. The tasks of precisely measuring shape and surface roughness at the submicron level are fast and efficient, simplifying your workflow and delivering high-quality data you can trust.
Built for failure analysis and material engineering research, the LEXT OLS5100 laser microscope combines exceptional measurement accuracy and optical performance with smart tools that make the microscope easy to use. Precisely measure shape and surface roughness at the submicron level quickly and efficiently to simplify your workflow with data you can trust.
Guaranteed Measurement Accuracy
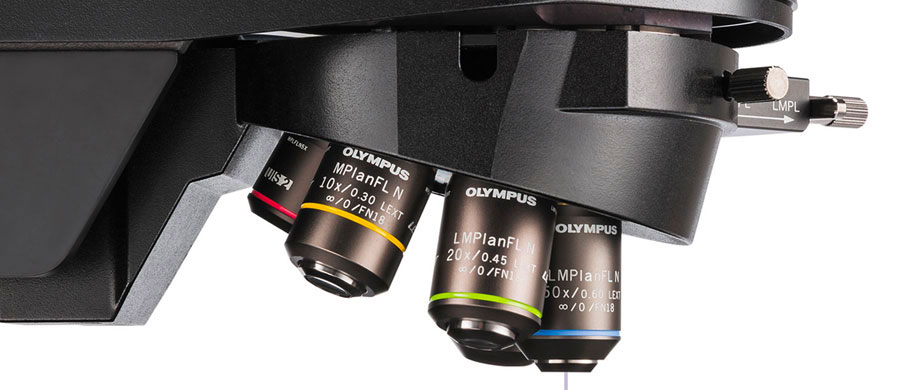
LEXT OLS5100 microscope objectives deliver highly accurate measurement data. Paired with the Smart Lens Advisor, you can acquire accurate data you can be confident in.
- Guaranteed measurement accuracy*
- Renowned Olympus optics reduce aberration to capture the correct shape of your sample throughout the entire field of view
- Smart Lens Advisor helps you choose the right objective lens for your roughness measurement.
LEXT OLS5100 Software
Simple Material Engineering and Failure Analysis Experiment Management
Managing experiment conditions when testing new materials is complicated, so the LEXT OLS5100 laser microscope’s Smart Experiment Manager simplifies the process by automating key steps, such as creating the experiment plan.
- Complete your measurement tasks up to 30% faster*
- Scan plan is autopopulated with data as it’s acquired
- Don’t waste time transcribing data—the software does it for you
*Compared with OLS5000

Automatic Data Input
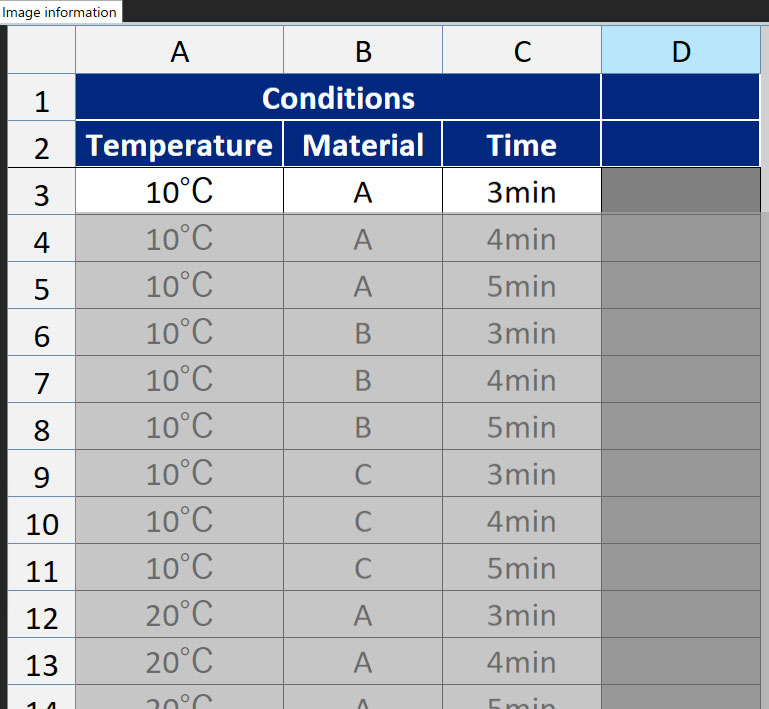
The software automatically adds values to your experiment plan matrix to minimize the chance of input errors. In just a couple of clicks, you can export your data to an Excel spreadsheet.

Easy Experiment Condition Data Organization
You can click on each cell in the experiment plan, and the software will automatically generate a file name that contains the evaluation conditions for easy record keeping. Each file contains the associated images and data.
Comprehensive Data Capture
The microscope scans your sample according to the experiment plan generated by the software so you know you’re not missing data or redoing work.

Find Data Problems Easily
A color map helps you understand your experiment data and verify that no data are missing and there are no errors. If there’s a problem, you can find and fix it earlier in the process.

Choose the Right Objective Lens
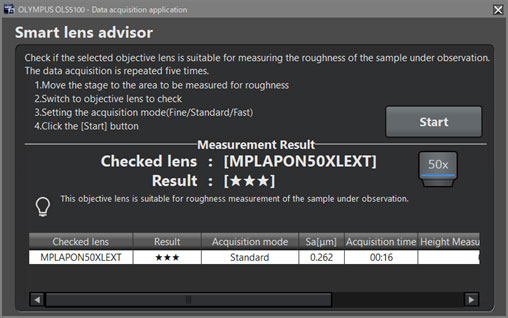
The Smart Lens Advisor helps you choose the right objective lens for your surface roughness measurement application. Enter some basic information—such as the field of view and the lens you want to use—and the Advisor will tell you how suitable it is for the application.
Easy Data Acquisition
Experienced and novice users alike can acquire data quickly and easily with the Smart Scan II feature. Place the sample on the stage, press the start button, and the microscope does the rest.
To know more, please check Olympus.


