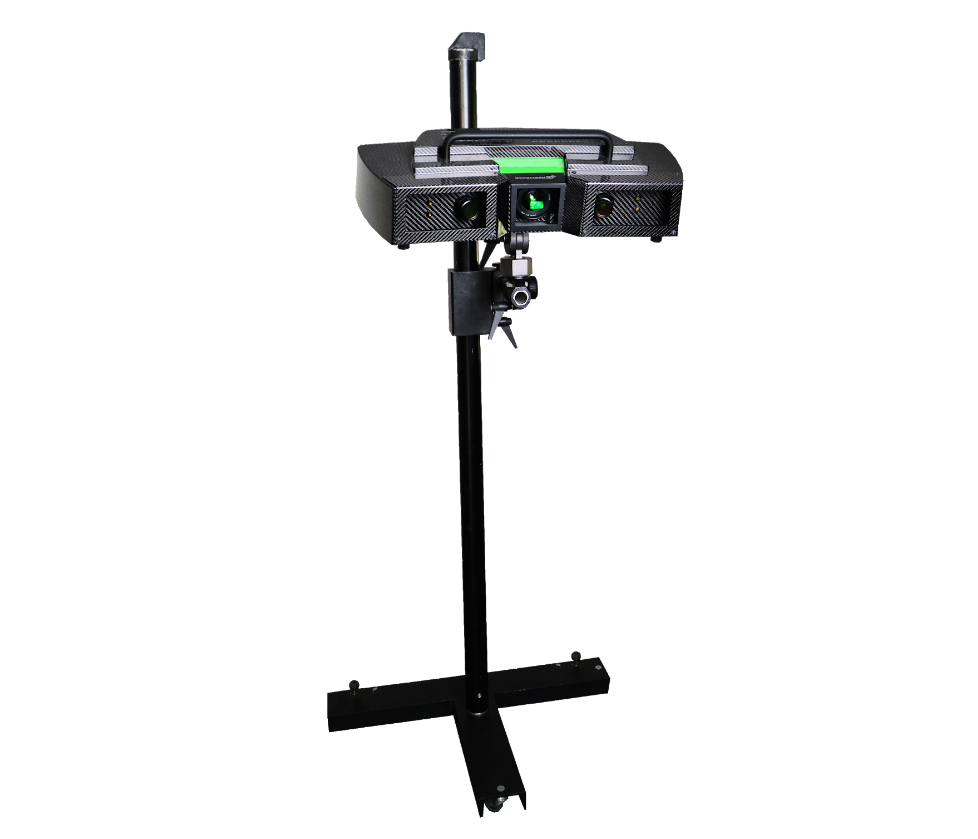
Green stereo 9 Mpix with a new function of a direct projection of the color map of deviation onto the object
21st Century brings us to the new epoch of revolutionary Industry 4.0 applications, smart factories, automated production solutions, and machine learning. Astounding technological development is a real challenge for manufacturers, who needs to adapt to the changing trends and high demands of quality standards. For this reason, SMARTTECH3D MICRON3D enters this new era with a completely new system and software with advanced functions dedicated to quality control which can help in 100% quality control on the production line.
The future of metrology is in 3D optical measurement, that’s why SMARTTECH3D released a new scanner MICRON3D green stereo with two 9 Mpix cameras. By incorporating omnidirectional fringes projection, the new scanner is capturing precise information about the geometries with automatic edge sharpness representation and noise reduction. This solution allows to significantly reduce the time of measurement and creation of a high quality and high-resolution triangle mesh of the scanned objects.
MICRON3D works with the technology of structured green LED light with a wavelength of 520 nm to reduce the impact of external lighting changes. The 3D scanner is made of durable and sealed full carbon fiber housing with HEPA filters to reduce the impact of temperature changing, and dust. Furthermore, the measurement is fully contactless and can be automated, which enables us to check a high volume of parts and to be inspected under stable metrological conditions.
The device has a new SMARTTECH3Dmeasure software module for quality control which feature: importing CAD file and generating a color map of deviations in one software (based on 3D compare scans with the CAD model). Additionally, users can generate personalized reports in PDF with annotations include acceptable tolerances, and share the results with end-customers. What is important – SMARTTECH3Dmeasure has a new function of a direct projection of the color map of deviation onto the object. Thanks to this the user can easily locate any deviations directly on the real object.
Combined with a new MICRON3D green stereo this is a perfect tool for quality control, inspection, and fast prototyping. Reliable results, 2,5 sec for each measurement sequence, and a whole range of functionalities allow you to automate any enterprise with metrological accuracy. From now on, it is no longer necessary to use external programs for inspection.
Described Functions: MICRON3D
If you want to find out about the possibilities of instant quality control of any objects, please visit the company website at www.smarttech3d.com


