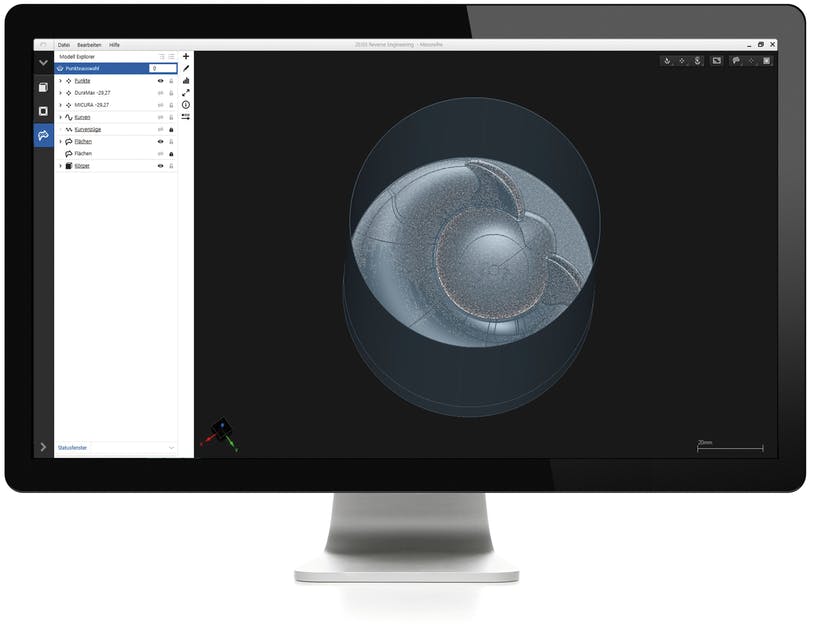
ZEISS REVERSE ENGINEERING
ZEISS has been operating in the field of reverse engineering and tool correction for over 20 years. Starting in summer 2019, ZEISS REVERSE ENGINEERING will have a new structure: as a basic module, it is used for reverse engineering that includes the two options “Tool Correction” and “Volume Calculation.” Users can thus select the one that suits their application. The user guidance is extremely straightforward: users are guided through the software step by step. This reduces training costs considerably – a three-day seminar is all you need to get to know the ins and outs of the software.
Reverse Engineering
Reverse engineering is an important step to extract the design data from a finished component (CAD model). The component first needs to be scanned. It doesn’t matter whether the data is captured using a ZEISS KMG, CT, optical sensor or even a third-party machine. Next, the point clouds (all ASCII formats) or meshes (STL data) are imported to ZEISS REVERSE ENGINEERING. The point clouds or meshes (STL data) can be processed there thanks to a variety of effective functions. In just a few steps, you will have a watertight CAD model that can be exported to standard CAD formats.
- High-precision reverse engineering
- Exporting CAD data to IGES, STEP, SAT
Tool correction
Need a range of iteration loops in the tool correction process that are much too expensive? Want to sharpen your competitive edge? ZEISS REVERSE ENGINEERING allows you to save not only at least 50% of the iteration loops in the tool correction process, but also launch the production process more quickly. Use the software to make corrections not only to the individual measuring points of your tool, but all over it. This makes time-consuming, manual data transfer and potential errors a thing of the past. In addition, undercuts in your designs or corrected tools can be directly identified and corrected using the “Undercut analysis” function. The ZEISS REVERSE ENGINEERING “Tool correction” option makes tool correction incredibly easy.
- 50% fewer iteration loops
- Faster time to market
- Undercut analysis
Volume Calculation
The “Volume calculation” option makes it possible to precisely determine aspects such as the volume of the cylinders on a piston. However, the possible field of application extends far beyond the automobile industry: determining the exact volume is critical in medical technology, tool making and in hydraulics. ZEISS REVERSE ENGINEERING volume makes this incredibly easy: the data captured is loaded to the VOLUME option, and then a mathematical algorithm is used to calculate an object’s volume. By automating numerous process steps, ZEISS eliminates potential operator errors, thereby ensuring precise, traceable measurement results.
- High-precision volume calculation
- Inter-user and reproducible results
- All measurement results are presented in a test report

For more information, please visit https://www.zeiss.co.in/metrology/


