All-in-one platform: GOM Suite offers four software variants for experts.
Quality increases customer satisfaction. Today, 3D metrology enables numerous manufacturing companies to monitor and optimize their quality processes. GOM, a company of the ZEISS Group, offers an all-in solution for quality analysis with its software. In addition to the established software solutions GOM Inspect and GOM Correlate, the Braunschweig-based company provides software packages for additional user groups with the launch of two new products: With GOM Volume Inspect as measurement and inspection software of volume data, industrial CT users are addressed. GOM Blade Inspect is designed for users in the aerospace industry and also meets the metrological requirements of the gas turbine sector.
With the new GOM Suite, users have direct access to all GOM software variants and GOM services, such as training courses or the GOM Forum. “Besides making it as easy as possible for our customers to get started with the software, we also want to give them all the supplementary offerings at hand,” explains Stefan Zerbst, Manager Software Development at GOM. The continuous further development of the GOM software close to the needs of the customers and its all-in-one concept, which allows the entire workflow to be covered and used independently of the system, is what makes it so attractive to many customers.
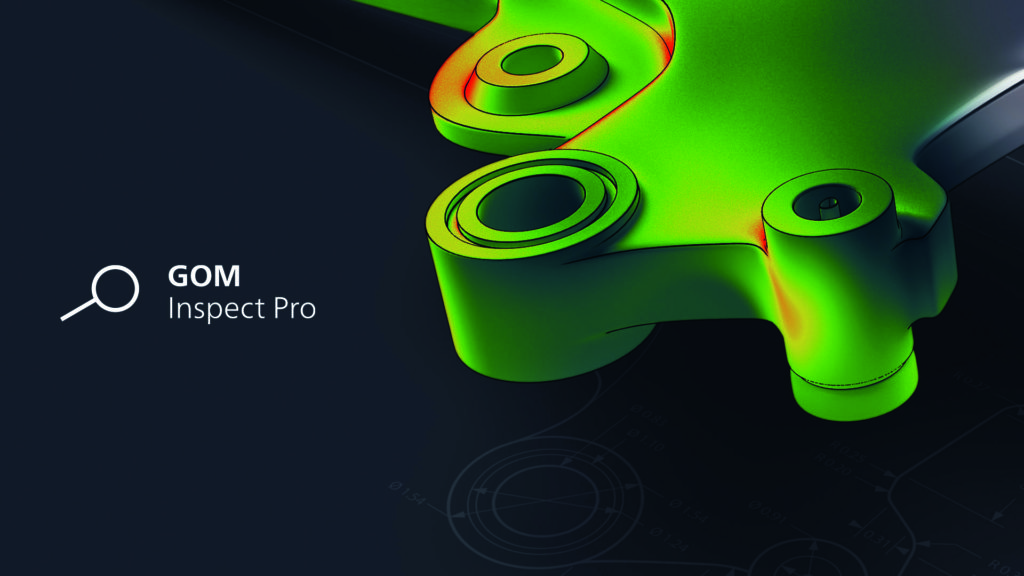
GOM Inspect: Industrial standard for 3D inspection

Being a professional inspection software for 3D data, GOM Inspect supports its users in simple or complex inspection tasks – from scanning the part to be inspected via mesh editing, CAD import, required GD&T analyses up to trend analysis, digital assembly or proprietary inspection. Due to its parametric concept, the software automatically stores each individual inspection step: All working steps are easily traceable, repeatable and editable. In addition, a template can be created for each process step, which is then available for future tasks at the push of a button. This simplifies and accelerates recurring measurements, which leads to a clearly demonstrable increase in efficiency, especially in series production.
GOM Volume Inspect: Extensive options for CT data analysis

For industrial CT technology, GOM has developed software that builds on the company’s many years of experience in metrology: GOM Volume Inspect visualizes volume data and intuitively guides the user through the inspection of internal structures. This allows users to make high-precision statements about the quality of the measuring objects and to visualize geometries, defects, structures and assembly situations very individually. As with the other software variants from GOM, numerous reporting tools are available to the user: Snapshots, videos, volume slices, tables, diagrams, texts and graphics can be easiliy integrated in the measuring report.
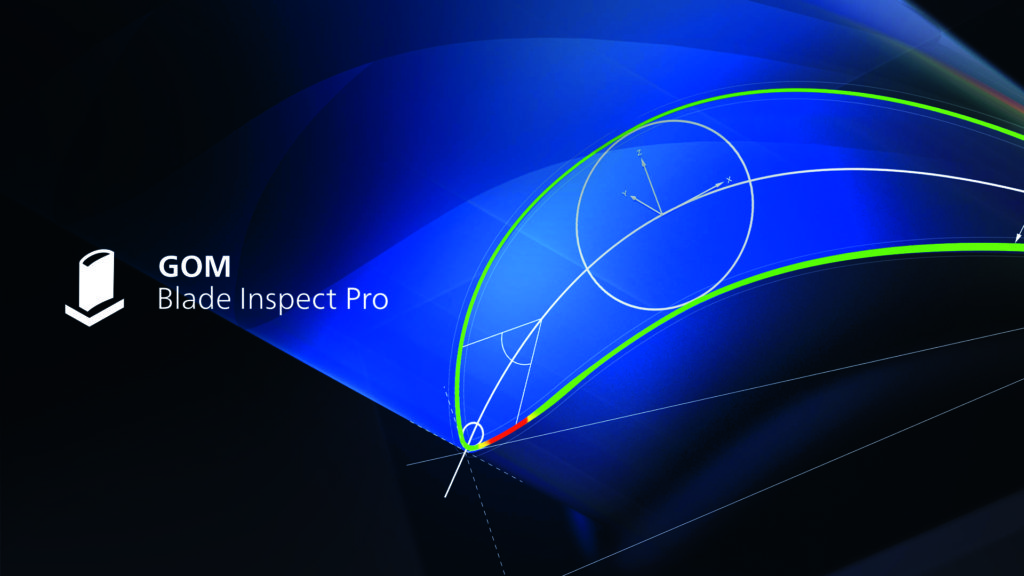
GOM Blade Inspect: Individual and high-precision evaluations on gas turbines and in aerospace

For parts from the aerospace industry or gas turbine sector, the smallest details are often crucial, as the quality of the parts has a direct impact on safety, durability or fuel consumption. With the new GOM Blade Inspect software, the company offers a targeted solution for this industry.
Standardized inspection functions can be combined with application-specific evaluations. The analysis of profiles and turbine blades includes: inspection of the profile mean line, profile centroid and the profile thickness of turbine blades based on 2D sections. Radii and torsion can also be computed.
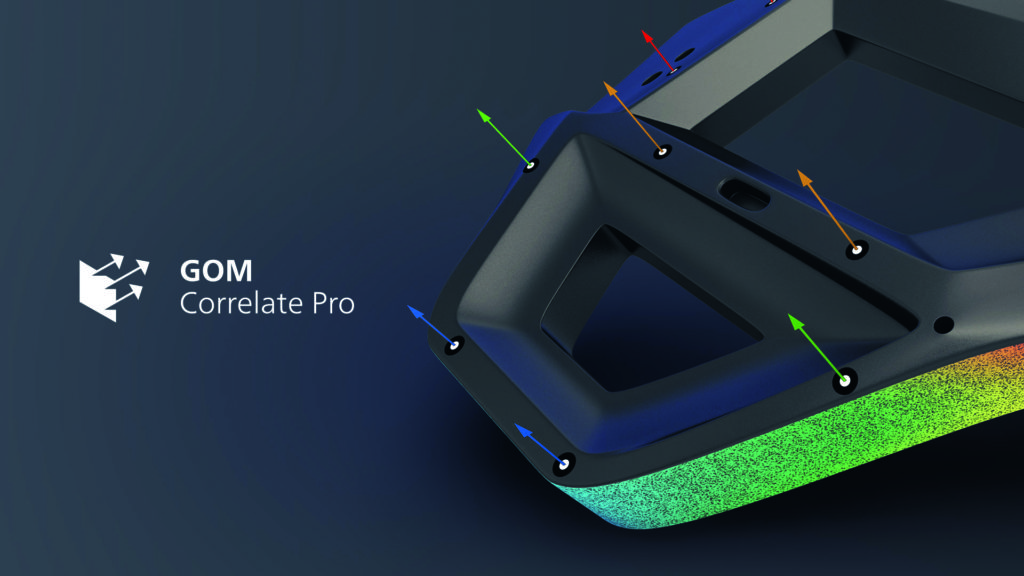
GOM Correlate: Digital image correlation and moving image analyses

GOM Correlate evaluates 2D or 3D data based on digital image correlation and provides detailed information on displacement, strain and deformation of material samples and parts under load or in motion. By using videos, dynamic processes can be captured precisely, analyzed individually and evaluated in a targeted manner, for example, for the standardized determination of material parameters.
One of the application-specific features is vibration analysis that can be well used in aerospace and automotive industries. A shaker or the blow of a hammer stimulates the fan blade to vibrate, while the ARAMIS sensor captures the 3D displacements. GOM Correlate displays the displacements of all points measured full-field or point-based at the occurring vibration frequencies in all three spatial directions. These data form the basis for calculating the operational deflection shapes (ODS) and comparing them with the simulated vibration shapes.
With GOM Suite and its integrated software variants GOM Inspect, GOM Volume Inspect, GOM Blade Inspect and GOM Correlate, GOM supports users of optical measurement technology as well as metrology CTs in their individual challenges and offers a central control element for all GOM services.
For more information on GOM Software 2021, please visit https://www.gom.com/goto/azb6
Captions:
1. GOM Suite features four powerful software variants.
About GOM
GOM, a company of the ZEISS Group, specializes in industrial 3D coordinate measuring technology, 3D computed tomography and 3D testing. From product development to production and worldwide distribution, GOM offers machines and systems for manual and automated 3D digitizing, evaluation software, training and professional support from a single source. In industries such as automotive, aerospace, energy and consumer goods, more than 17,000 GOM system installations are in use internationally. At more than 60 locations and with more than 1,200 metrology specialists, GOM guarantees profound advice and first-class service. Since mid-2019, GOM has been a part of the ZEISS Group and has formed the Center of Excellence for optical metrology. With more than 32,000 employees in 50 countries and an annual revenue totaling more than 6.3 billion euros, ZEISS is an internationally leading technology enterprise operating in the fields of optics and optoelectronics. (Status: September 30, 2020)


