APRIM, founded in 1965, is a high precision machined component manufacturer, located in Leganés (Madrid). Although at first, they were specialized in the automotive sector, nowadays APRIM’s production is widely diversified: automotive, medical, services, railroad, defense, agriculture…
They are certified in the automotive sector according to IATF16949, and they comply with the highest environmental standards according to ISO14001.
APRIM supplies very demanding companies worldwide, that’s why they continuously invest on new technologies in order to obtain the most efficient and advanced processes. The main production technologies they apply are the turning, milling, carving, heat treatment and grinding.
APRIM has many measuring machines with different technologies (CMM, vision, laser, and machines specifically designed for 100% measurement in automatic processes), in order to face the market’s most demanding requirements.
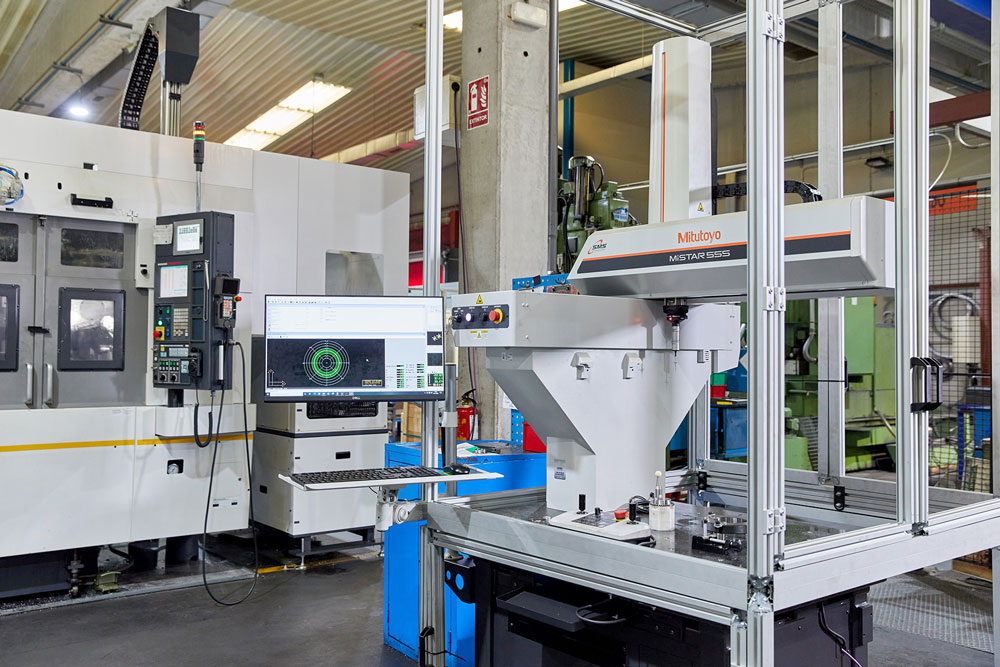
They have recently invested in two new technologies in collaboration with Sariki, with the aim of solving their high precision challenges directly in the production. Mitutoyo’s most compact CMM and specifically designed for production environments, MiStar 555, and a contactless optical machine, Vici Vision’s MTL 1, specifically designed for turned and ground parts.
Mitutoyo’s MiStar 555 machine has allowed us to measure all the dimensions of a synchronized gear, with a single machine, in an accurate and quickly way. All this, with the machine located in the workshop, saving time for the production operator.
– Guillermo Sanz
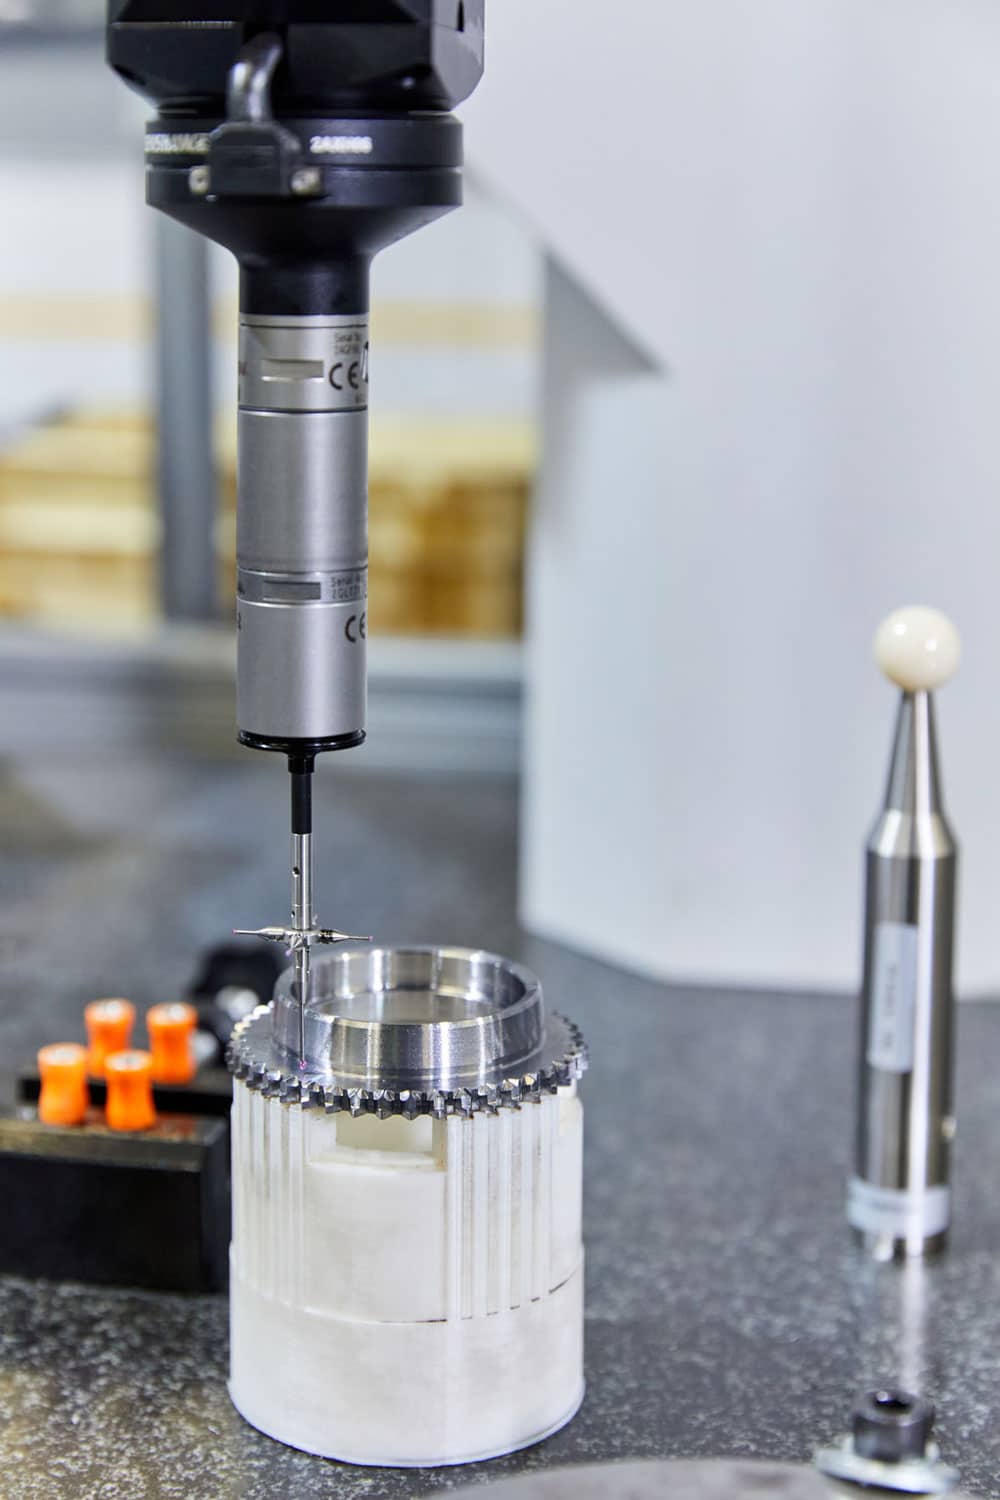
The technological leap is clear. Their customer, before outsourcing the part, used three different machines for its correct verification: CMM + contour measuring machine + dedicated gear measuring machine.
Nowadays, the control is done by the machine operator periodically or when changing tools. They use the CMM for three different phases of the process:
- A program that is dedicated to turning, where only the dimensions to be corrected in this phase are displayed.
- Another program for milling and blunting.
- A last program for hard turning and deformations in treatments.
APRIM identifies the main advantages and keys to success that this investment has brought them:
- We are capable of measuring the part’s diameters and heights, with tolerances in plane within the hundredth.
- Thanks to the continuous contour measurement feature, we can scan the blunting of the teeth so that the dimensions of the gear’s “roof” can be obtained. Very demanding process, due to the gear’s synchronizing function.
- The Gearpak software allows measurements that previously required from dedicated gear machines. We can measure characteristics such as the profile and flank errors, gear radial runout, etc.
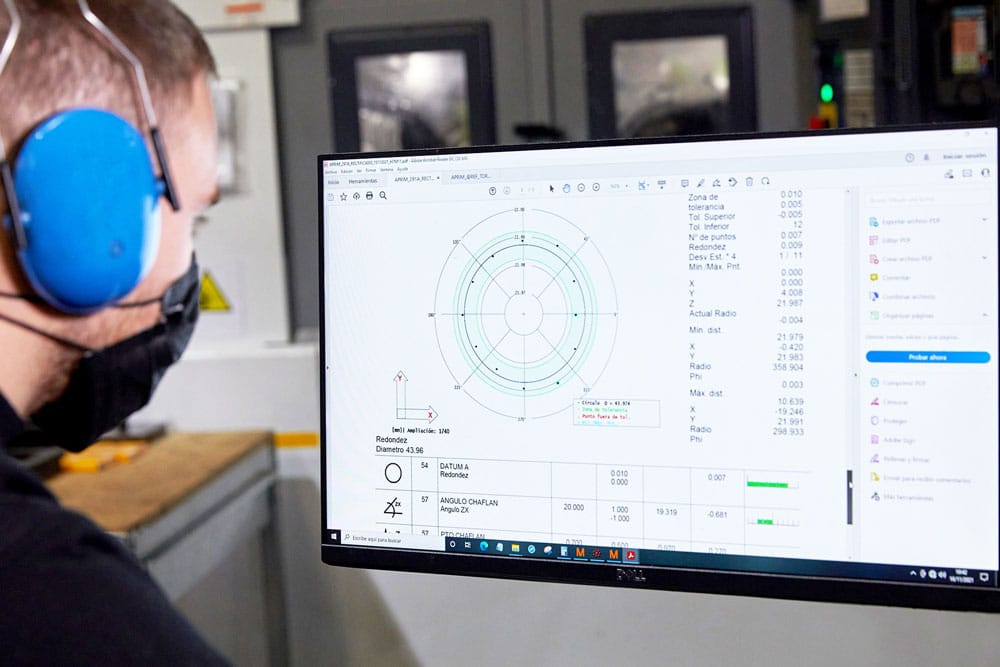
MiStar 555 is such a versatile measurement technology that measures other parts on an ad hoc basis thanks to its ease of use.
The ease with which it is programmed is also a strength. We can design a program for a complex part in less than an hour. What’s more, the machine itself is capable of distinguishing both gears and measure according to their dimensions.
– Guillermo Sanz
Vici Vision’s MTL1 machine is also located in production, where the improvements of the process are much more beneficial.
APRIM used to verify the turned parts manually, dimension by dimension. Some of these dimensions were measured on the contour measuring machine (a much slower and less accurate method), and other were measured on the CMM (which is also a slow process).
Nowadays, the Vici Vision technology allows them to self-monitor the turned part’s production with high precision, comfortably, quickly and with a single equipment. They are able to measure diameters and heights at once. They have reduced the time of the self-monitoring standards of some of the processes by around20%. This way, a measurement on the Vici Vision MTL 1 replaces several manual measurements made by the operator.
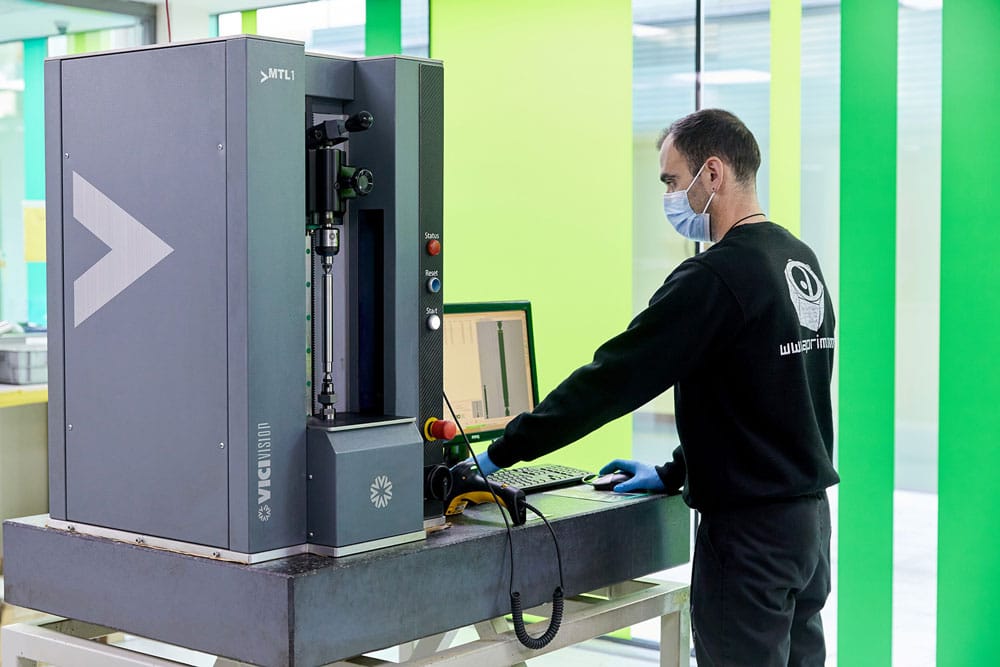
The MTL 1 is much quicker than other traditional contact-measuring machines, and this allows us to save operator and quality personnel time, both in verification and reporting.
– Guillermo Sanz


