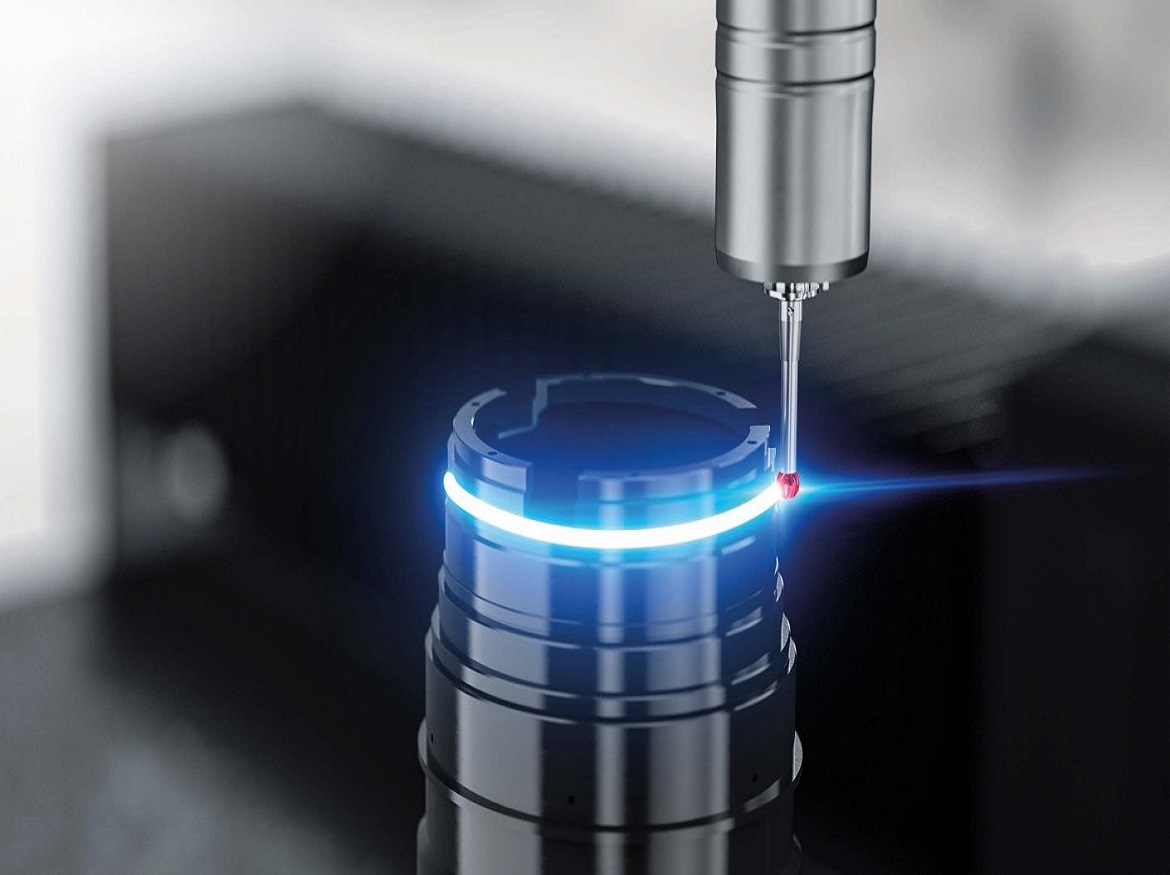
Coordinate measuring machines (CMMs) from ZEISS stand for accuracy, repeatability and automated dimensional inspection. Tactile scanning probes open a new level of certainty and productivity: They measure thousands of points along a path. ZEISS active scanning technology speeds up the measuring process even more. The machine utilization can be maximized and problems are identified quicker.
Choosing a suitable probe
The probe plays a decisive role for top quality measurement results. The touch-trigger measurement is also described as the “woodpecker approach”: measure a point, move to another location, measure again and repeat until the job is done. This technique involves a time-consuming workflow and leads to a lack of data and therefore accuracy. In contrast, tactile scanning technology is performed with a fluid and continuous movement that can quickly and accurately measure thousands of points along a path as the stylus moves across a surface. This enables a faster workflow and more precise measuring results.
Conventional and active scanning
ZEISS draws a distinction between conventional scanning and active scanning. Although both record surface data based on the movement of a stylus connected to a probe, there are major differences in their functionality. Traditional probing systems use springs to hold the stylus in its neutral position and strain gauges to measure deflection as it is moved across a surface or contour. Active probing systems instead use software-controlled electromagnets and force controllers to maintain a steady and low force on the stylus.


Highly accurate measurements: scanning
Compared to touch-trigger sensors, scanning offers greater operational safety and higher measurement accuracy. Regarding the analysis of mechanically machined parts, for example, the surface is mostly flat and has low roughness. Here the compression of the springs can be kept within a narrow range, allowing you to use a faster scanning speed and collect more data than with single-point measurement – resulting in high throughput with higher certainty. If, on the other hand, there are parts with high deviations and irregularities, the scanning speed needs to be reduced to avoid bending of the stylus or loss of touch with the part. This is where the active system comes into play.
Flexible and future proof: active scanning
In an active system, force controllers maintain a steady force on the stylus regardless of its length, weight, position and orientation. This provides a much larger range of movement for the stylus without repositioning the probe. The active system monitors deflection in real time and adjusts the measuring force to keep it both low and consistent, which increases accuracy and velocities through the whole process. Compared with conventional systems, active scanning allows for greater speed without compromising on accuracy.
Benefits for day-to-day challenges
During production, factors like tool wear and thermal deformation can cause parts to deviate from the given specifications. Measurement throughput is critical. Faster scanning means maximized machine utilization and quicker identification of problems on the line, thereby reducing the amount of scrap and reworking of parts.

The surface or features located between the points that are measured can be estimated via interpolation, but significant deviations may still be missed.


