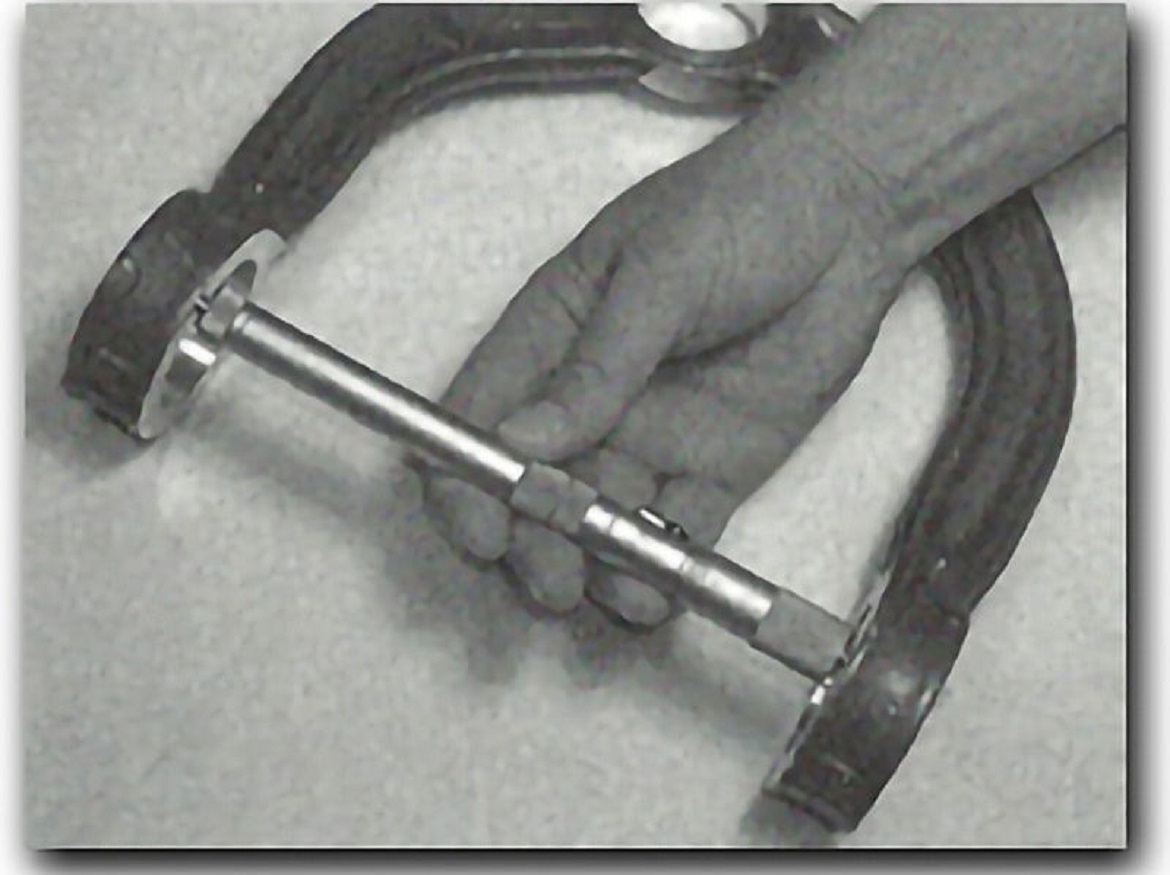
| For those medium and large parts with inside diameters greater than four inches, an inside micrometer is often used as the inspection tool of choice. This is especially true if the volume of parts is low and there is a large range of diameters to account for. Versatility of measurement range is one of the inside micrometer’s most important characteristics. This is actually one of the most straightforward of gages, since the gage itself duplicates the distance being measured. The axis of the inside micrometer becomes the diameter of the part. We mentioned Mr. Abbé a couple columns ago—you can’t comply any better with his law than with an inside micrometer. Usually in the world of dimensional measurement, it is frowned upon to add extension rods to a gage, since this can become a source of error. However, with the inside micrometer, this is exactly how the gage is used. In fact, the extension rods are all made to known reference lengths, as is the micrometer head. This way, the whole gage is put together with the extensions to become the size being measured. Though there is apt to be some error based on the accumulation of errors in the extensions, the large diameters themselves usually allow a larger tolerance, and typical gage tolerance rules can still be met. However, if a reference standard is available, it can also be used to convert the gage to a transfer-comparative gage for better performance. The inside micrometer is similar to a standard micrometer, but without the frame. It is often sold in sets to allow for a wide range of diameters. Other characteristics include: • A shortened spindle to allow access to smaller holes • Spherical contacts which have radii smaller than the smallest radius they will contact • Extensions that are manufactured to known lengths • A collar to hold the extensions, which can be combined to reach diameters greater than 30″ However, while the inside micrometer does comply nicely with Abbé’s Law, it is not without issues. The fact that it can be extremely long often makes it difficult to handle: sometimes it may even require two people. Plus, there is the fact that it’s a two-point measurement without a third reference point. This means that it has to be rocked inside the diameter in two directions—axially and radially—searching for the maximum diameter. The best way to do this is to hold the reference contact against one side of the part and adjust it for fit, while moving the measuring end and simultaneously adjusting the micrometer for the best “fit.”Temperature is the other issue to be concerned with. Since the gage has to be handled in order to be used, and the only way to handle it is to hold it, the gage is subject to the worst enemy of measurement: body heat transfer. This can be minimized though by using the gage for the shortest time possible, holding the gage only at the very extreme ends, and wearing insulating gloves. Some gages also employ insulated sleeves or holding areas to minimize body heat transfer. While the mechanical inside micrometer version is still the most common set provided, technology has also stepped in to help the operator achieve better performance. By replacing the micrometer with a high precision, digital indicator with dynamic memory functions, operator influence can be minimized. With the gage in minimum memory mode, all the operator needs to do is sweep the ID, and the gage will search out the correct ID reading—lessening the need for rocking and the potential errors of trying to achieve the right feel. Though it is not without faults, the versatility and low cost of the inside micrometer gage makes it ideally suited for low volume part measurement applications. |


