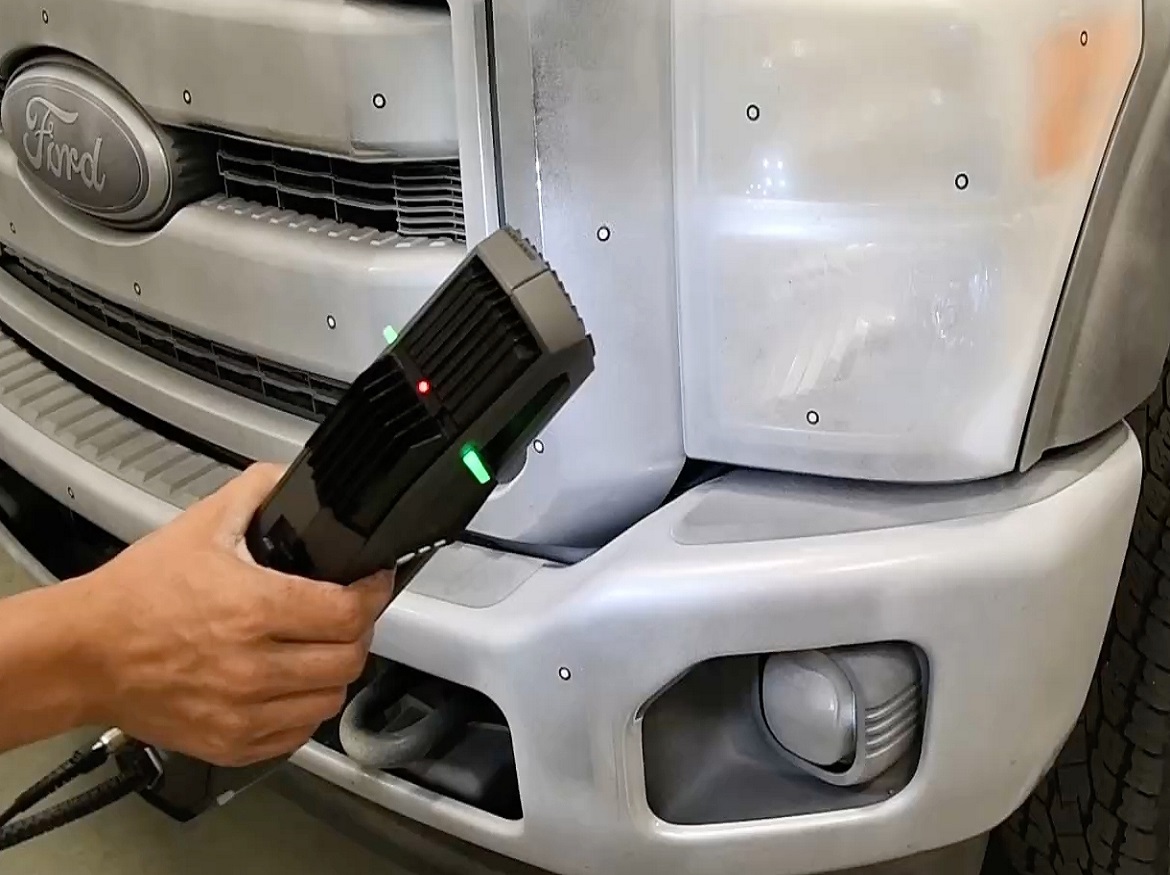
– Measure reflective car parts more quickly and effectively
– Scanningspray temporarily dulls shiny surfaces
Bumpers, radiator grilles or rims – in car construction, many components of high-quality bodywork are chrome-plated or coated with other shiny surfaces. Though they gleam with quality, they are a challenge to optical quality controls. Because shiny parts can be hard to digitise.
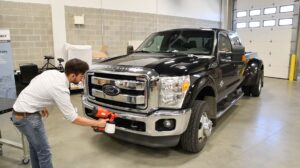
Even modern optical scanners reach their limit where shiny surfaces are concerned. Because the light beam from the sensor is not reflected diffusely, but in focus. This means the scanner cannot measure the surface. To achieve unambiguously usable measurement results, the surfaces must be pre-treated before scanning. To this end, the shiny parts are sprayed with a matting agent. The process is rapid and uncomplicated. Within a few seconds a mirror-like part becomes matt and can be digitised without a problem.
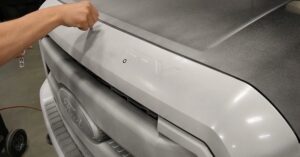
The actual spray process lasts just a few seconds
While the spray process itself is quick, pre-treatment and post-treatment have taken their time up to now. With standard sprays, the process has to take place outside the measurement area, as the mist of spray deposits on the surrounding area and could contaminate the sensitive measurement devices. This means the object for measurement need to be transported back and forth between measurement area and spraying site.
Even more laborious, however, is the subsequent removal of the spray coating from the components. Depending on the component size, shape and material quality, cleaning can take several hours. Often, full removal – for parts with deep structures or sensitive surfaces – is impossible, meaning the parts can no longer be used.
Volatile scanning sprays facilitate and accelerate the pre- and post-treatment
With the new volatile scanning sprays from AESUB, components can be directly sprayed on the measurement machine, meaning no time is lost to extra transport. The greatest time saving is in the sublimation, i.e. the independent evaporation of the spray coating. After a few hours, the matt layer is completely gone. This protects the high-quality measurement device and saves time spent in cleaning the objects. The evaporation time depends on the AESUB spray variant and can be between an hour and up to 24 hours.
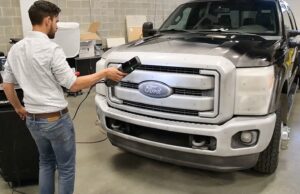
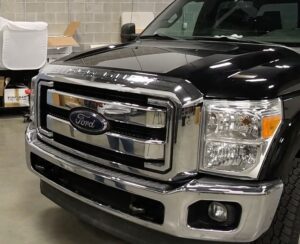
Scanning chrome parts of a Ford Super Duty Truck
Recording chrome parts with a white-light scanner is a difficult measurement task, explains Curtis Blanchette from Rapid 3D Ltd, Calgary (Canada). The shiny surfaces make digitising the component geometry more difficult. The measurement provider Rapid 3D uses scanning sprays from AESUB to accelerate and optimise digitisation processes. For the measurement, the chrome radiator grille is dulled using an AESUB Scanningspray. Normally for this process, Curtis Blanchette states, the spray AESUB blue is used. As the part in question here is the radiator grille of a Ford Super Duty Truck, however, with a large surface area, the AESUB green spray in a container with a portable spray pistol was used. The spray process lasted approx. one minute. After one more minute the spray was dry, meaning the chrome parts were covered by an even, matt layer. Measurement points for digital recording were placed on the touch-dry surface. Now it was no problem digitising the radiator grille. After six hours, the applied layer had fully sublimed. The parts had returned to their original gloss and the measurement points could be easily removed.
The evaporating AESUB scanning sprays contain no titanium dioxide and no further pigments. In contrast to pigment-containing sprays, the coating of AESUB sprays is touch-dry, making handling of the matt components much easier. The layer does not wipe off, meaning no undesired structures arise when it is touched.
Read More About Us @ https://metrologicallyspeaking.com/


