And although they are quite similar, understanding their subtle differences can improve the accuracy and efficiency of both processes.
Measuring is the process of determining the dimension of a part by reference to a standard. Precision tools, such as scales, calipers and micrometers are measuring instruments. They have a dimensional reference built in: either precision etched lines, a magnetic scale, or precision screw. These provide the standards against which the part is compared. Long range digital indicators on a bench stand can also be thought of as measuring instruments, as the bench’s anvil acts as the reference.
Because measuring instruments have long measuring ranges (typically from 25 mm to 150 mm), they are very versatile and are often used in general inspection job shop areas. They also require more skill to operate and tend to be slower to use.
Gaging a part is a bit different. Gaging is the comparative process of determining whether a part is smaller or larger than a predetermined standard (or master part). With gages, there is no built-in reference standard. Rather, the standard or master is brought to the gage and the gage is set to that size.
Gages are often built to measure one part, very quickly and simply by an operator. Therefore, gages tend to be used in high production areas and are often more accurate than measuring tools. Because their application is so specific, they are not as versatile as measuring instruments, nor do they need as much measuring range—often less than 5 mm. As a result, very high resolution displays can be used with gages.
The rule of thumb, then, is that measuring tools tend to have long range and high versatility, while gages or comparators tend to have short ranges, less versatility, but greater accuracy. Let’s see how this applies to dial and digital comparators versus dial and digital indicators.
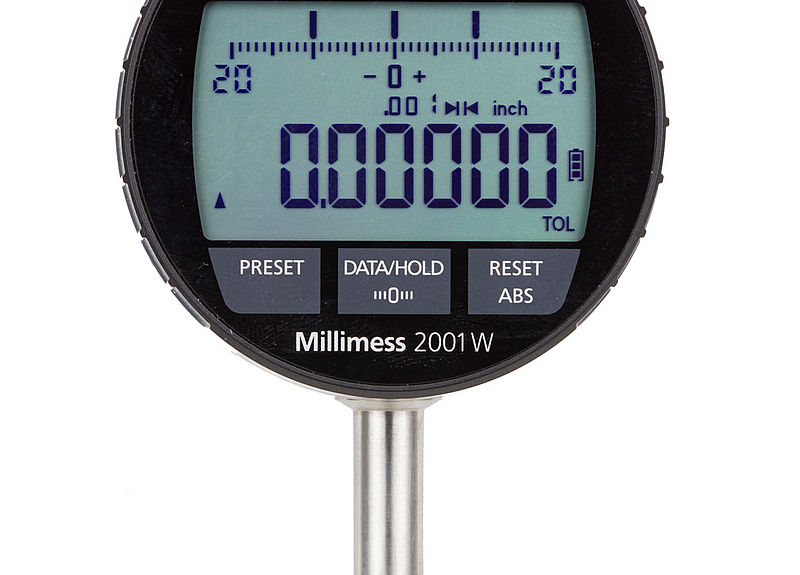
Dial and digital comparators have limited range and often have very high resolution and accuracy. Some even approach the performance of bench amplifiers. Most have ranges considerably less then 5 mm. Some dial comparators are so limited in range that reading them is virtually foolproof as they only allow a single revolution of measuring range. Dial and digital comparators also tend to be less expensive and easier to operate (once mastered) than dial and digital indicators.
Dial and digital indicators on the other hand, have much longer range—usually greater than 12 mm and occasionally up to 50 mm—which makes them measuring instruments under our definition above. However, it’s not uncommon to see dial and digital indicators set up to act as comparative gages. A typical example is a long range digital indicator set up on a height stand. If the indicator is “zeroed” on the base of the stand, it will provide very accurate, dimensional measurements throughout its length of travel. However, if the same setup is used for comparative gaging—i.e., by zeroing it to a master—you are actually “wasting” the digital indicator’s extra range. In a sense, you are paying for capability you don’t need.
By the same token, a dial or digital comparator is a better choice of indicating instrument for something like a mechanical comparative snap gage, which has relatively short mechanical measuring range. The comparator has a measuring range similar to the comparative height stand gage and therefore provides better performance and economy.
Think of it this way: in a world where conservation is key, we should not waste measuring range. Installing a 25 mm digital indicator on a gage that only needs 5 mm of gaging range is purely a waste. Those extra 20 mm of measuring range should be put to use in some other application where they will be more fully appreciated.


