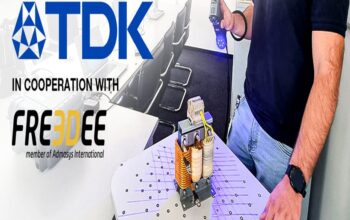
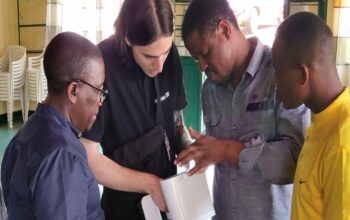
What is reverse engineering with 3D scanning? In recent years, the fields of reverse engineering and 3D scanning have transformed product creation and manufacturing.
The practice of understanding a final product’s design, components, and manufacturing procedures by working backward from it is known as reverse engineering. The original design can then be improved upon using this information, or a whole new product based on the same ideas can be developed.
On the other hand, 3D scanning is a method that combines cutting-edge imaging technology to produce a precise, digital representation of a real-world object. Then, you can utilize this digital model for many things, like reverse engineering.

Reverse engineering and 3D scanning are frequently used in the manufacturing and car industries. Using these strategies, manufacturers can better their designs by learning about the design and production methods of products that belong to their clients or rivals.
Let’s see how Matthew, a friend from 3DRE, approaches his challenges with reverse engineering. A specialist in scanning, modeling, and inspections, Mathew is an Applied Science Technologist (AScT).
3D Scanning Reverse Engineering Case-Study
In this case study, Matthew Percivel describes how he used the Polyga Compact S1 and Xtract3D Software to reverse engineer 3D models. Reverse engineering of a tiny mechanical assembly for mass production is the subject of the case study. The S1 scanner was used to scan it initially.

We had to apply Attblime scanning spray to improve the texture of the scan and capture the details because the original component was made of reflective metal. Our manual rotary table’s use of marker alignment was essential for speeding up the scanning process because each part required roughly 100 scans to fully capture the details. The component sizes were roughly 1 inch by 1 inch by 1 inch.


Oh no, there is a fit disparity; what happened? The S1 may be used to check the 3D metal print to see if it matches the model. Using the inspection tool to detect any issues by scanning the 3D metal printouts. We can do the inspection using any method you like.
Eureka! The space between the two sections where they rotate inside one another should be.04mm. It turns out that those are not the sent data! On the Control X screen photos, you can see that the circle’s tolerances are incorrect.
Conclusion:
The S1 is a fantastic solution for inspecting and reverse-engineering small parts. Reverse engineering and 3D scanning are essential for contemporary product development and manufacturing because they can be effective tools for enhancing product design, cutting manufacturing costs, and hastening the introduction of new items to market.
Credits: Polyga
Click on the following link Metrologically Speaking to read more such Case Studies on Metrology.


