While accuracy and precision are fundamental building blocks of all engineering applications, nowhere are they more essential than in the area of metrology. The science of measurement — encompassing fundamental standards, calibration and the determination of uncertainty — is a driving force for technological innovation in aerospace and automotive manufacturing, semiconductor fabrication and a myriad of other areas that make modern society possible.
Materials
As with any system, the tools employed in metrology applications are only as reliable as their constituent components. Traditional equipment relies upon materials such as granite, which offers high dimensional stability and has effectively been used to establish planes of reference since the earliest known measurement standards. The ancient Egyptians established the royal cubit based on the dimensions of their pharaohs’ hands and forearms, and carved granite measuring rods that were used by the builders of the pyramids. Owing to its high durability and vibration-dampening characteristics, granite remains in use many centuries later, particularly for machine bases.
 Figure 1: Cubit rob from the Turin Museum. Source: Coudee-turin/CC BY-SA 3.0Steel is another traditional material for metrology equipment, though its use has generally been superseded by lightweight aluminum alloys.
Unquestionably, however, applications requiring ultra-precise specifications demand state-of-the-art capabilities that go beyond the traditional. Coordinate-measuring machines (CMMs) used for inspecting complex shapes such as airfoils, engine blocks and turbines, along with motion control equipment used for processing and inspection of wafers and printed circuits, are increasingly incorporating ceramics made with silicon carbide — a material pioneered by French multinational corporation Saint-Gobain.
Commercial silicon carbide is synthetically produced. Shaped articles are either fired or sintered to form stiff, high endurance, temperature and corrosion resistant products ranging from automotive water-pump seals to bulletproof vest plates. Silicon carbide rivals diamond in terms of hardness (Mohs scale rating 9 to 9.5); its high thermal conductivity and low thermal expansion impart resistance to temperature fluctuation. Moreover, all its properties are delivered in lightweight form. The combination of these properties is not found in the same magnitude in other ceramic materials, such as aluminum oxide.
Equipment

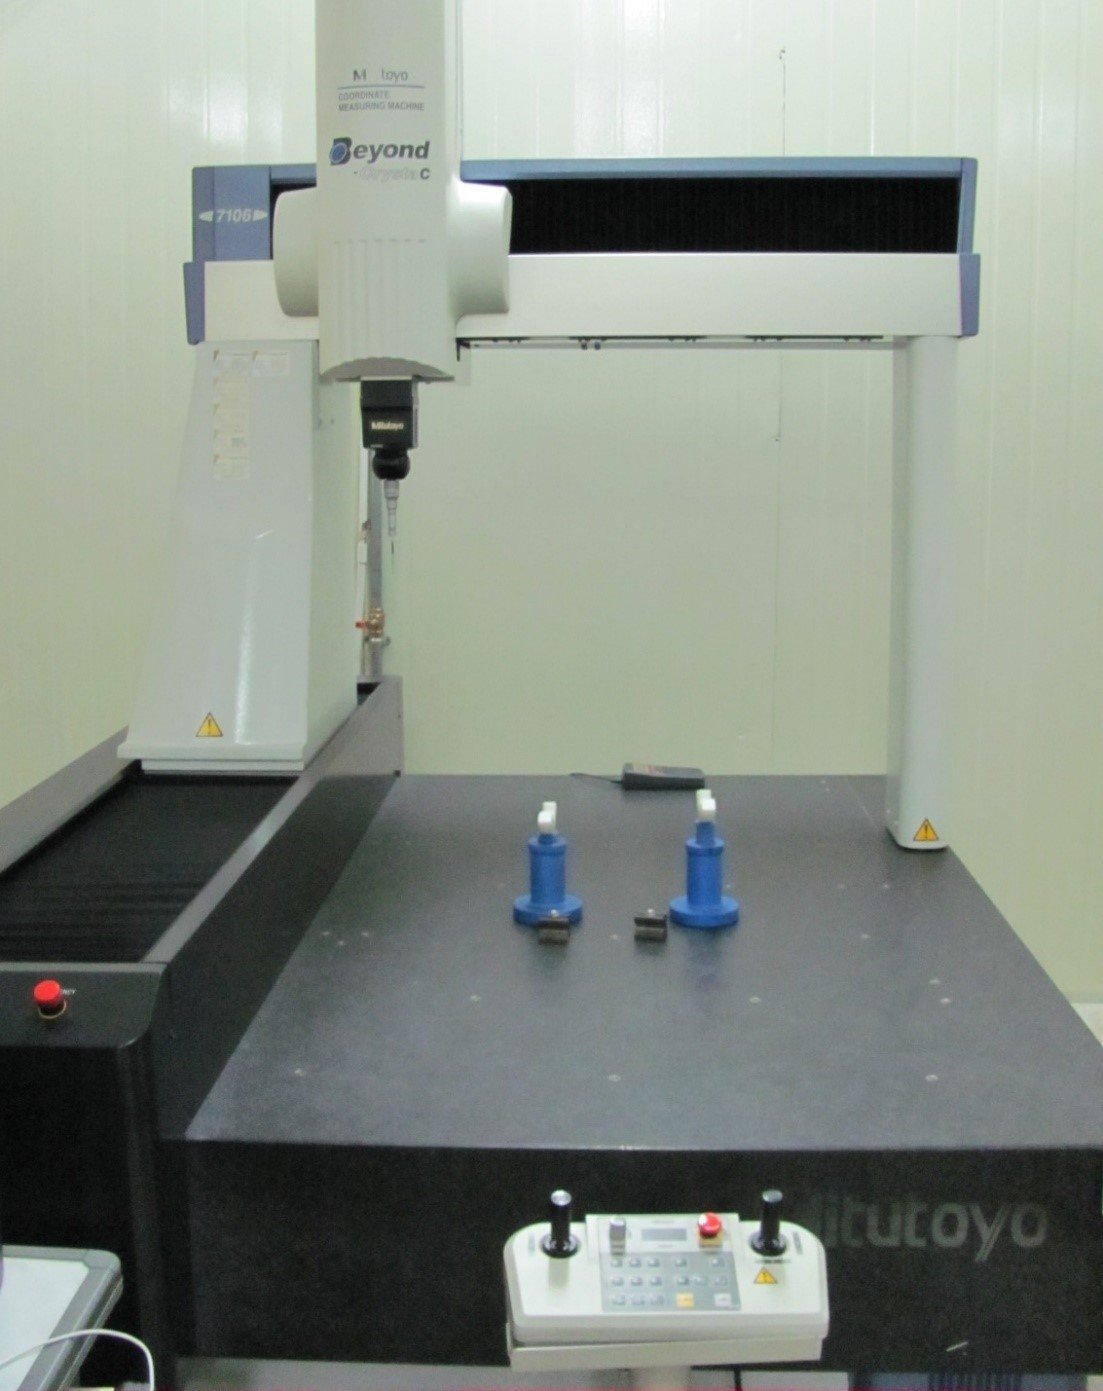
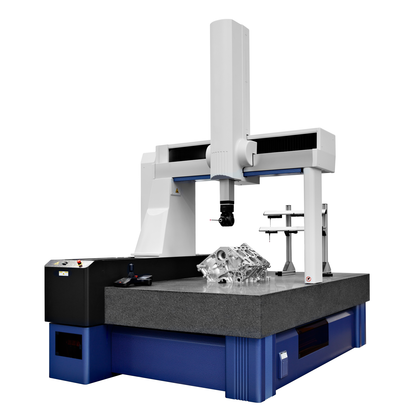
Coordinate-measuring machine. Source: Blue tooth7/CC BY-SA 3.0
A closer look at the relevant equipment is instructive for better understanding the role that innovative materials such as silicon carbide play in metrology.
CMMs
A typical CMM is comprised of a fixed base or moving table, an overhead bridge known as a gantry and a probe. The probe moves on friction-free air bearings within a three-dimensional coordinate plane; a carriage and guiderails contain the probe’s XY motion, while a spindle guides Z motion. The probe senses discrete points along the surface of a physical object placed on the table, generating data on each of the three axes. It then compares that data to a reference, enabling it to gauge the conformance of a component to design intent. The data can also be used in reverse, creating a point cloud that describes the shape of the object and serves as the foundation for making more. In either case, variations caused by factors such as material inconsistency, thermal expansion and other environmental distortions can impact accuracy; for applications with exacting specifications, this can make a critical difference.
The Z-axis spindle, in particular, is a prime candidate for construction with silicon-carbide ceramic, which imparts a stiffness enabling micrometer-level precision and high-speed probe scanning. Silicon-carbide ceramic components exhibit around 50% lower thermal expansion, 25% higher rigidity and 20% less weight than traditional ceramic materials.
Motion control equipment
The importance of accuracy is significantly multiplied in the world of semiconductor manufacturing, where precision is required at the nanometer level. Here, too, employing silicon-carbide ceramic components is state-of-the-art for metrology.
The key piece of equipment in this context is the air bearing stage. The purpose of an air bearing, not unlike its traditionally oriented cousin the ball bearing, is to reduce friction between moving parts. Instead of rolling balls serving as a point of contact between surfaces, however, an interface of opposing forces is created between a thin film of pressurized air and a vacuum area.
A typical air bearing stage consists of a base, guide beam and moveable carriage, the latter of which serves a function similar to the probe on a CMM. A sensor chip integrated directly into the air bearing unlocks the potential for high-speed, contact-free measurement that both preserves the delicate nature of the wafer’s electronic circuitry and compensates for potential defects in the machine base.
It bears repeating in this context that granite remains in use for machine bases; this is true for both CMMs and motion control equipment. As a naturally occurring material, its potential for large variation in grain size and defects is inherent. Silicon carbide is more homogenous in its structure, allowing a variety of complex shapes to be produced.
A proven leader
This brief examination of the material and equipment advantages of incorporating silicon-carbide ceramics into metrology solutions is underscored by the themes of accuracy and precision. As the material’s pioneer, Saint-Gobain is uniquely qualified to offer leading expertise on its numerous applications throughout a variety of industries. The company has also devoted its specific focus to metrology for over a decade, proving its capacity as a reliable supplier of custom-made components to accommodate a wide range of customer needs. It has moreover positioned itself as a product and development partner for designers, engineers and product managers.
The manufacture and distribution of high-performance materials is just one aspect of the role Saint-Gobain plays as an innovator on the world stage. The company’s commitment to high levels of accuracy and precision date back to its early days as a mirror manufacturer in 17th century Paris, and it has continued that tradition throughout its history to emerge as a global leader for the 21st century and beyond.
To learn more about Saint-Gobain custom ceramic solutions for your metrology equipment, download a brochure or contact our application experts by dropping an enquiry.


