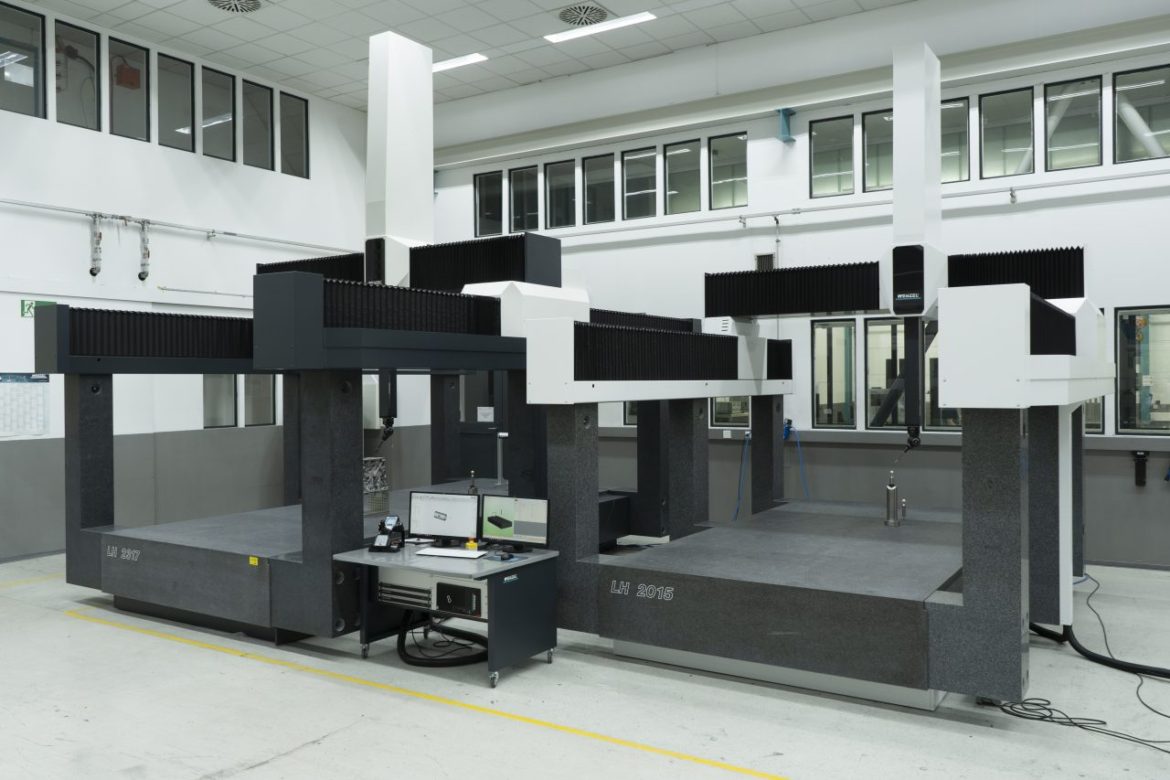
For decades Coordinate Measuring Machines (CMMs) have been seen as the gold standard in metrology. However, in recent years, a wide range of new metrology equipment and measuring techniques have been released.
SO ARE CMMS STILL THE GOLD STANDARD IN METROLOGY?
Let’s start by having a brief look at the history of CMMs. The CMM was invented in the 1950s. This initially came with fixed probes until Sir David McMurty invented the touch trigger probe in 1970. This touch trigger probe revolutionized 3D measurement allowing accurate automated measurement of parts and assemblies. As computing power has increased, manual CMMs have given way to CNC CMMs. This has given the advantage of improving accuracy, fully automating the process and removing user error. As time has passed, the accuracy of CMMs has greatly improved. Modern CMMs can come with sub-micron accuracy levels whilst reaching speeds and accelerations that were previously unobtainable.
Traditionally CMMs moved in 3-axis with fixed probe positions. The latest CMMs now come with probe heads that are capable of independent movement as the CMM moves enabling 5-axis measurement with both touch trigger probes and scanning probes. This has further increased the speed of measurement that modern day CMMs can achieve.
WHAT NEW METROLOGY EQUIPMENT IS THERE TO TAKE ON THE CMM?
Over the last few decades, a wide range of equipment has come on to the market to try and take the gold standard status away from the CMM. Touch probe and laser scanning arms, structured light systems, X-ray CT and camera-based vision systems are just a few. All of these equipment options have advantages and disadvantages when comparing them to a CMM. However, even with this wide range of new equipment, the accuracy of a CMM has still not been surpassed.
The latest non-contact equipment can often have data collection rates that surpass that of traditional touch trigger and scanning probe CMMs. CMM manufacturers are fighting back with ranges of laser line scanners and even structured light scanners of their own. These non-contact CMM scanners can be interchanged with traditional probes using probe change racks on CNC CMMs. This multi-sensor technique can improve the efficiency and speed of data collection whilst keeping the option of the high accuracy contact probing.
Camera-based vision systems are great for measuring 2D devices such as Printed Circuit Boards (PCBs) or small metal components. To get round the limitation of 2D measurement, an increasing number of camera-based systems now include a touch trigger probe. This can be used with cranked or star styli to offer more measurement flexibility. This still doesn’t meet the flexibility of indexing or infinite positioning CMM heads or the accuracy that a high accuracy CMM can offer.
X-ray CT is another emerging technology that is trying to take the gold standard crown away from the CMM. Modern industrial CT equipment comes in a range of accelerator voltages and powers which are now able to penetrate a range of components from small injection molded plastic parts to large metal parts such as cylinder heads. X-ray CT has the advantage of being able to measure internal features and defects that a traditional CMM cannot reach. Some modern X-ray CT systems are capable of reaching sub-micron levels of accuracy like the CMM however these come with large scan times which make them less productive than the CMM. It is possible to scan at higher speeds with X-ray CT but this then decreases the accuracy of the results.
All of this means that the latest metrology equipment does offer some advantages when comparing to a traditional CMM. But if accuracy is key then CMMs are still the gold standard. On top of this, CMMs are still ever improving with 5-axis heads, laser scanners, shop floor hardened designs and an ever-increasing range of probes, such as surface finish probes, so that the traditional CMM can still compete and stay ahead of the new wave of incoming metrology equipment.
WANT TO KNOW MORE ABOUT MODERN HIGH-ACCURACY CMMS OR ANY OTHER METROLOGY EQUIPMENT?
At WENZEL our CMM range covers all parts and industries with our machines ranging from small XO CMMs with a measuring volume of 500mm x 500mm x 500mm up to large gantry and horizontal arm CMMs with widths over 4m and almost unlimited lengths. On top of this we have a extensive range of metrology equipment which includes X-ray CT, non-contact scanning machines and our newly released Gear Measurement Machine (GT) range.
Author:-
Joe Brennan
Technical Sales Manager
WENZEL UK Ltd.


