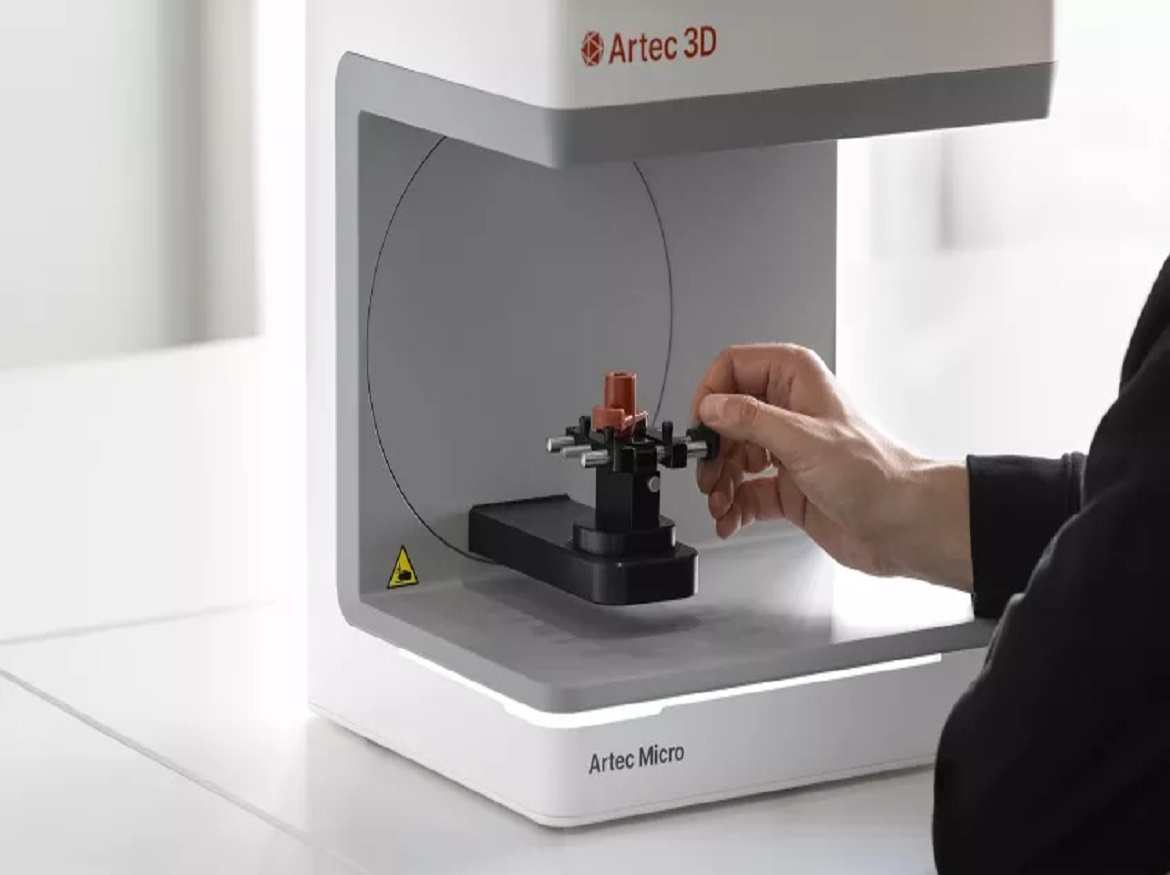
Artec 3D, a global leader in 3D scanning technology, has announced the new 3D scanner Micro II. The professional, high-accuracy desktop scanner, designed for the digitization of tiny to small objects, is ideal for use in a range of industries and applications where a stringent level of precision is essential – reverse engineering of small parts, quality inspection, forensics, jewelry, and dentistry.
Ultra-high accuracy for XS to S objects
Twice as accurate as its predecessor, the Micro II delivers 5-micron accuracy for the tight tolerance needed for quality inspection workflows. Repeatability is consistently demonstrated, too: scanning the same item will produce the same results, with a difference of less than 2 microns each time. This ISO-certified (ISO12836) desktop scanner is another high-technology addition to Artec 3D’s range of 3D scanners.
“With the new Micro II, we now provide double the accuracy and can scan a wider size range of objects, all with the same automated one-click workflow,” said Artec 3D President & CEO Art Yukhin. “Going forward, we continue to develop the algorithms, as we do for all our scanners. With the next release of Artec Studio, for example, we plan to add HD Mode to Micro II’s list of features.”
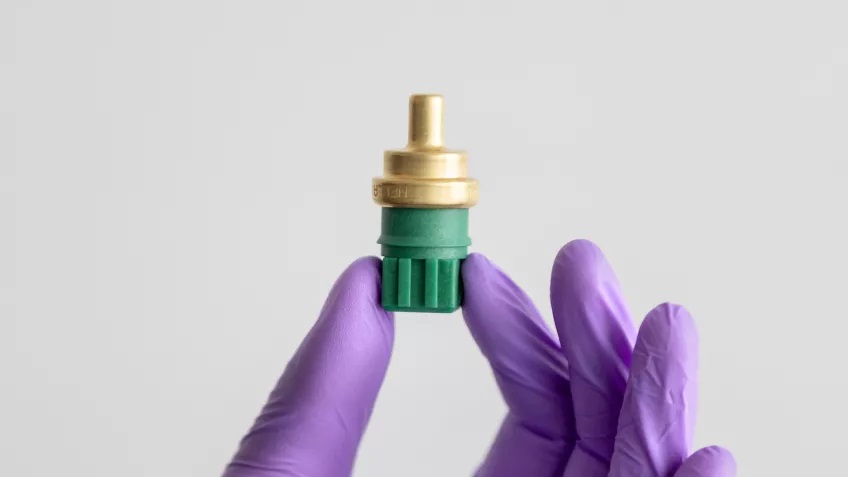
In addition to high accuracy, Micro II has a larger field of view, allowing users to capture an 18.5X larger volume and a far wider range of objects – up to 20 x 20 x 15 cm in size.
Automated & accelerated with Artec Studio
The Micro II is fully automated and requires little of its users: just one click. Powered by algorithms in Artec Studio software, the scanner initiates an effective scanning path, ensuring all angles are captured. Using four 13 MPX cameras, which see deep into holes and crevices, data is captured from 3 axes at a speed of 1 million calculations/sec.
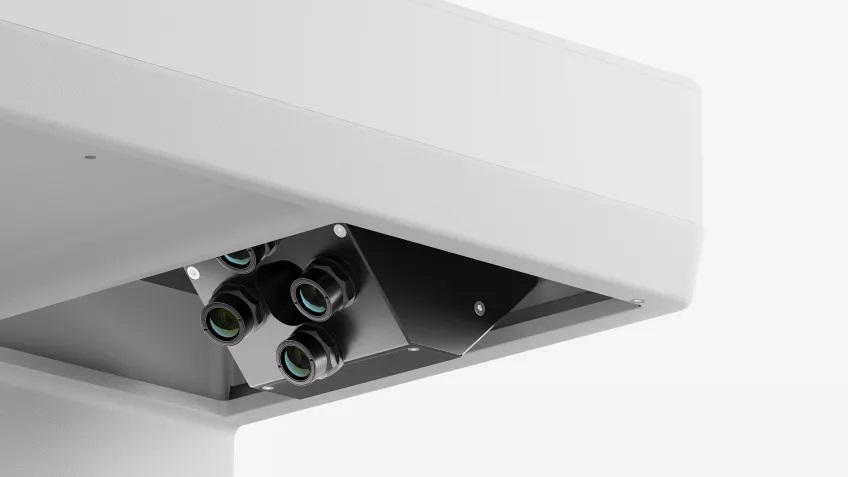
“Using Artec Studio’s superior view-planning algorithms, the scanner automatically positions your object to follow the ideal scanning trajectory. This ensures the object is captured from all sides, and in minimal time,” said Chief Technical Officer Gleb Gusev. “The Micro II is the perfect device for those seeking a one-button 3D scanning solution.”
The latest version of Artec 3D’s professional software, Artec Studio 18, takes scanning with Micro II to the next level. Quickly and easily inspect or reverse engineer right within the software, or take it further with Artec Studio’s Scan-to-CAD workflow: export to SOLIDWORKS or other CAD software.
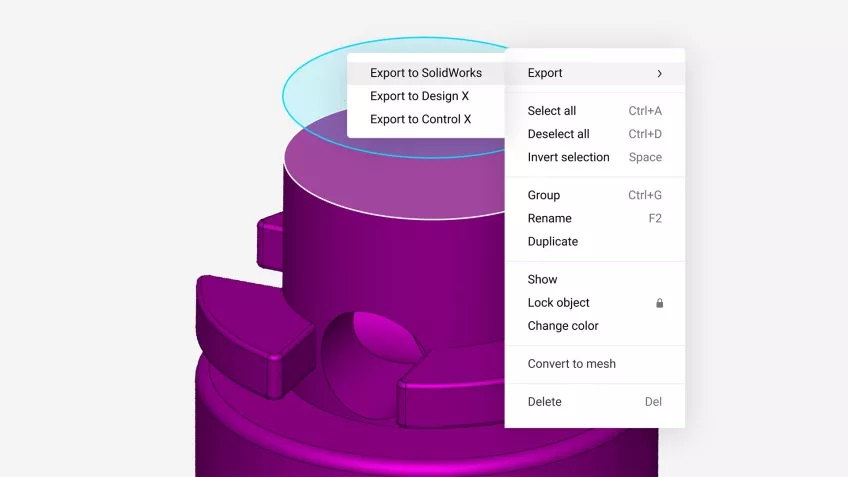
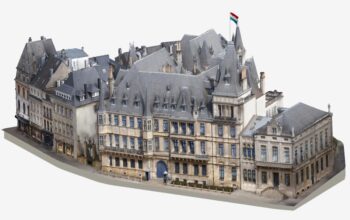
Additionally, as with all Artec scanners, you can seamlessly combine data from any other Artec scanner in Artec Studio to gain a complete picture of an item or scene without missing out on details or accuracy. Scans can also be combined with high-resolution photos for hyper realistic color models.
Click on the following link Metrologically Speaking to read more such news about the Metrology Industry.


