Nowadays there is a ton of buzz on the subject of AI for the factory. For manufacturers, this raises a lot of questions about
Author: metrologically
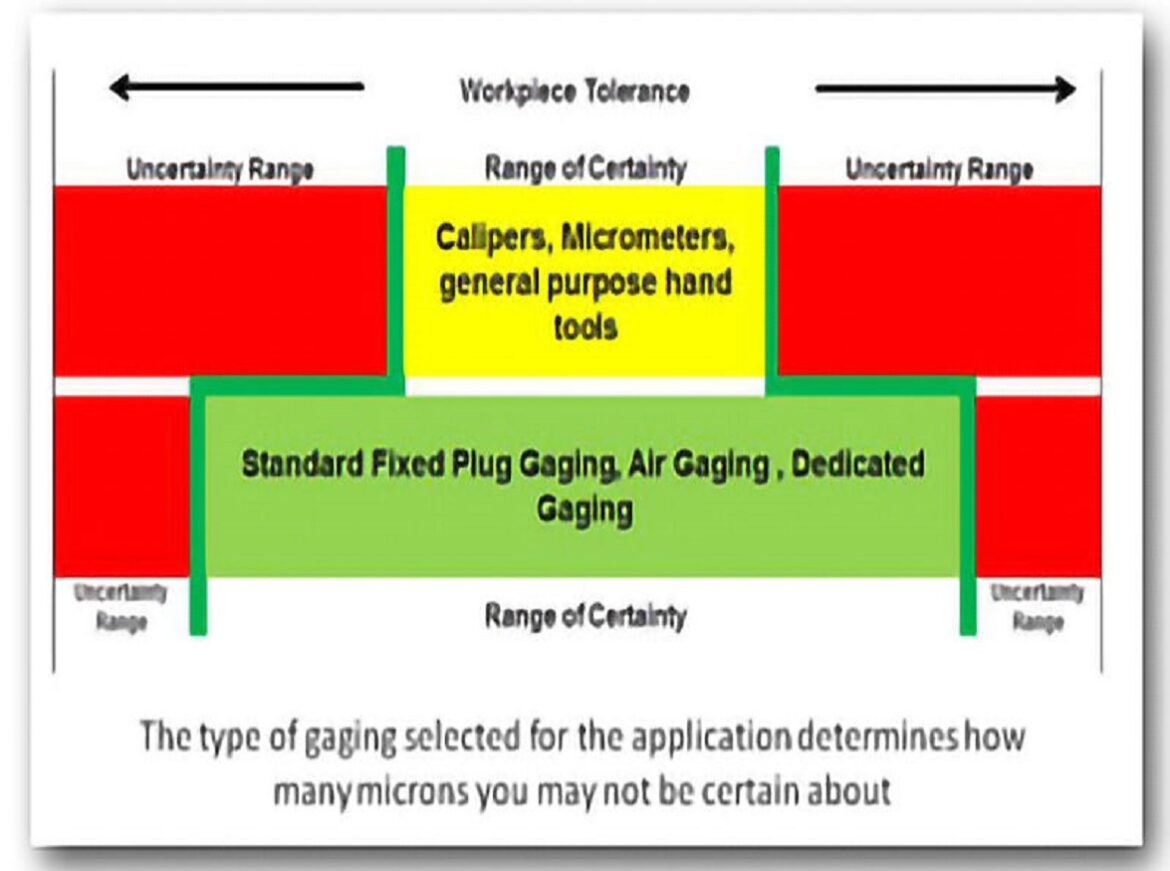
Losing Accuracy One Micron At A Time
Most gages on the shop floor provide a specified level of accuracy in conditions for which they were designed. But in the production environment, where
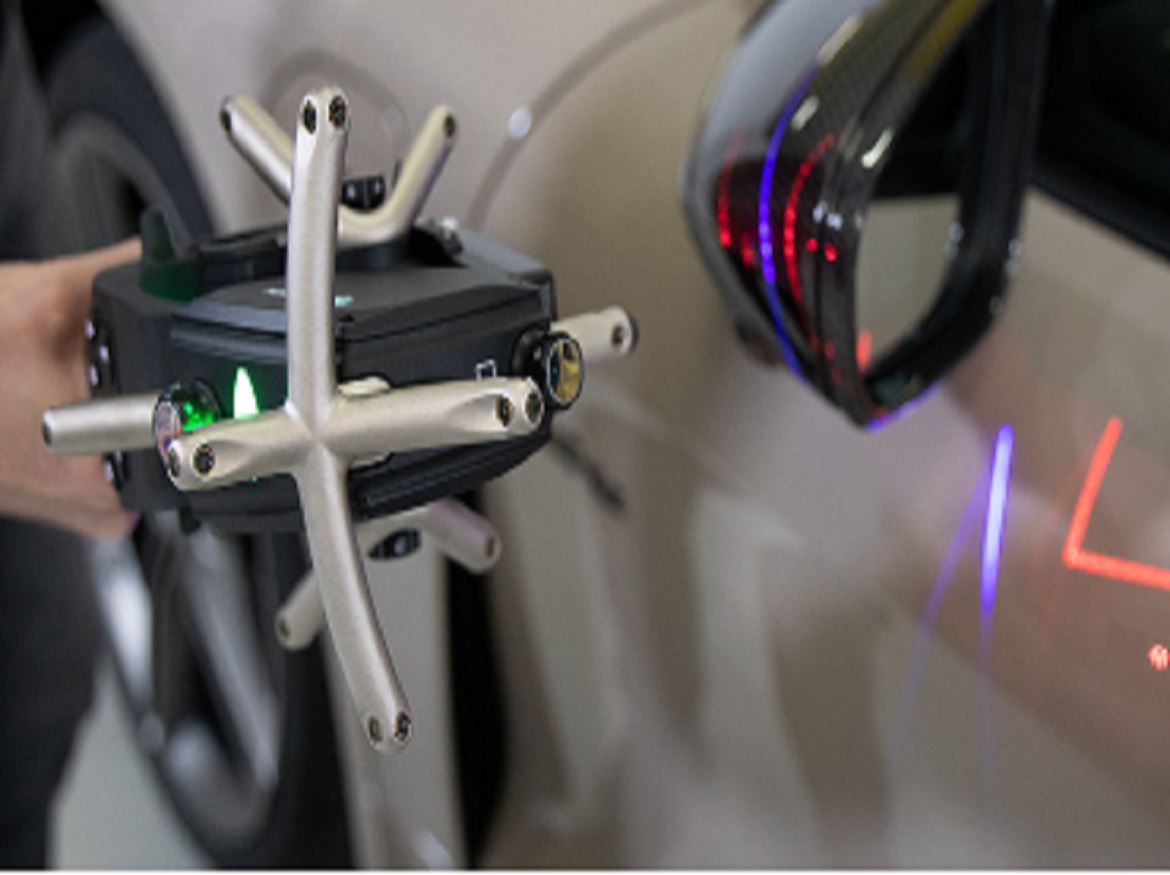
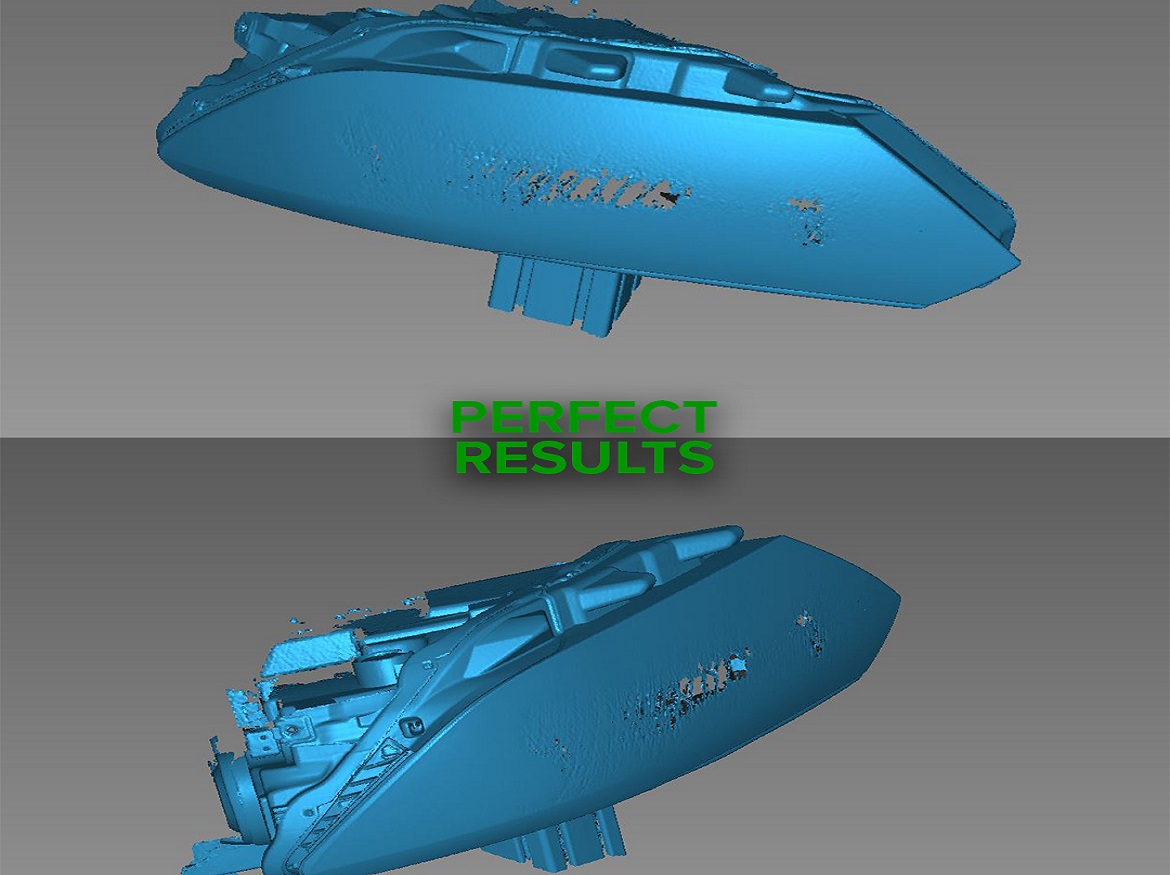
How does SHINE make laser scanning a more dependable metrology tool?
Innovation in 3D scanning In the past, part inspection was mainly all about tactile measurement. In the twenty-first century, technological improvements that have delivered
Pleora uses AI to boost quality control, accuracy, speed
Its two vision inspection offerings work with and learn from human operators, and are easy to implement, the company said. By Bruce Geiselman Manufacturers are
More efficient machining of 3D-printed metal parts
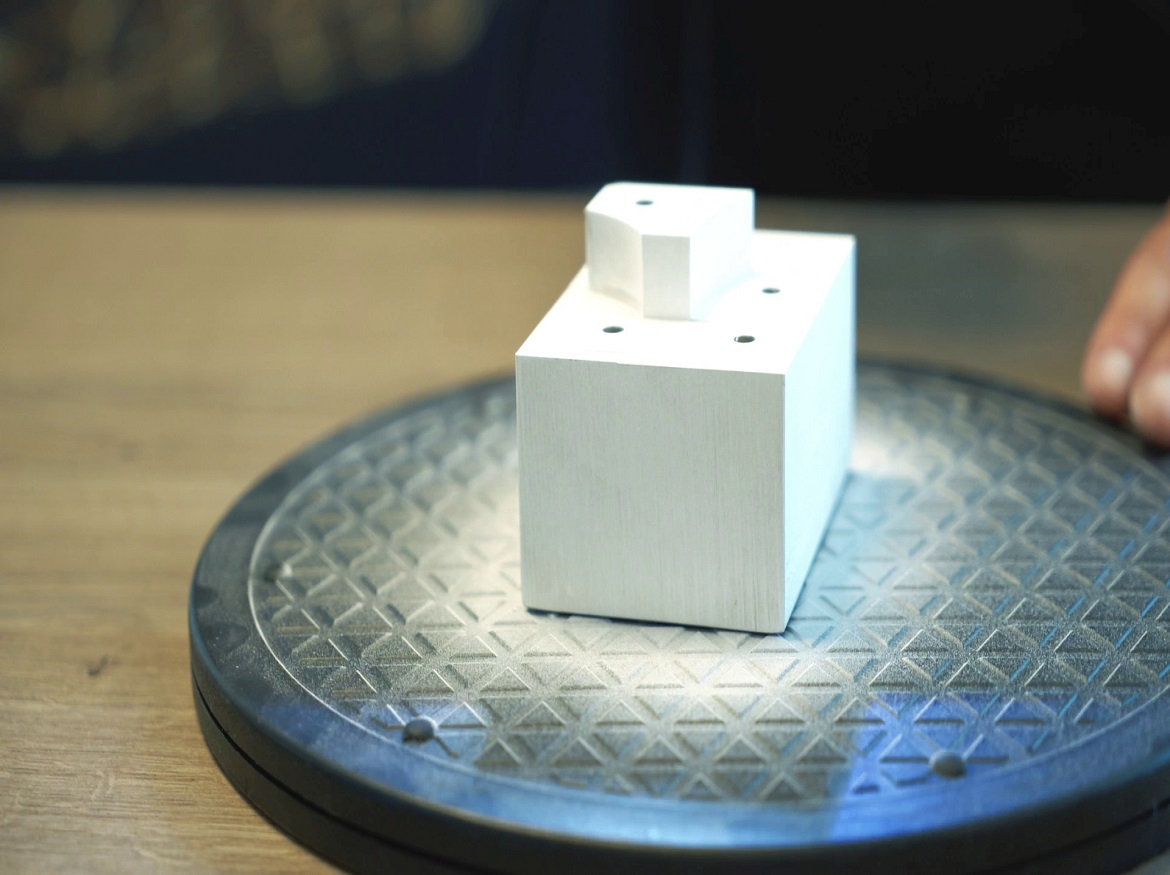
Greater precision – less scrap Scanning sprays for better detection of the workpiece location Precise milling processes require precise positioning of the workpieces on the
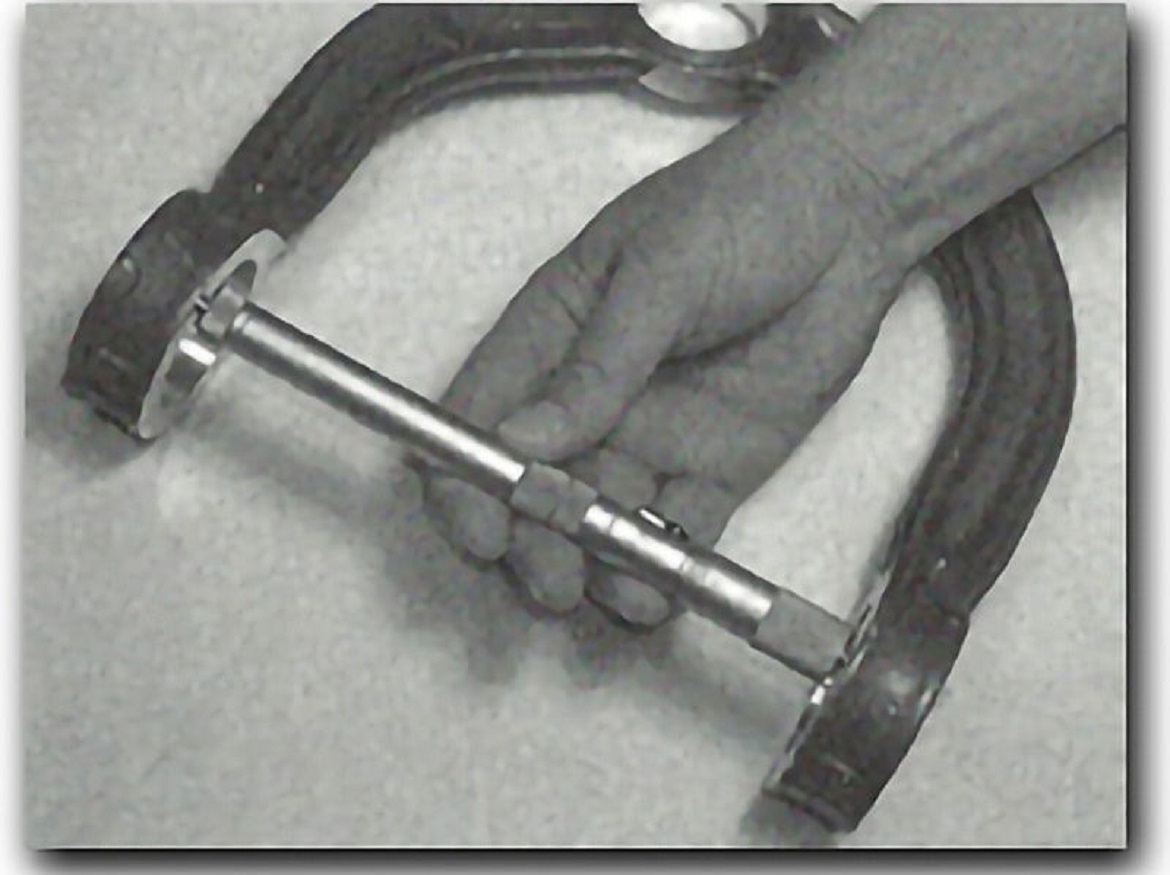
Stacking Up For Big ID’s
For those medium and large parts with inside diameters greater than four inches, an inside micrometer is often used as the inspection tool of choice.
Digitising cultural artifacts in Venice
Preserving cultural artifacts always involves a balance between public access and maintaining the object itself. In recent years that balance has changed. Non-contact metrology devices
FARO Zone 3D Forensic Scene Analysis Software Delivers New Photogrammetry Capabilities
LAKE MARY, Fla., Nov., 2022 /PRNewswire/ — FARO® Technologies, Inc. (NASDAQ: FARO), a global leader in 4D digital reality solutions, today announced the release of a new edition of FARO
CyberOptics Corporation Acquired by Nordson Corporation
Minneapolis, Minnesota — November, 2022 — CyberOptics® Corporation (NASDAQ: CYBE), a leading global developer and manufacturer of high-precision 3D sensing technology solutions, today announced Nordson
All steps for automated optical measurement in one application
The entire 3D measurement process at a glance: Spray, Program, Scan, Evaluate. The individual steps along the 3D scanning process will be demonstrated live at


