In 2019, the ZEISS Group acquired GOM, which became part of its Industrial Quality & Research segment. What does that mean in practice for customers
Author: metrologically
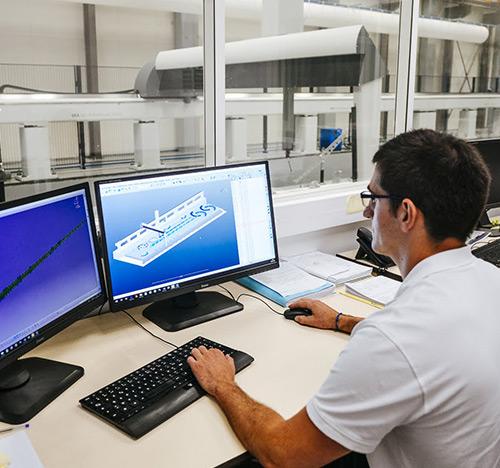
3D measurement by CMM:4 times faster; inspection at Figeac Aero using Silma and Metrolog X4!
A leader in aeronautical subcontracting, Figeac Aero is involved in almost all ongoing civil aeronautical programs. The company has been continuously growing since it was
Top 5 Human Errors in Manufacturing
Provide support for error-prone inspection tasks Written by Jonathan Hou, President at Pleora Technologies. For products in the consumer, parts, food & beverage, and print &
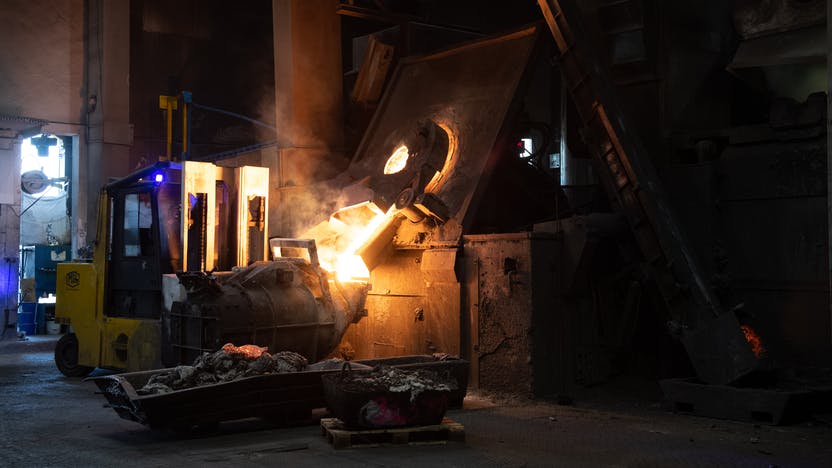
ZEISS X-ray machine: The ace to win new customers
MRB Guss guarantees quality with the ZEISS BOSELLO MAX 450kV Since December 2020, MRB Guss GmbH Herzogenburg near Vienna has been assuring the quality of
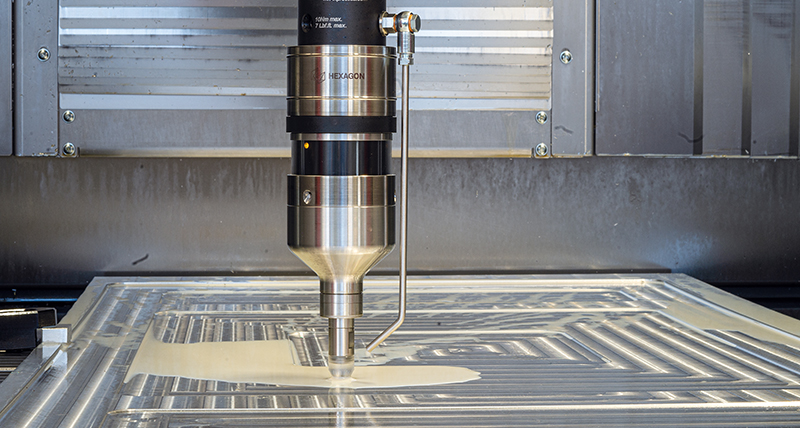
Wall thickness measurement on machine tools now available for wet applications
Hexagon’s Manufacturing Intelligence division has enhanced its ground-breaking ultrasonic probe for automated wall thickness measurement on machine tools with the launch of two new versions
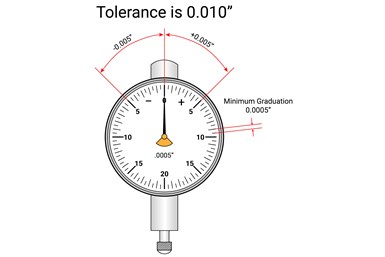
How to Choose the Right Dial Indicator
The article has been originally written by :- GEORGE SCHUETZ Director of Precision Gages, Mahr Inc. Digital alternatives are replacing dial indicators – but dial indicators can
Dimensional measurement of valves reduces rejection
Kendrion, supplier of automotive components, applies Alicona for the dimensional measurement of valves and successfully reduced rejection rates. Precise measurement accuracy and significant reduction in
How do I Calculate TUR?
This article is originally written by Henry Zumbrun, President, Morehouse Instrument Company. This article was published as a blog at https://mhforce.com/how-to-calculate-tur/ on Dec. 13, 2021.
The future of metrology
The below article has been directly reproduced as it is for our audience. The below link corresponds to the original article :- “https://www.npl.co.uk/foresighting/metrology” Accurate measurement
How 2M$ were saved on a 2-month project for STRUCTURAL TESTING using OPTICAL SENSORS
This article is written by Charles-Olivier Amyot . It is being re-produced here. To check-out to the original one, please refer to the link given below


