Scanning Probe Microscopy Image Metrology’s founder, Dr. Jan F. Jørgensen recently gave an interview discussing the field of Scanning Probe Microscopy, which below is re-produced
Author: Souvik Mitra
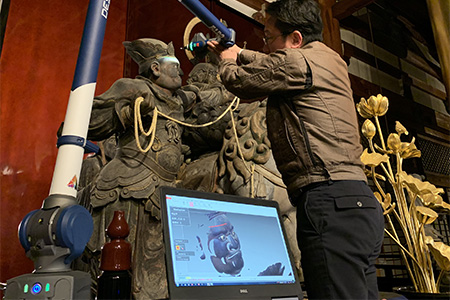
PASSING DOWN THE HEART AND ESSENCE OF CULTURAL ASSETS TO FUTURE GENERATIONS. COLOR SCAN TO ACHIEVE MORE IN REALITY AND 8-AXIS DESIGN TO SAVE SIGNIFICANT OPERATING TIME
“What should we do to preserve culture & history that have been handed down from our ancestors and to pass them down generations?” The answer
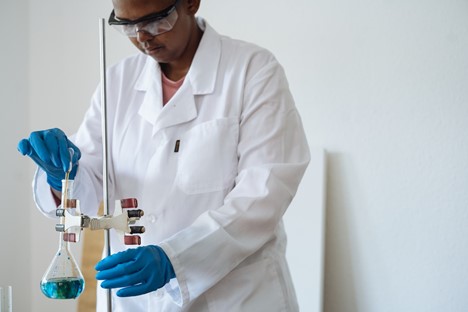
How Medical Businesses Can Benefit from CMM Technology | CMMYXZ
Medical devices play an essential role in many individuals’ daily lives, including both professionals and patients. As the medical industry and its demands change and
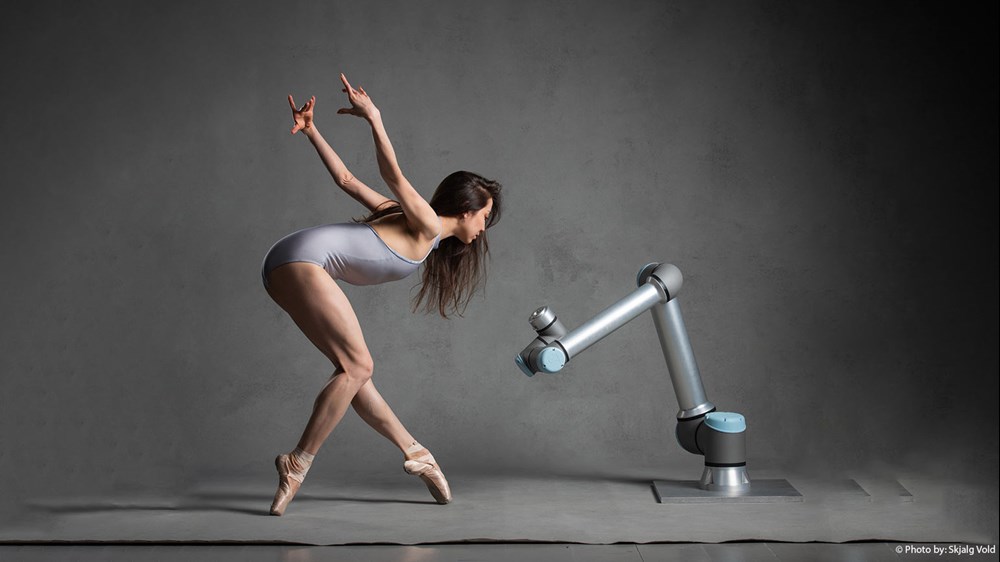
DANCING THROUGH THE PANDEMIC: HOW A QUANTUM PHYSICIST TAUGHT A COBOT TO DANCE
At the beginning of the pandemic, Dr. Merritt Moore didn’t realize that her only dance partner for the foreseeable future would be a cobot. This
Profile Projector Least Count
The below article is written by GJS Puri. Before stepping into the topic, we will first understand the definition of Least Count. Definition of Least Count
The Optical Comparator or Digital Profile Projector
The below article is written by GJS Puri. Optical Profile Projector in Metrology – An instrument that is known for non-contact measurement. We can define
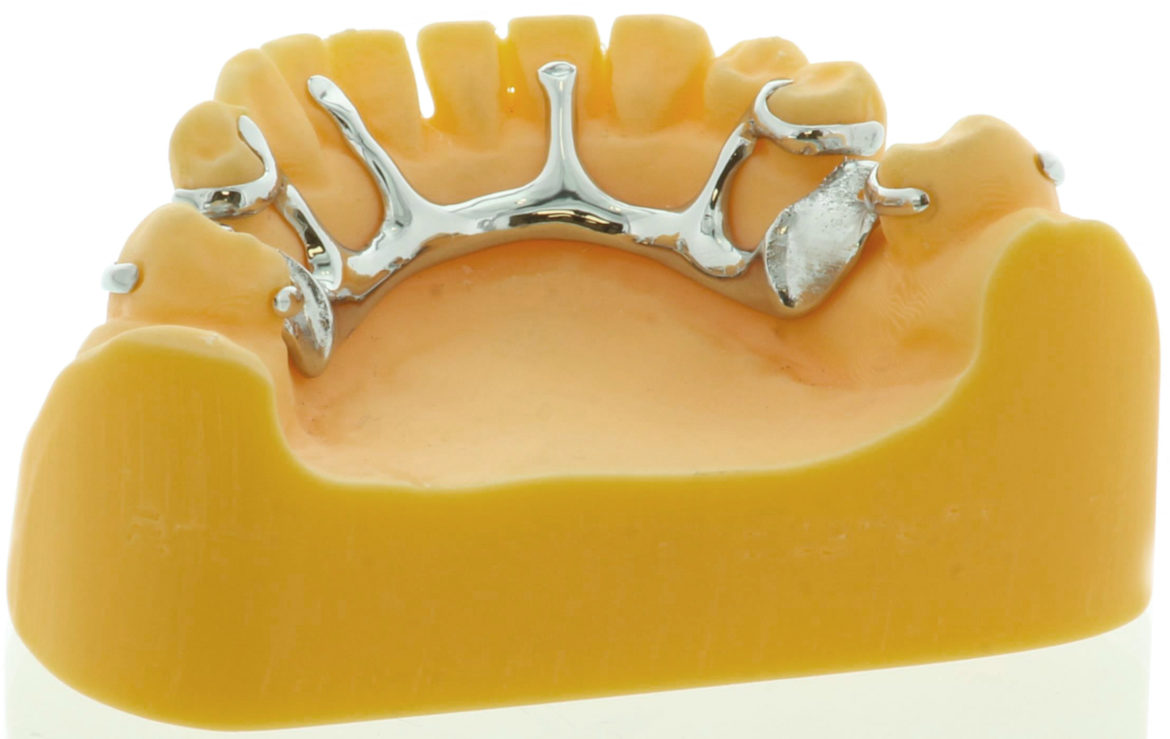
Egan adopts digital workflow for Removable Partial Dentures (RPD)
Global engineering company Renishaw worked with Egan Dental Laboratory to fully digitise the design and manufacture of Removable Partial Dentures (RPDs), also known as chromes.
BOSELLO HIGH TECHNOLOGY becomes Carl Zeiss X-ray Technologies Srl
ZEISS and BOSELLO HIGH TECHNOLOGY (BOSELLO) announce that the Italian supplier of solutions for industrial X-ray systems, is now fully part of the ZEISS Group
VALIDATING TOLERANCES
Ultra-precise dimensional measurements critical to risk mitigation under AS9100 Rev. C. Gear Manufacturing, Inc. (GMI), Anaheim, CA, was founded in 1989 with a mission to
ITER’S RELIANCE ON METROLOGY, THE SCIENCE OF MEASUREMENT
Over the next four years, ITER components arriving from hundreds of factories on three continents will have to come together very precisely—to submillimetre accuracy, in some


