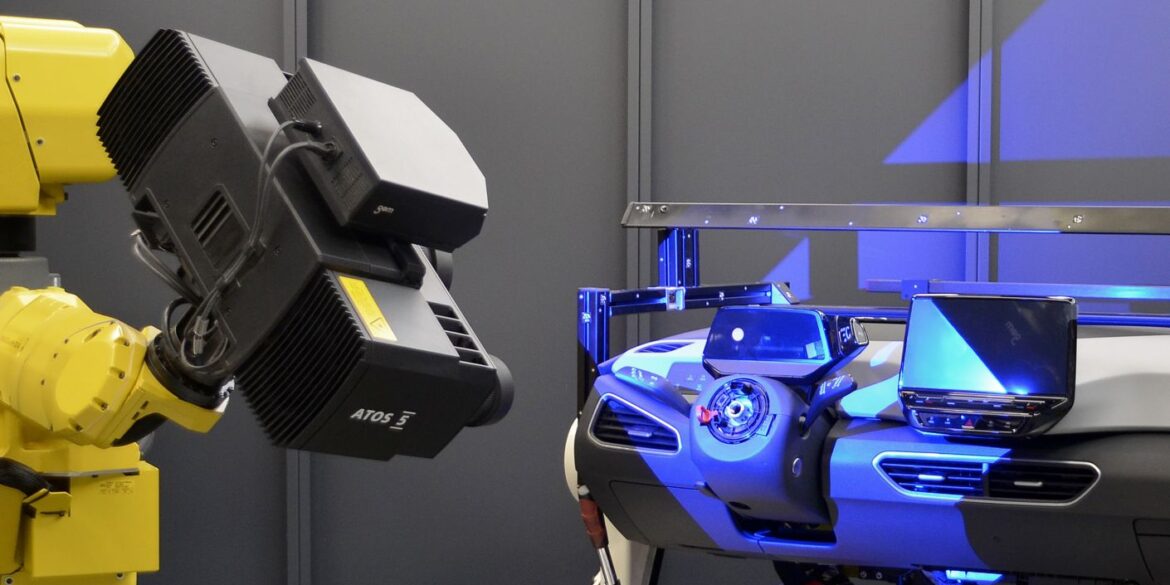
SAS Autosystemtechnik GmbH produces cockpit modules and covers all process steps – from assembly, shipment and installation to recycling. At the production site in Meerane, the cockpits are assembled in less than two hours and then shipped directly to leading automobile manufacturers.
SAS uses the ATOS ScanBox optical 3D coordinate measuring machine for first article inspections and serial quality control of the assembled cockpits – directly in production.
The customer necessitated that SAS captures the data of the modules specifically for the production of the new VW ID.3 cockpits and for ensuring compliance with quality standards. “During operation, we take random cockpits from the main production line to check them for any material defects. We then carry out a product audit and scan the part. Once this process has been completed, we reintroduce the cockpit into the production process,” explains Uwe Schulz, Metrology Engineer at SAS Autosystemtechnik GmbH. During the normal production process, the staff have only 20 minutes for this inspection. As a rule, they carry out at least five scans per shift – i.e., at least 15 scans per day in addition to measuring procedures in line or in series. The first article inspections come on top.

“We are now able to capture all inspection characteristics and functional dimensions of our parts.”
Uwe Schulz
Metrology Engineer at SAS Autosystemtechnik GmbH
Kiosk Interface simplifies quality control during series production
As a first step, Uwe Schulz prepares a measurement plan for his employees which they will use in the Kiosk Interface – a special user interface for a simplified operation of the ATOS ScanBox. “The Kiosk Interface is so intuitive that even colleagues without background knowledge can easily perform analysis measurements,” explains Uwe Schulz. The software handles the entire process control and automatically executes measuring and inspection procedures. It significantly minimizes any operator influence and is thus part of a reliable solution that meets the most demanding requirements where precision and data quality are crucial. “Another major advantage is that we have tied the Kiosk Interface to our product audit. It covers the entire reporting process. Any defects or the corresponding missing parts that are identified, are described in one of the input fields and then become part of the measurement report.”
GOM Inspect Pro allows you to identify material defects as well as other deviations and to initiate actions for corrections.

Detailed measurement data for easier analyses and evaluations
After having captured the data of the assembled cockpits, Uwe Schulz checks their surfaces against their CAD data. The scanned parts are visualized and evaluated in a color plot where the operator can identify deviations and material defects at a glance. If parts, such as the glove compartment, are warped or if the installation gaps for the decorative stitching of the passenger airbag do not match the CAD, SAS initiates immediate corrective action until the component meets the predefined standard. “We are now able to capture all inspection characteristics and functional dimensions of our parts. Especially the fact that we can combine our processes with the preinstalled GOM Inspect Pro software and its ease of use makes our daily routine so much simpler,” summarizes Uwe Schulz.


