Automated inspection solution ensures that vital aerospace engine parts are defect-free
An aerospace engine is made up of hundreds of components, each of which must be defect-free. People’s lives depend on Kt. A lesser but still valid consideration is that scratches, fissures, and other part imperfections can be costly if the flaws aren’t immediately discovered. OEM partners must supply zero-defect parts to stay in business, win more business, and protect their reputations.
With stakes that high, Bet Shemesh Engines Ltd. (BSEL), a leading supplier of aerospace technologies, must carefully consider its inspection process.
A jet engine is comprised of a gas generator, a combustor, and a turbine. The turbine sits at the rear of the engine and is powered by exhaust gases as they exit the combustor. Much of the turbine’s power is used to turn a turbofan, which functions as a high-tech propeller and sits inside a duct. The turbine is also responsible for air exhaust, which is expelled at high velocity.
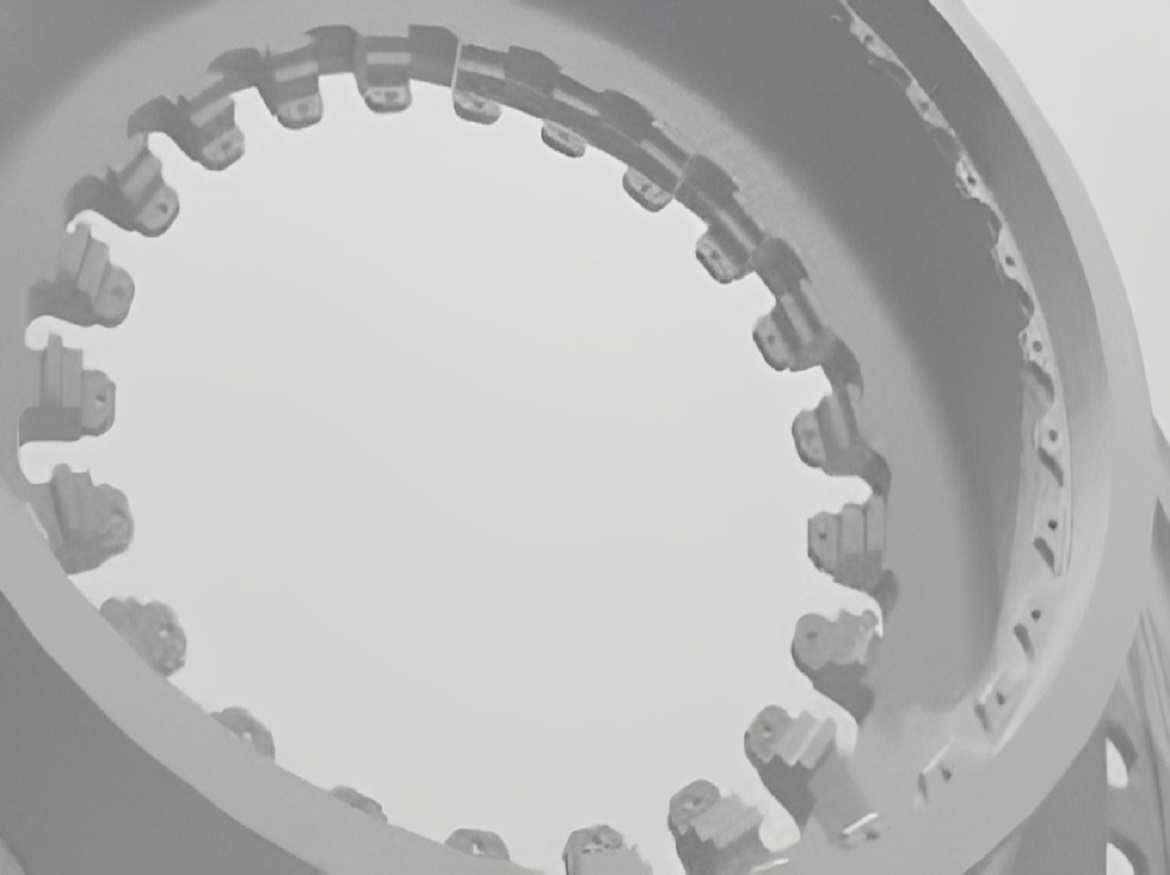
BSEL manufactures metal discs for turbines. The discs play a role in turning the turbofan blades, though they are technically part of the exhaust system. The metal discs range in size from 3 centimeters to 1 meter, are brightly metallic, and are produced by a CNC machine. BSEL manufactures discs in 23 variations. No matter the variation, each disc contains more than 200 inspection points.
Like many plants, BSEL relied on human workers to inspect parts used in its aerospace turbines. It took a person about one hour to thoroughly inspect a part for the smallest flaws, such as dents, fissures, scratches, and burrs. When inspectors discovered a pattern, they alerted manufacturers. If necessary, CNC machines were quickly retooled to correct imperfections. This reduced scrap and in turn cut costs.
Inspection System Limitations
BSEL managers felt that using human workers for visual quality inspection just made sense. Most automated solutions can’t independently verify products and assemblies for every defect. Many systems don’t have the machine vision, robotics, and other automation technology commonly used on quality assurance lines. Systems that include just some of these features are complex and hard to set up and use.
Humans can inspect parts in 3D, either by holding a part and moving it as needed or by inspecting it from all angles as it rotates. Most automated inspection technology relies on 2D fixed images, which aren’t thorough enough in industries where millions of dollars are at stake and where a tiny fissure can make the difference between a smooth flight and an aircraft engine stalled on the ground. In addition, even the most rigid human employees can modify their work to accommodate changes in products, processes, and environmental conditions. Machines aren’t so adaptable. For instance, at BSEL, shiny metal parts cast reflections. The reflections aren’t uniform, a fact that human Operators understand and can account for but that automated inspection equipment can’t be programmed to detect.
However, the complex, expensive discs posed a challenge for human Inspectors at BSEL, in part because the mirrored, reflective nature of the metal made It difficult for Inspectors to see defects. The high number of failure points and product variety also made It hard for human operators to find every flaw. The work was monotonous, and inspectors’ eyes tired easily. Inspectors worked In eight-hour shifts, and managers found that their accuracy dropped after mid-shift, which added time and expense to the production process. But accuracy was critical. Defects that made it through Inspection could affect the efficiency of a turbine. They could also shorten the life of a turbine and lead to early failure.
Automated Inspection Benefits
BSEL managers decided to investigate automated inspection systems that use the latest technology. They ruled out systems that use traditional, rules-based algorithms to define and identify defects. These algorithms are based on mathematical values and rules of logic but programming them into automated inspection systems can take days and weeks, depending on the product and the programmer’s skill level. Better is a software system with deep leaming capabilities. Such a system uses artificial intelligence [Al] and machine learning algorithms to “leam” and find true defects, just as humans do, through (well-controlled) trial and error. BSEL managers knew that Al and machine learning could save them time and increase accuracy. They sought a system that could learn in the same way humans do.
Since the solution would be used on reflective surfaces, images from fixed 2D cameras wouldn’t be feasible. To get accurate views in all dimensions, BSEL would need an estimated 600 still cameras for each part. Obviously, such an installation would be expensive and cumbersome. The company instead needed a system that looked at 3D views, could be trained in part identification, and used Al and deep learning algorithms to learn to find even the smallest regularities, BSEL managers reviewed many solutions but found that most of them couldn’t detect all defects or were extremely sensitive to reflection.
Since the solution wouid be used on reflective surfaces, images from fixed 2D cameras wouldn’t be feasible. To get accurate views in all dimensions, BSEL would need an estimated 600 still cameras for each part. Obviously, such an installation would be expensive and cumbersome. The company instead needed a system that looked at 3D views, could be trained in part identification, and used Al and deep learning algorithms to learn to find even the smallest regularities, BSEL managers reviewed many solutions but found that most of them couldn’t detect all defects or were extremely sensitive to reflection,
On the software side, the technology uses traditional machine vision algorithms, semantic detectors (pre-trained neural networks}, and Al and deep learning to identify flaws and to continuously improve its flaw-finding capabilities. The machine vision process involves image acquisition and defect detection and classification. This is a fast, accurate, and low-cost way to identify defects and anomalies. The system discerns parts based on color, geometry, and material. Deep learning takes these features to the next level to identify abstract part attributes, such as surfaces and edges.
With deep learning, an expert trains software using images of “good” and “bad” parts. The software then analyzes the images for features and relationships between features. Al helps deep learning improve on analysis over time, just as humans get better at their jobs over time. Kitov.ai is constantly developing and adding new pre-trained neural networks.
Because Kitov-CorePlus uses semantic segmentation and deep learning to differentiate between different types of defects, such as scratches and oil smudges, the system eliminates the identification of false defects. This innovative technology allows the manufacturer to group inspection locations and carry out multiple inspections in a single field of view.
BSEL implemented its first Kitov-CorePlus inspection plan and has already seen outstanding results. The system offers BSEL high accuracy in finding critical defects, the ability to find flaws on highly reflective parts, consistent inspection results, and the rapid creation of new inspection plans. The system’s 3D computer vision capabilities are critical for BSEL’s product inspection tasks. The ability to record all defects and inspection results, do root-cause analysis, and apply analytics to research failures allows the company to set up a continuous improvement process driven by Al algorithms.
With Kitov-CorePlus, BSEL slashed the disc inspection time from one hour to about 12 minutes. The company believes it can improve and capture additional business with its up-to-date inspection system, which will put potential customers’ minds at ease when it comes to defective parts. The aerospace supplier will still use human inspectors to communicate with manufacturing about necessary changes to tooling, find causes of flaws, and make corrections, but Kitov-CorePlus will do the rest.
Click on the following link Metrologically Speaking to read more such case studies about the Metrology Industry.


