Making hard-to-scan areas of parts visible
Easier optical measurement of shiny, transparent, and highly structured automotive parts
Whether body components, interior parts, or parts made from chrome, plastic, or glass – all must be examined carefully using measuring technology in order to check the dimensional accuracy.
A problem arises when parts are high-gloss, transparent, black, or highly structured because this makes it difficult for the scanner to accurately capture the part dimensions. Precise information about dimensional accuracy can barely be obtained if the scanner light is scattered/reflected, shines through the surfaces, or cannot reach recesses such as drilled holes. The challenges – gloss, transparency, significant recesses, or black surfaces – can be easily eliminated with one tool.
With a scanning spray, the critical part areas are transformed into precisely capturable surfaces within seconds. At the same time, the scanning spray from AESUB has the advantage of automatically sublimating i.e. vanishes but itself after a short time, thereby sparing users the time-consuming task of cleaning the parts after measuring. In addition, the spray can be applied directly in the measuring area. The high-quality measuring equipment does not get damaged, because the spray layer evaporates automatically.
The following application examples describe the use of the AESUB Scanning spray for a variety of challenges that arise when scanning automotive parts. The AESUB scanning sprays are distinguished from one another through colour coding into AESUB blue, orange, and transparent for the spray cans, and yellow and green for the container solutions.
Shiny chrome parts (with AESUB blue)
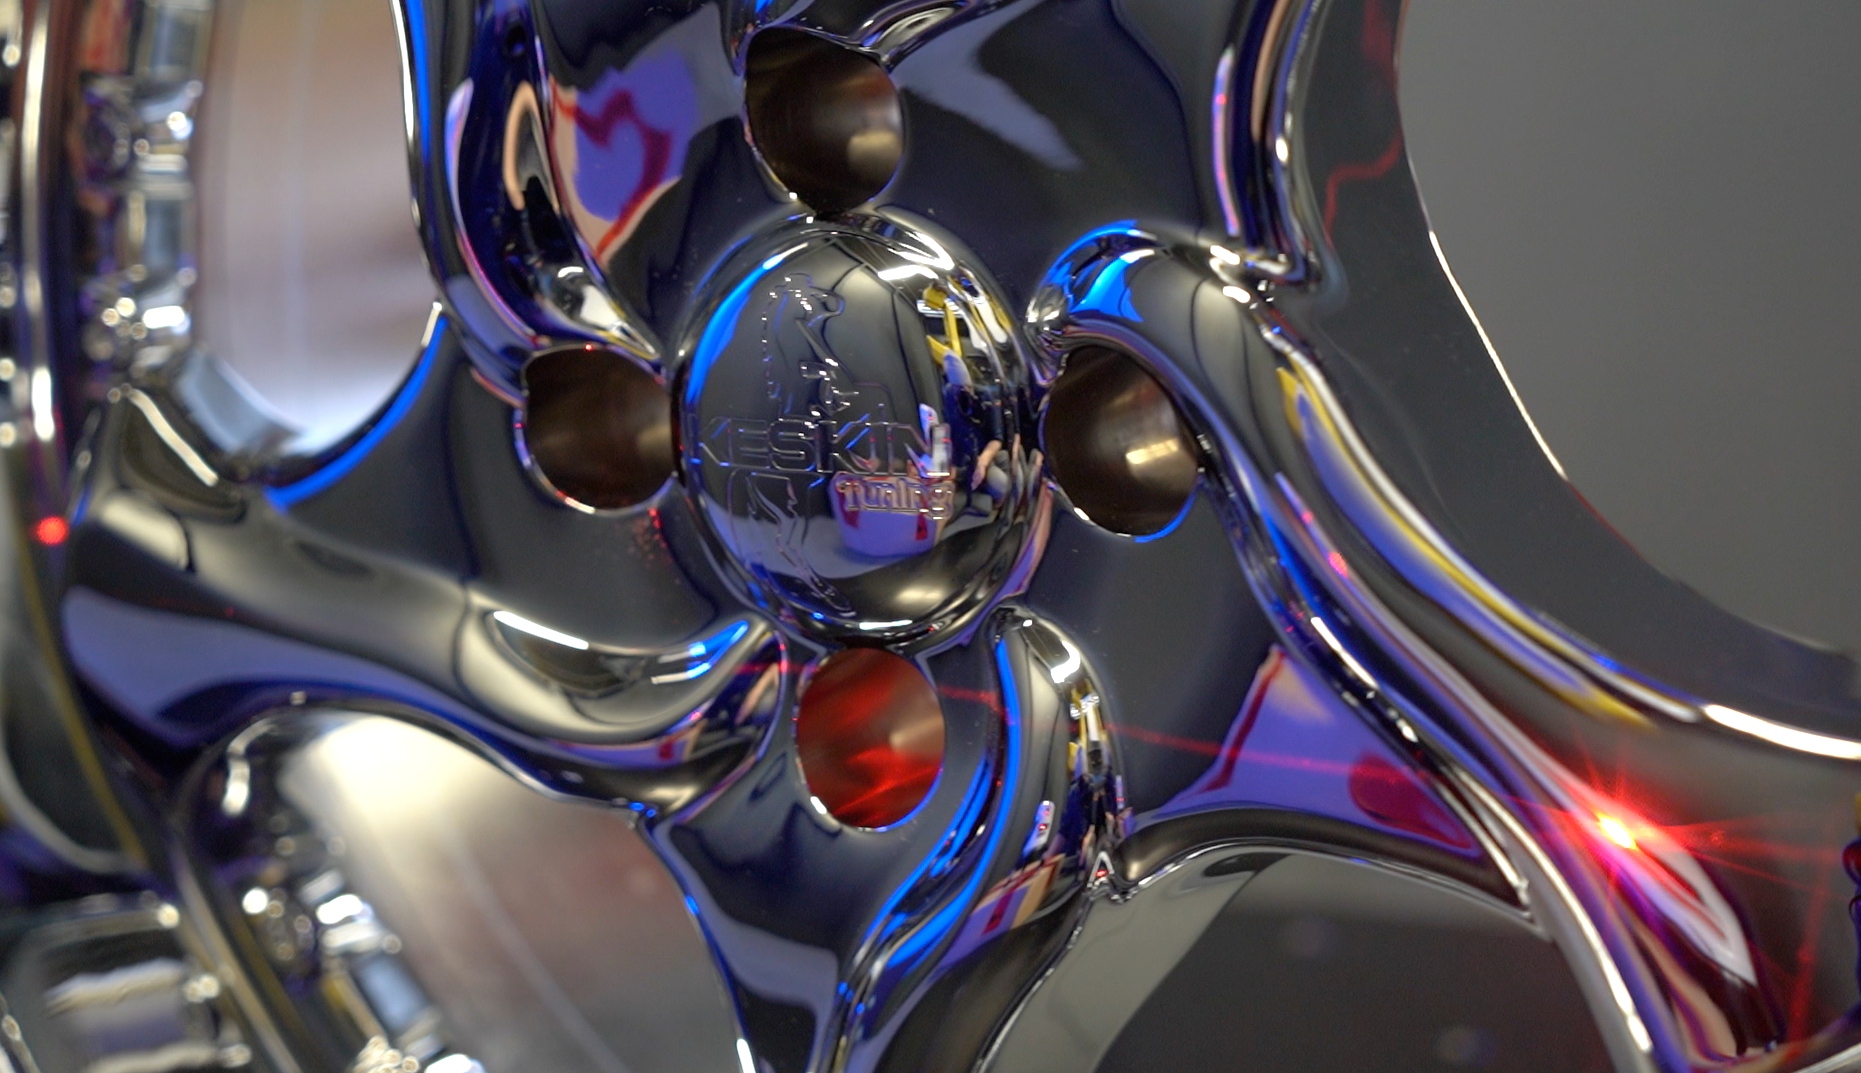
The special look achieved by polished or chrome-plated car rims makes them a real eye-catcher on the road. However, they first present the measurement engineer with two challenges. This is because both the high-gloss and hence reflective surface and the distinctive recesses in the rim structure, for example in the case of multi-spoke, double-spoke, and drop center rims, are hard to capture with optical scanners. To make the wheel rims measurable, they have to be pre-treated. There are scanning sprays available for this purpose which give the rims an anti-reflective coating. At the same time, the dark, difficult-to-see recesses become more easily visible thanks to the white matting layer. This generates high contrast values so that precise digitalization can take place.
Here, the scanning spray AESUB blue with a layer thickness of 8 – 15 µm was used for the scan. The time window for measurement of the wheel rim is – depending on the ambient temperature – around two hours before the applied spray layer starts to sublimate.
Soiled sheet-metal parts: oil-stained underbodies (with AESUB green)
A car’s aerodynamics are influenced by many factors, including the underbody. Irregularities and structures in the underbody negatively impact air resistance and thereby speed, and ultimately fuel consumption. A smooth underbody surface, by contrast, enables the air to flow unimpeded around the vehicle. In order to optimize the aerodynamics of existing underbodies, they first need to be precisely inspected. The difficulty: the (in most cases) heavily soiled areas are dark and therefore difficult to capture with a 3D scanner. Here too, the areas to be scanned must be prepared in advance. Frequently, conventional sprays cannot be applied to greasy and lubricant-soiled surfaces. The scanning is made easier with the scanning spray AESUB green, which also adheres to oil-stained surfaces and forms a homogenous layer measuring 5 – 12 µm. As a container solution, it is designed for large areas and is applied using a cordless spray gun. This particularly facilitates the spraying process when working overhead on a lifting platform. With AESUB green, the measurement engineers have a good six hours for scanning. After approx. ten hours, the layer has already completely disappeared again.
Transparent plastic and glass components: lamps and windscreens (with AESUB orange)
Optical measuring techniques require the light to be reflected from the surface. But this is not the case with transparent surfaces such as windows and headlights. These are difficult to scan. The transparent surfaces cannot reflect the scanner light. The light passes through them, which means that the part structure cannot be captured. This problem can be quickly eliminated by means of a brief spray treatment. Scanning sprays result in clean, matt surfaces and make scanning possible.
Also helpful for referencing is the fact when using the scanning spray from AESUB, reference points known as AESUB Dots adhere to the sprayed surface and thus make the whole digitalization process even easier. If the scanning process is more complex, then AESUB orange may be used instead of AESUB blue. This remains for a longer time before starting to disintegrate again.
Coloured plastic parts: taillights (with AESUB transparent)
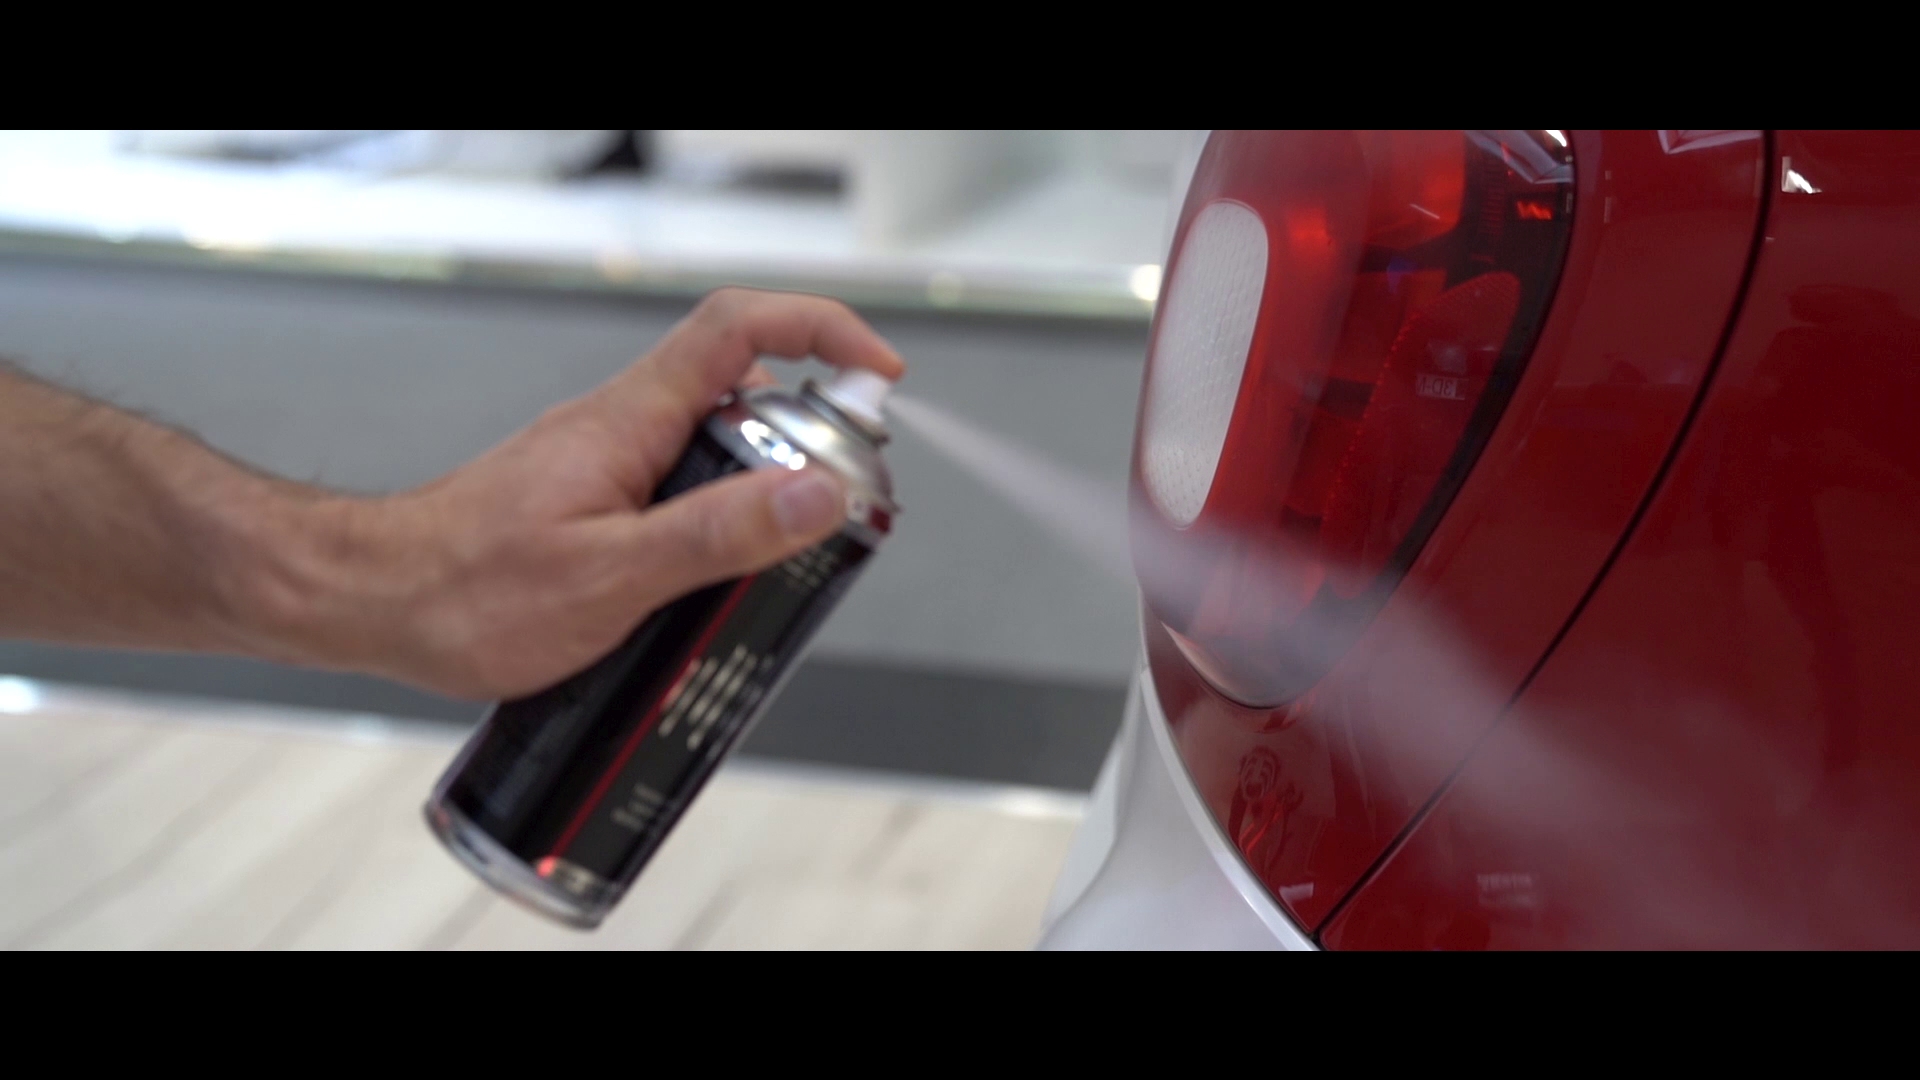
It is not always just a case of capturing the part dimensions. Colour values are often required too. Using a normal scanning spray that forms a white spray layer, however, the colour information cannot be determined. For these scenarios, there is a transparent spray available. AESUB transparent temporarily mats shiny surfaces with a slightly transparent film. By this means, optical scanners can capture both the surface contours and the colour values. The transparent film has a thickness of approximately 8 to 15 µm and disappears again after approx. four hours.
Reflective sheet-metal parts: pressed bodywork outer skin parts
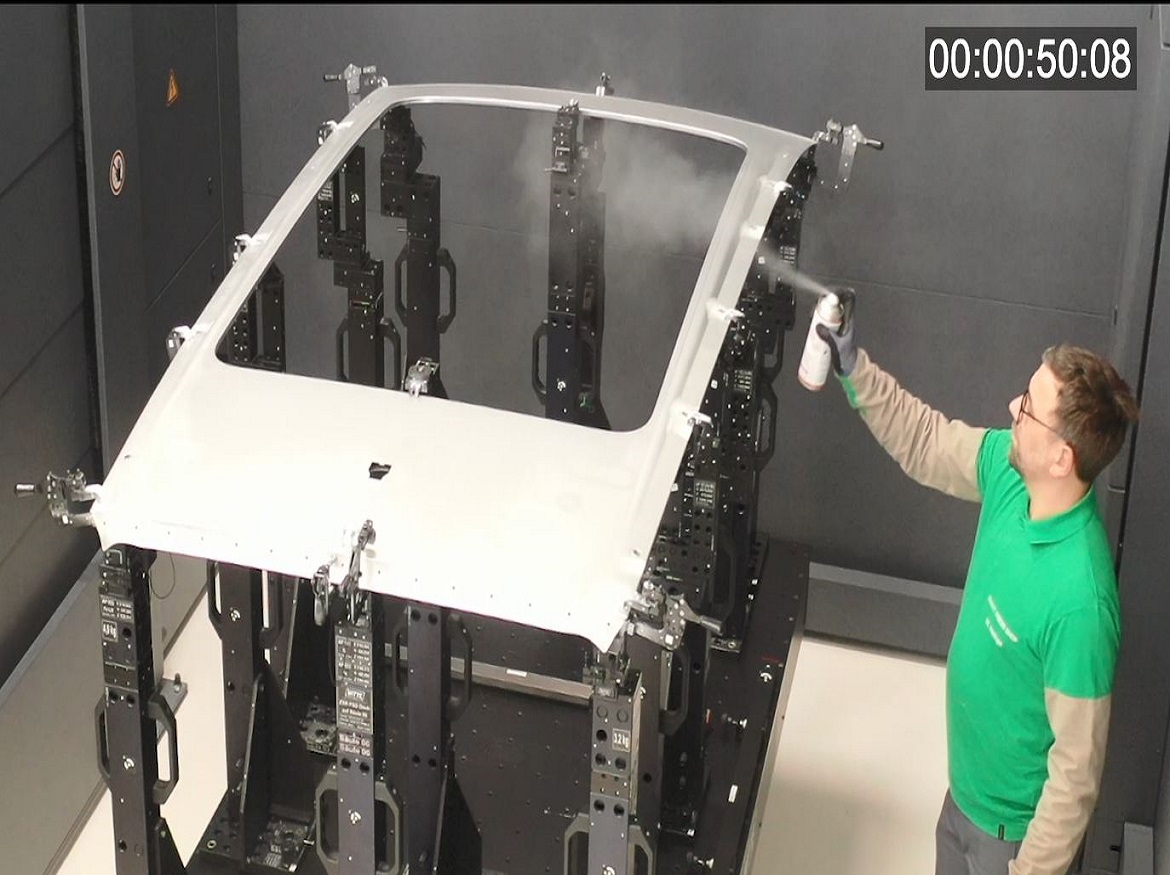
The surfaces of pressed sheet-metal parts, e.g. bodywork outer skin parts, are very smooth. As a result, the light is reflected during scanning. For this reason, capturing the part dimensions across the whole surface is not possible. Consequently, in the Smart Press Shop, a joint venture by Porsche and Schuler, a scanning spray is used to accelerate and optimize the measuring processes. Here, the sublimating scanning spray makes an important contribution to improving the efficiency of the manufacturing methods: “The time-saving through AESUB is huge,” emphasizes Anja Zyla, team leader in the measuring technology department at the Smart Press Shop. The whole measuring process becomes more reliable and the handling more straightforward thanks to the informative results. With the spray from AESUB, more parts are measured in a shorter time.
For large parts, such as car bonnets or roofs, there is a further tool: a reference point net. With this, the area to be scanned is covered with reference points all over its surface in just a few seconds. This is standard up to a size of 1500 x 2500 millimeters. Until now, the points had to be stuck on individually and removed again after the scan. With the net, at least 300 magnetic reference points are affixed quickly and can be removed again just as rapidly.
Shiny, dark plastic parts: black vehicle interior
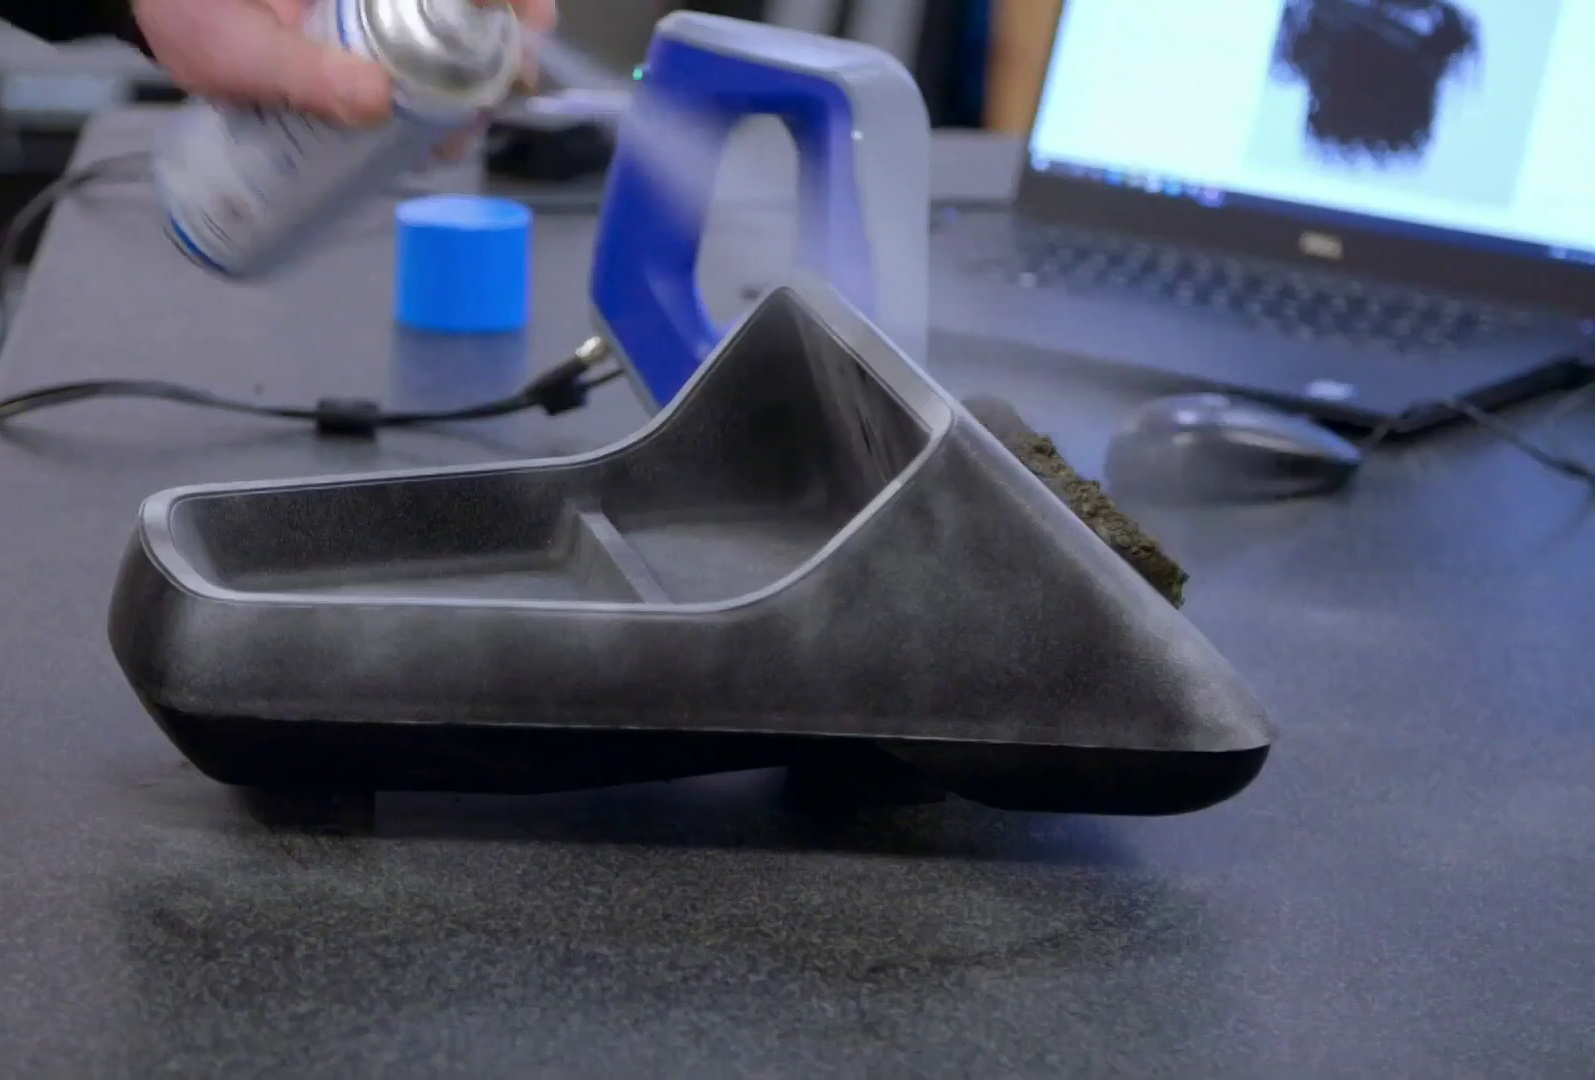
Interior car parts such as dashboards or center consoles frequently consist of black, structured plastic. The different design elements, along with indentations and recesses, make it hard for the 3D scanner to additionally check the accuracy of fit. Here too, the surface can easily be made antireflective with a matting spray. At the same time, the white spray film makes the dark recesses visible.
Homogeneous matting for scanning shiny, transparent, and black part surfaces
Scanning sprays make it considerably easier to measure transparent, shiny, black, and highly structured parts. Within just a few seconds, high contrast values appear on the previously problematic surfaces thanks to the sprayed layer. When using a scanning spray from AESUB, the part can be sprayed directly on the measuring machine. The sensitive measuring equipment is not negatively affected, because the spray evaporates after measuring. A further advantage of this is that no cleaning of the parts or measuring environment is required. With conventional sprays, by contrast, the work and/or expense involved in cleaning is considerable. Particularly with tricky geometries and recesses, the evaporating spray saves lots of time. Removing the matting layer of conventional sprays which adhere stubbornly to the surface would have taken at least one to two hours in the case of a car rim.
With conventional sprays, the sprayed parts cannot be used again, because they are damaged during cleaning, or never become clean again at all.
A flawless measuring process requires a homogenous spray layer. If the sprays are too liquid, drops and puddles are the result. If they are too viscous, then the material is applied too thickly, distorting the results.
The ingredients in the AESUB scanning sprays are fine-tuned in such a way that they can be applied very finely and evenly. Depending on the AESUB spray variant, the layer thickness is between 0.5 and 15 µm. Compared with conventional scanning sprays, AESUB does not contain any pigments that become deposited in the sensitive measuring environment. For example, they do not contain any titanium dioxide, which is hazardous to health, something which significantly increases acceptance in the measuring room. The sprays have high material compatibility which means that high-quality materials such as chrome are not damaged.
Click on the following link Metrologically Speaking to read more such news about the Metrology Industry.


