Global engineering technologies company, Renishaw, has renewed its partnership with British sailing team INEOS Britannia (formerly INEOS TEAM UK) as they work towards the 37th
Category: MS Promotion
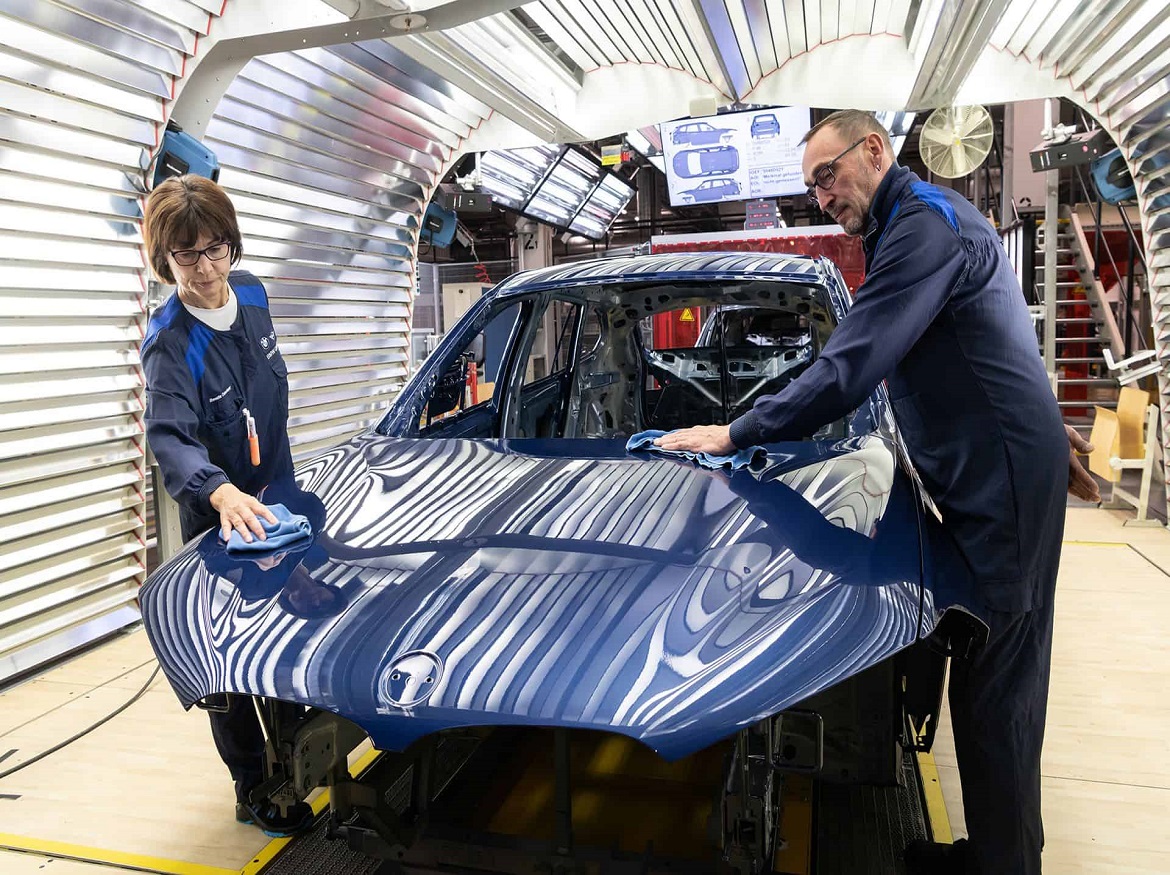
AI-Powered Paint Testing Launches at BMW Plant Regensburg
A state-of-the-art procedure for examining, processing, and labeling painted vehicle surfaces is being implemented at the BMW Group Plant in Regensburg. The first of its
MSC Industrial Supply Co. UK becomes a Renishaw Official Channel Partner
The UK’s leading distributor of metalworking and MRO industrial consumables, MSC Industrial Supply Co. UK (MSC), has been added to Renishaw’s official Channel Partner Programme.
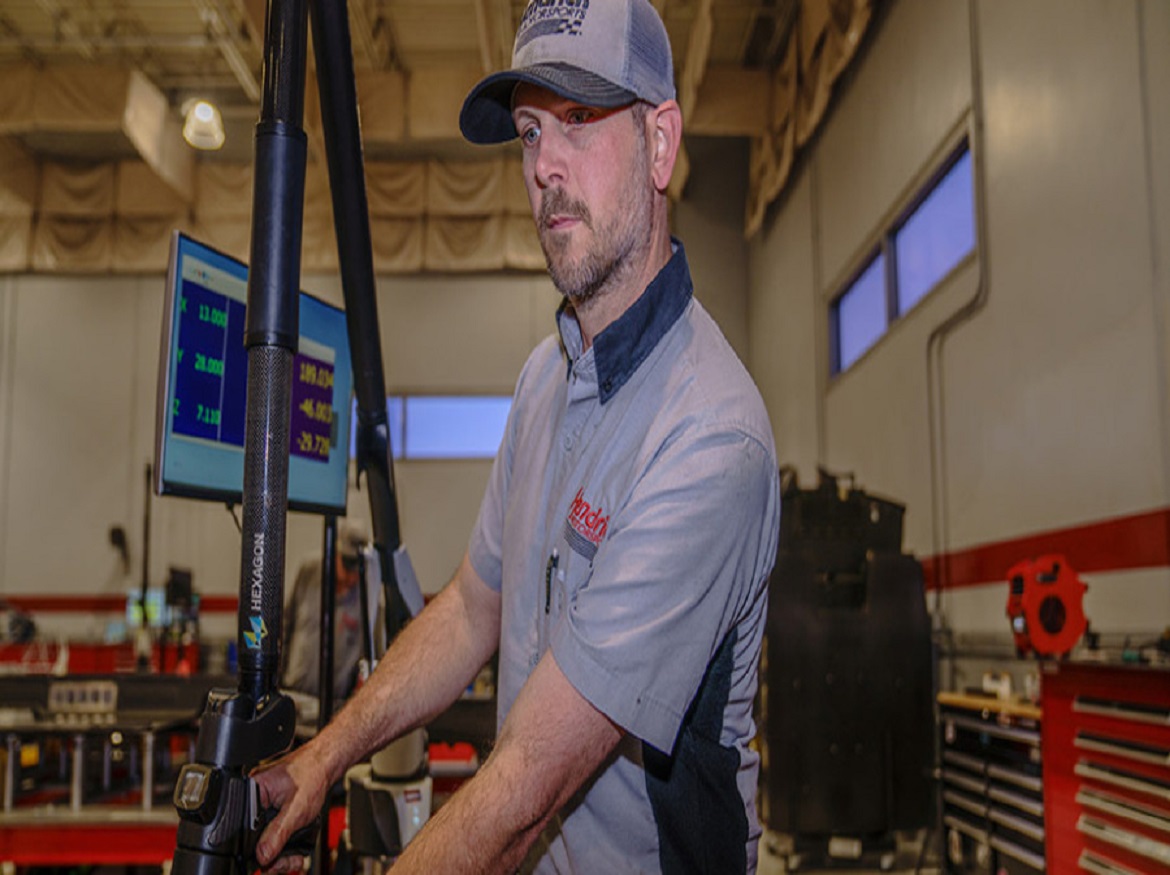
Hexagon and Hendrick Motorsports Join Forces to Revolutionize Racing Innovation
Hendrick Motorsports, a 14-time NASCAR Cup Series champion, has added Hexagon as its official hardware and software partner for metrology for the ensuing ten years.
Cambridge Spin-Off Backed by ZEISS Ventures for 3D Imaging Flow Cytometry
The investment in ZOMP, an early-stage start-up based in Cambridge, UK, which is developing a 3D imaging flow cytometer that enables very accurate quantitative imaging
Gary Confalone receives the 2023 ASQ Hromi Medal
Gary Confalone will receive the 2023 ASQ Hromi Medal, ECM: A Division of In-Place Machining Company is happy to announce. The Hromi Medal Committee of
Automated Metrology – Moving from Bottleneck to Productivity
Automated metrology systems are developing as a game-changer in the industry as demand for precision production keeps growing. These technologies are rapidly changing from a
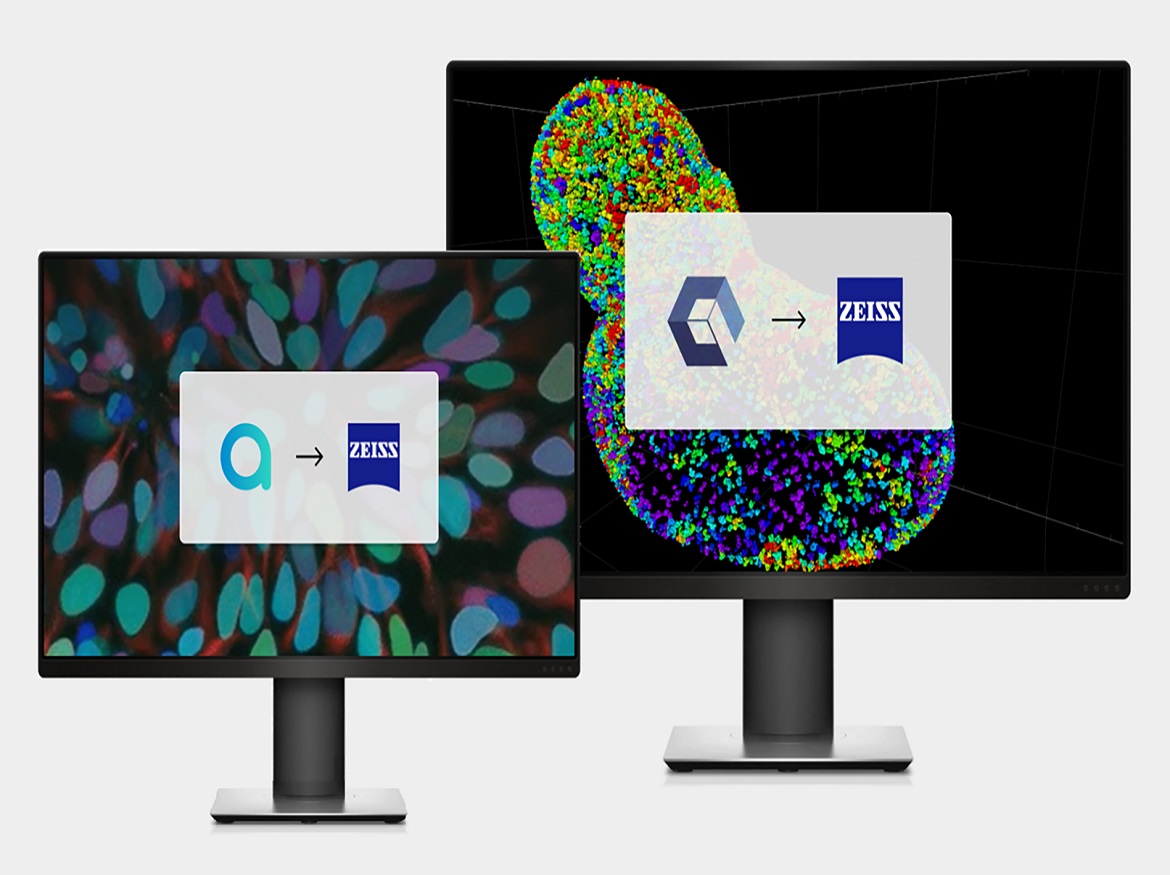
Arivis and APEER, Image Analysis Platforms, to Undergo Major Brand Refresh
Arivis software product family to include APEER, under the trusted ZEISS brand 4 APRIL 2023 APEER and Arivis will come together to create an expanded
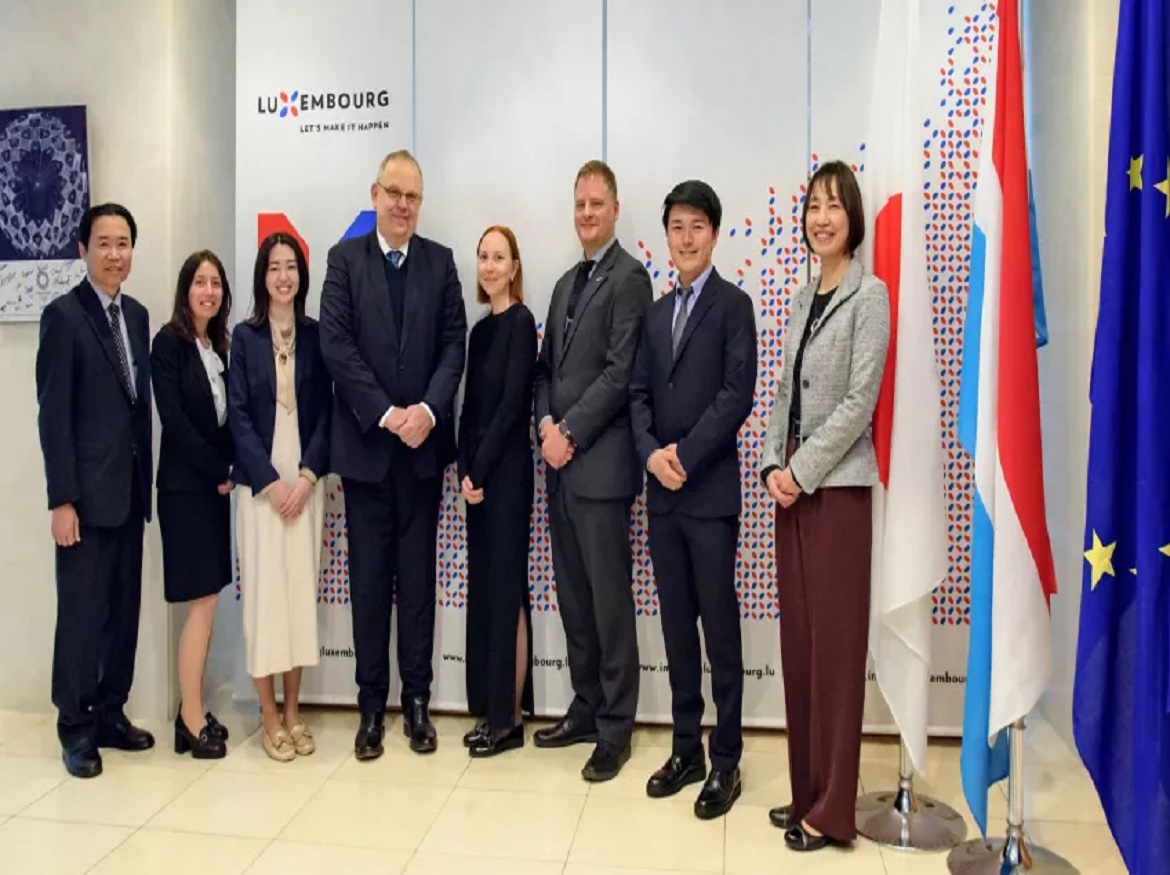
Artec 3D Opens Japan Office to Support Clients and Resellers in the Region
Following a more than 15-year presence in Japan via its resellers, Artec 3D, a well-known creator and manufacturer of professional 3D scanners and software, today
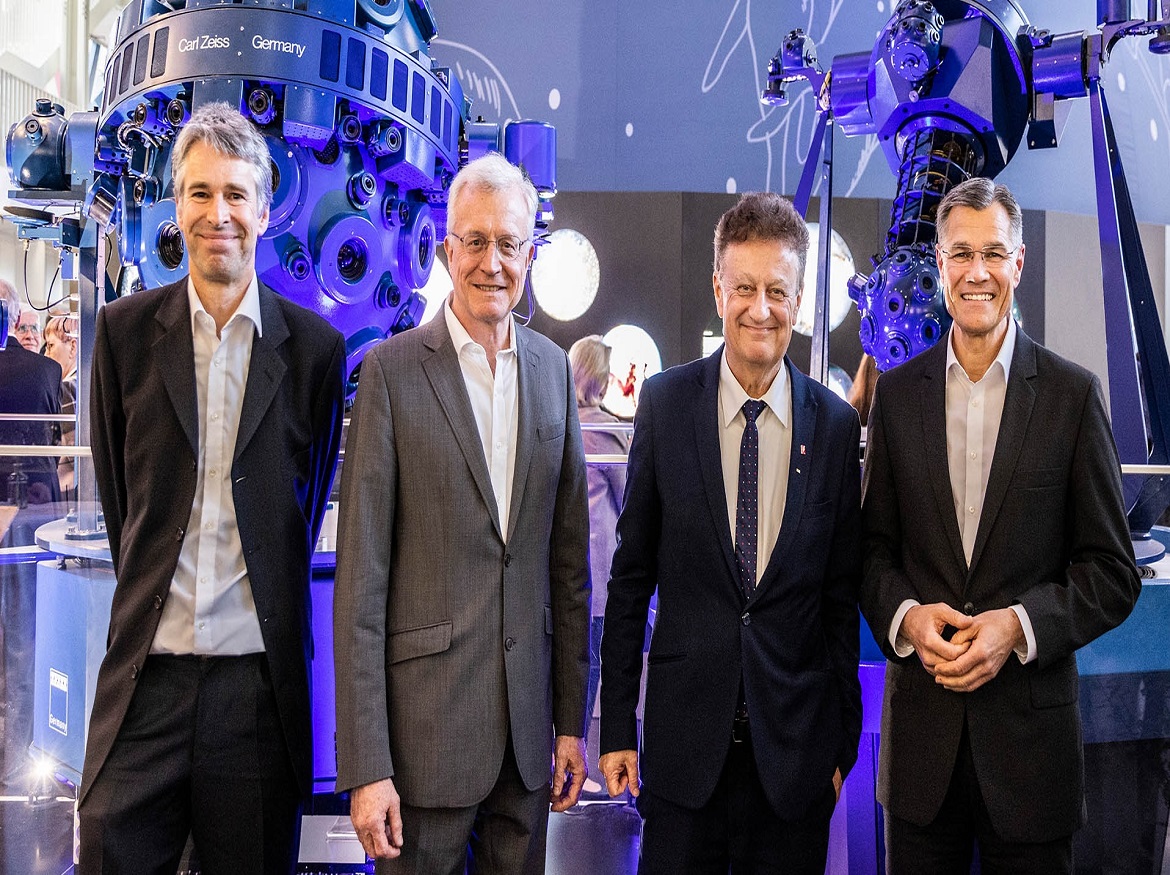
ZEISS Marks “Centennial of the Planetarium” Anniversary
The Deutsches Museum in Munich is displaying the intriguing history of planetariums in a unique exhibition with the same name to commemorate the celebration of


