Coordinate Measurement Machines Explained.
What is a CMM?
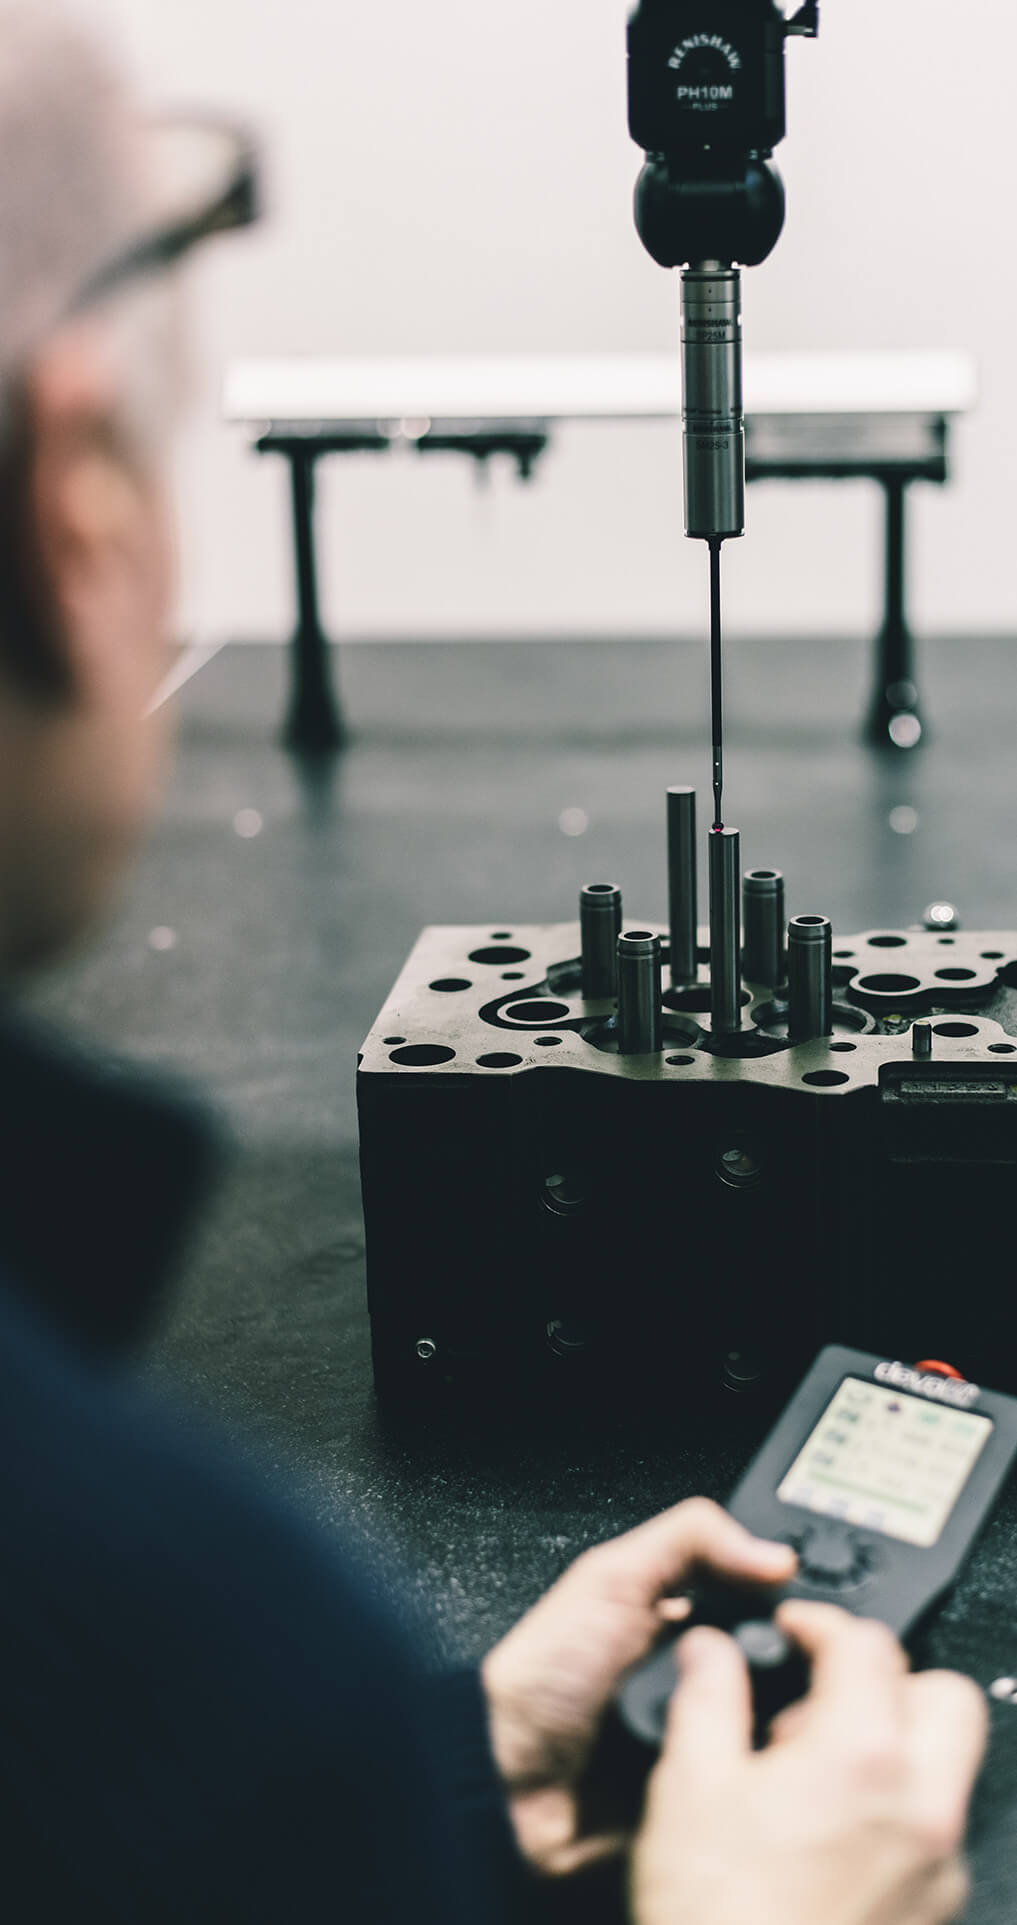
A classic, bridge-style coordinate Measuring Machine (CMM) accurately measures the geometry of an object along X, Y and Z axes using a touch-trigger, scanning or vision probe to take a series of precise points on the surface of an object.
CMMs can be made from a wide variety of materials, however a combination of granite and aluminium has been widely adopted by the industry due to its stiffness to weight ratio and allowing the constructed materials to be thermally dynamic. Changes in ambient temperatures and thus expansion or contractions of the machine’s materials are monitored and compensated for in the user software.
The probes position can be manually controlled or, automatically (CNC) through the use of a computer. The position is defined using a reference sphere in the X-Y-Z coordinate system. CMMs also allow the probe angle to be controlled to enable the measurement of complex surfaces that may otherwise be unreachable.
The most common use of a CMM is to test the accuracy of a manufactured part against its original design to ensure stringent quality requirements are met and adhered to.
Why do I need a CMM?
Traditional handheld inspection methods have their limitations and rely heavily on the skill of the personnel inspecting the parts. Incorrectly manufactured parts can go undetected and supplied to customers. In addition, as manufacturing design becomes more refined, parts are made more complex meaning some features can only be accurately measured with a CMM.
With the need to speed-up and streamline inspection processes, this is where CMM inspection offers accurate, repeatable results in a fraction of the time, all the while meeting ever-increasing customer demands.
The bottom-line – a CMM will save your company time and money and will enable you to tender for more profitable work.

Why choose an Aberlink CMM?
Aberlink CMMs and metrology solutions are designed, manufactured and built in the United Kingdom to exacting specifications and, for over 29 years and 4000 machines sold, have adhered to 3 key points:
1) Cost of ownership – In addition to offering new advanced CMMs at the best possible price, Aberlink do not charge for annual software maintenance contracts and keep annual service and calibration costs to a minimum. See below for an explanation of exactly how your company can benefit by investing in Aberlink metrology equipment.
2) Ease of use – Due to its easy to understand graphical user interface and 1-day learning curve, the industry-standard Aberlink 3D measurement software, supplied with every Aberlink CMM, is considered to be the most user-friendly measurement package available. The software is also the inspection tool of choice for many other CMM and articulating arm OEMs throughout the world.
3) Reliable levels of accuracy – machines built over 20 years ago continue to see daily use while providing the same precise results as when they were first installed.
View a comparison of our current CMMs.
CMM cost of ownership
Aberlink CMMs provide customers with fantastic value for money, but often ask how this is possible. Quite simply, this has been achieved by producing a fully self-contained business model from day one.
Because we machine all the components for the machines ourselves, we understand the manufacturing process fully, and clever design-for-manufacture ensures simple and reliable products with no redundant costs. All assembly of the machines is performed on-site in Gloucestershire, where the software is also written in-house. Aberlink are a fully integrated company with minimal external costs which is why we can offer such amazing value.
In addition to all of this, Aberlink are proud to be the only major metrology manufacturer to supply machines with zero annual software maintenance contracts or subscriptions and, free software updates for the life of the machine. All of this means that the cost of ownership is very low and the shortest return on your investment is possible.
View our return on investment (ROI) calculator.
Which CMM probing option do I need?
Aberlink utilise various types of Renishaw probes on its range of CMMs and the probe required really does depend upon the part(s) being measured.
On a manual CMM, a fixed probe such as a TP8 or manually indexing probe head like the MH20i are the perfect solution. For a CNC CMM, an automatic indexing probe head (RTP20 or PH10) represent a more efficient solution because of the ability to program the indexing position needed. The CNC CMM will recall that inspection when re-ran.
Most parts can be measured using a touch-trigger probe (TP8, TP20 or TP200), but some parts require an SP25 scanning probe because of the number of points needed to determine the form of a feature.
View further detailed information on the most common probe options supplied by Aberlink.
Which CMM do I Need?
Compare our CMMs to find out which one best meets your measuring requirements.Get started
Affordable Metrology
Discover just how rapid the return on investment (ROI) could be on a new, advanced Aberlink CMM.Learn more
Need more advice?
Get in touch for more advice or information about any of Aberlink’s CMMs.Contact


