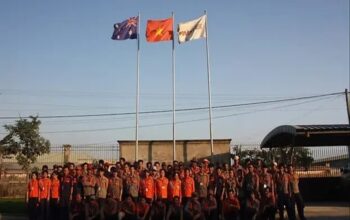
Magna Tool has been a world-class producer of high-quality machined parts for the aerospace and space flight industries for over 45 years. During that time, the Company has never stopped innovating and continues to invest in quality equipment today. According to Tracy Melton, President of Magna Tool, Inc., “Anything that compromises quality or productivity receives immediate attention.”
“There is a good reason why a family-run Machine Shop in Cypress, California, has thrived for more than 45 years! We do more than just machine parts. We work with our clients to find solutions,” said Melton. As machine shops go, Magna is not the biggest, but at 8,800 sq ft with a team of highly qualified machinists, the Company delivers high-precision parts on time and at prices customers need to stay competitive.
Magna Tool has a history of producing classified and non-classified flight parts, tooling, fixtures, one-offs, prototypes, laser welding, assemblies, and more. The Company also provides design consulting drawing on its years of practical experience and machining expertise.
Magna Tool has a range of machines rarely found under one roof, including high-precision CNC lathes to CNC laser welding with travel up to 60″ x 30″, horizontal boring with 96″ x 73″ of travel, and various vertical machining centers, including full 5-axis continuous machining.
Quality is not just another word; it’s a way of life.
Quality has always been a part of Magna Tool’s DNA, working with the likes of NASA, Boeing, and other aerospace and spaceflight customers; the Company is proud of its ISO 9001:2015 and AS9100 certifications. Over the last 15 years, as quality processes and documentation requirements have changed and potentially become more time-consuming, Magna Tool has continued to invest in automated quality verification solutions, software, and training to remedy inspection bottlenecks and their adverse effects on productivity.
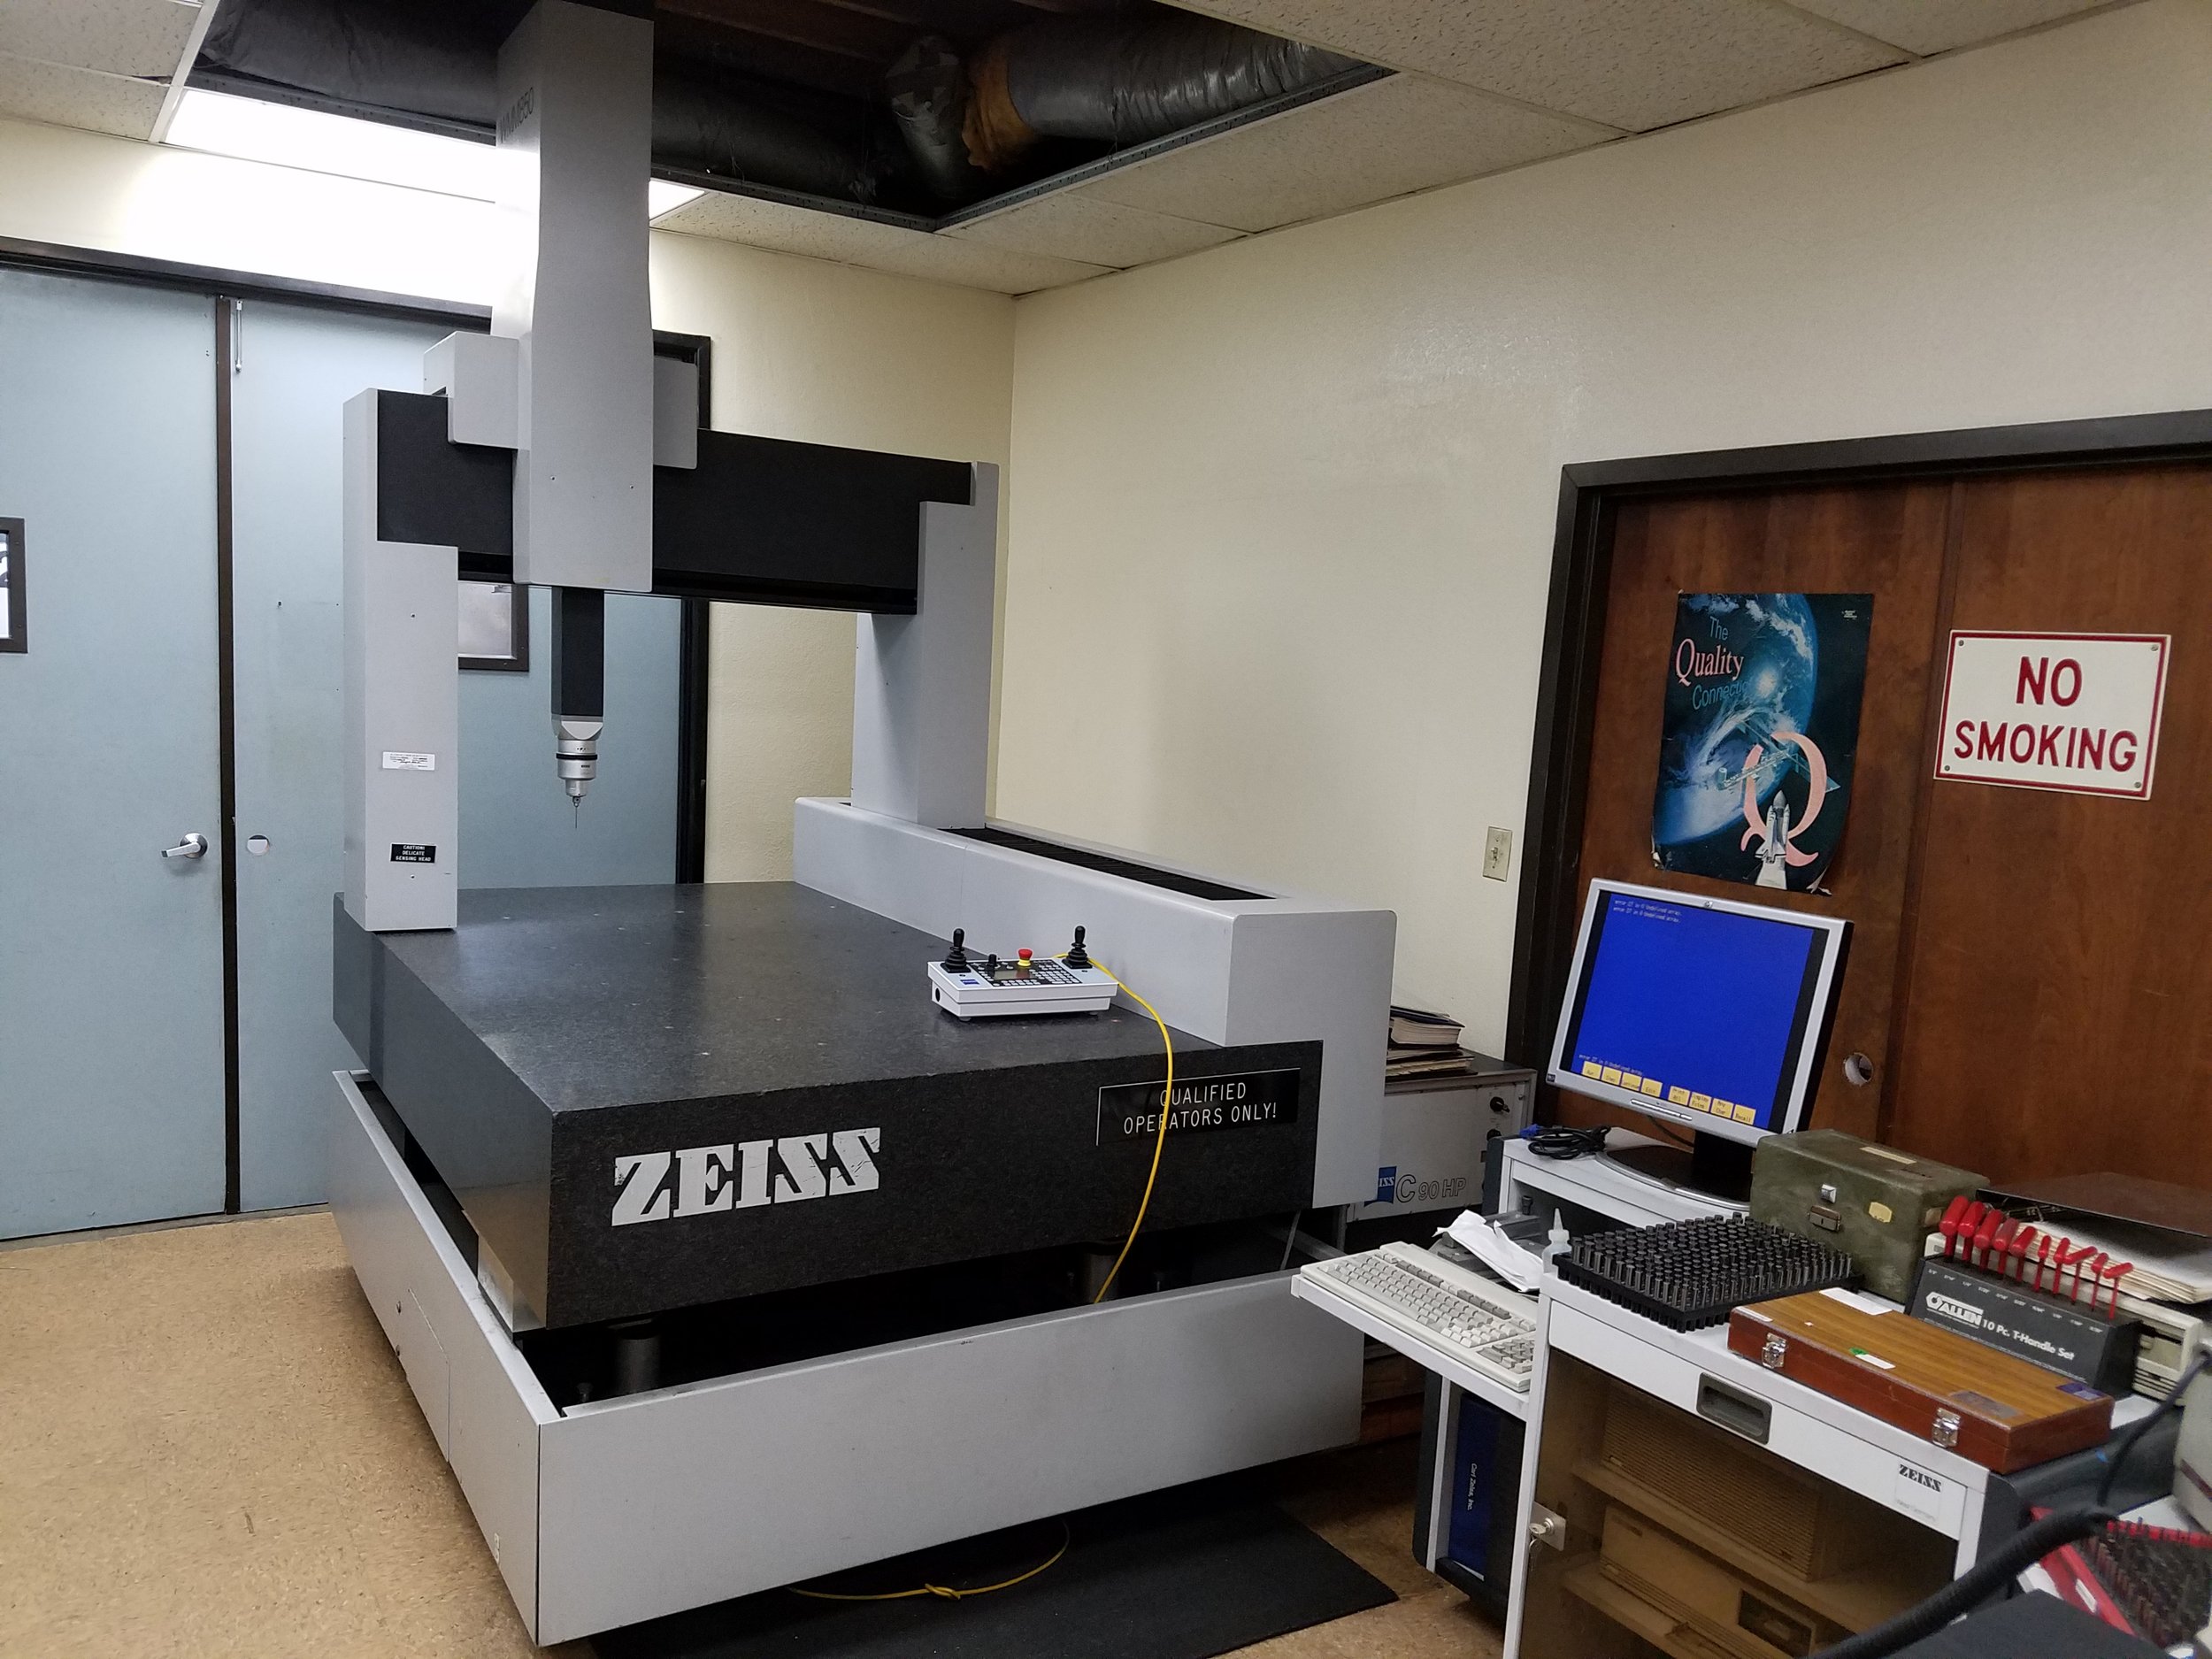
For years, Magna Tool utilized a Zeiss UMC 850 CMM. As technology advanced, the ZEISS machine became harder to maintain and operate. The software became obsolete, and finding operators to make it work became challenging. This was compounded by growth and an increased demand for inspection; eventually, the quality lab became a bottleneck to production.
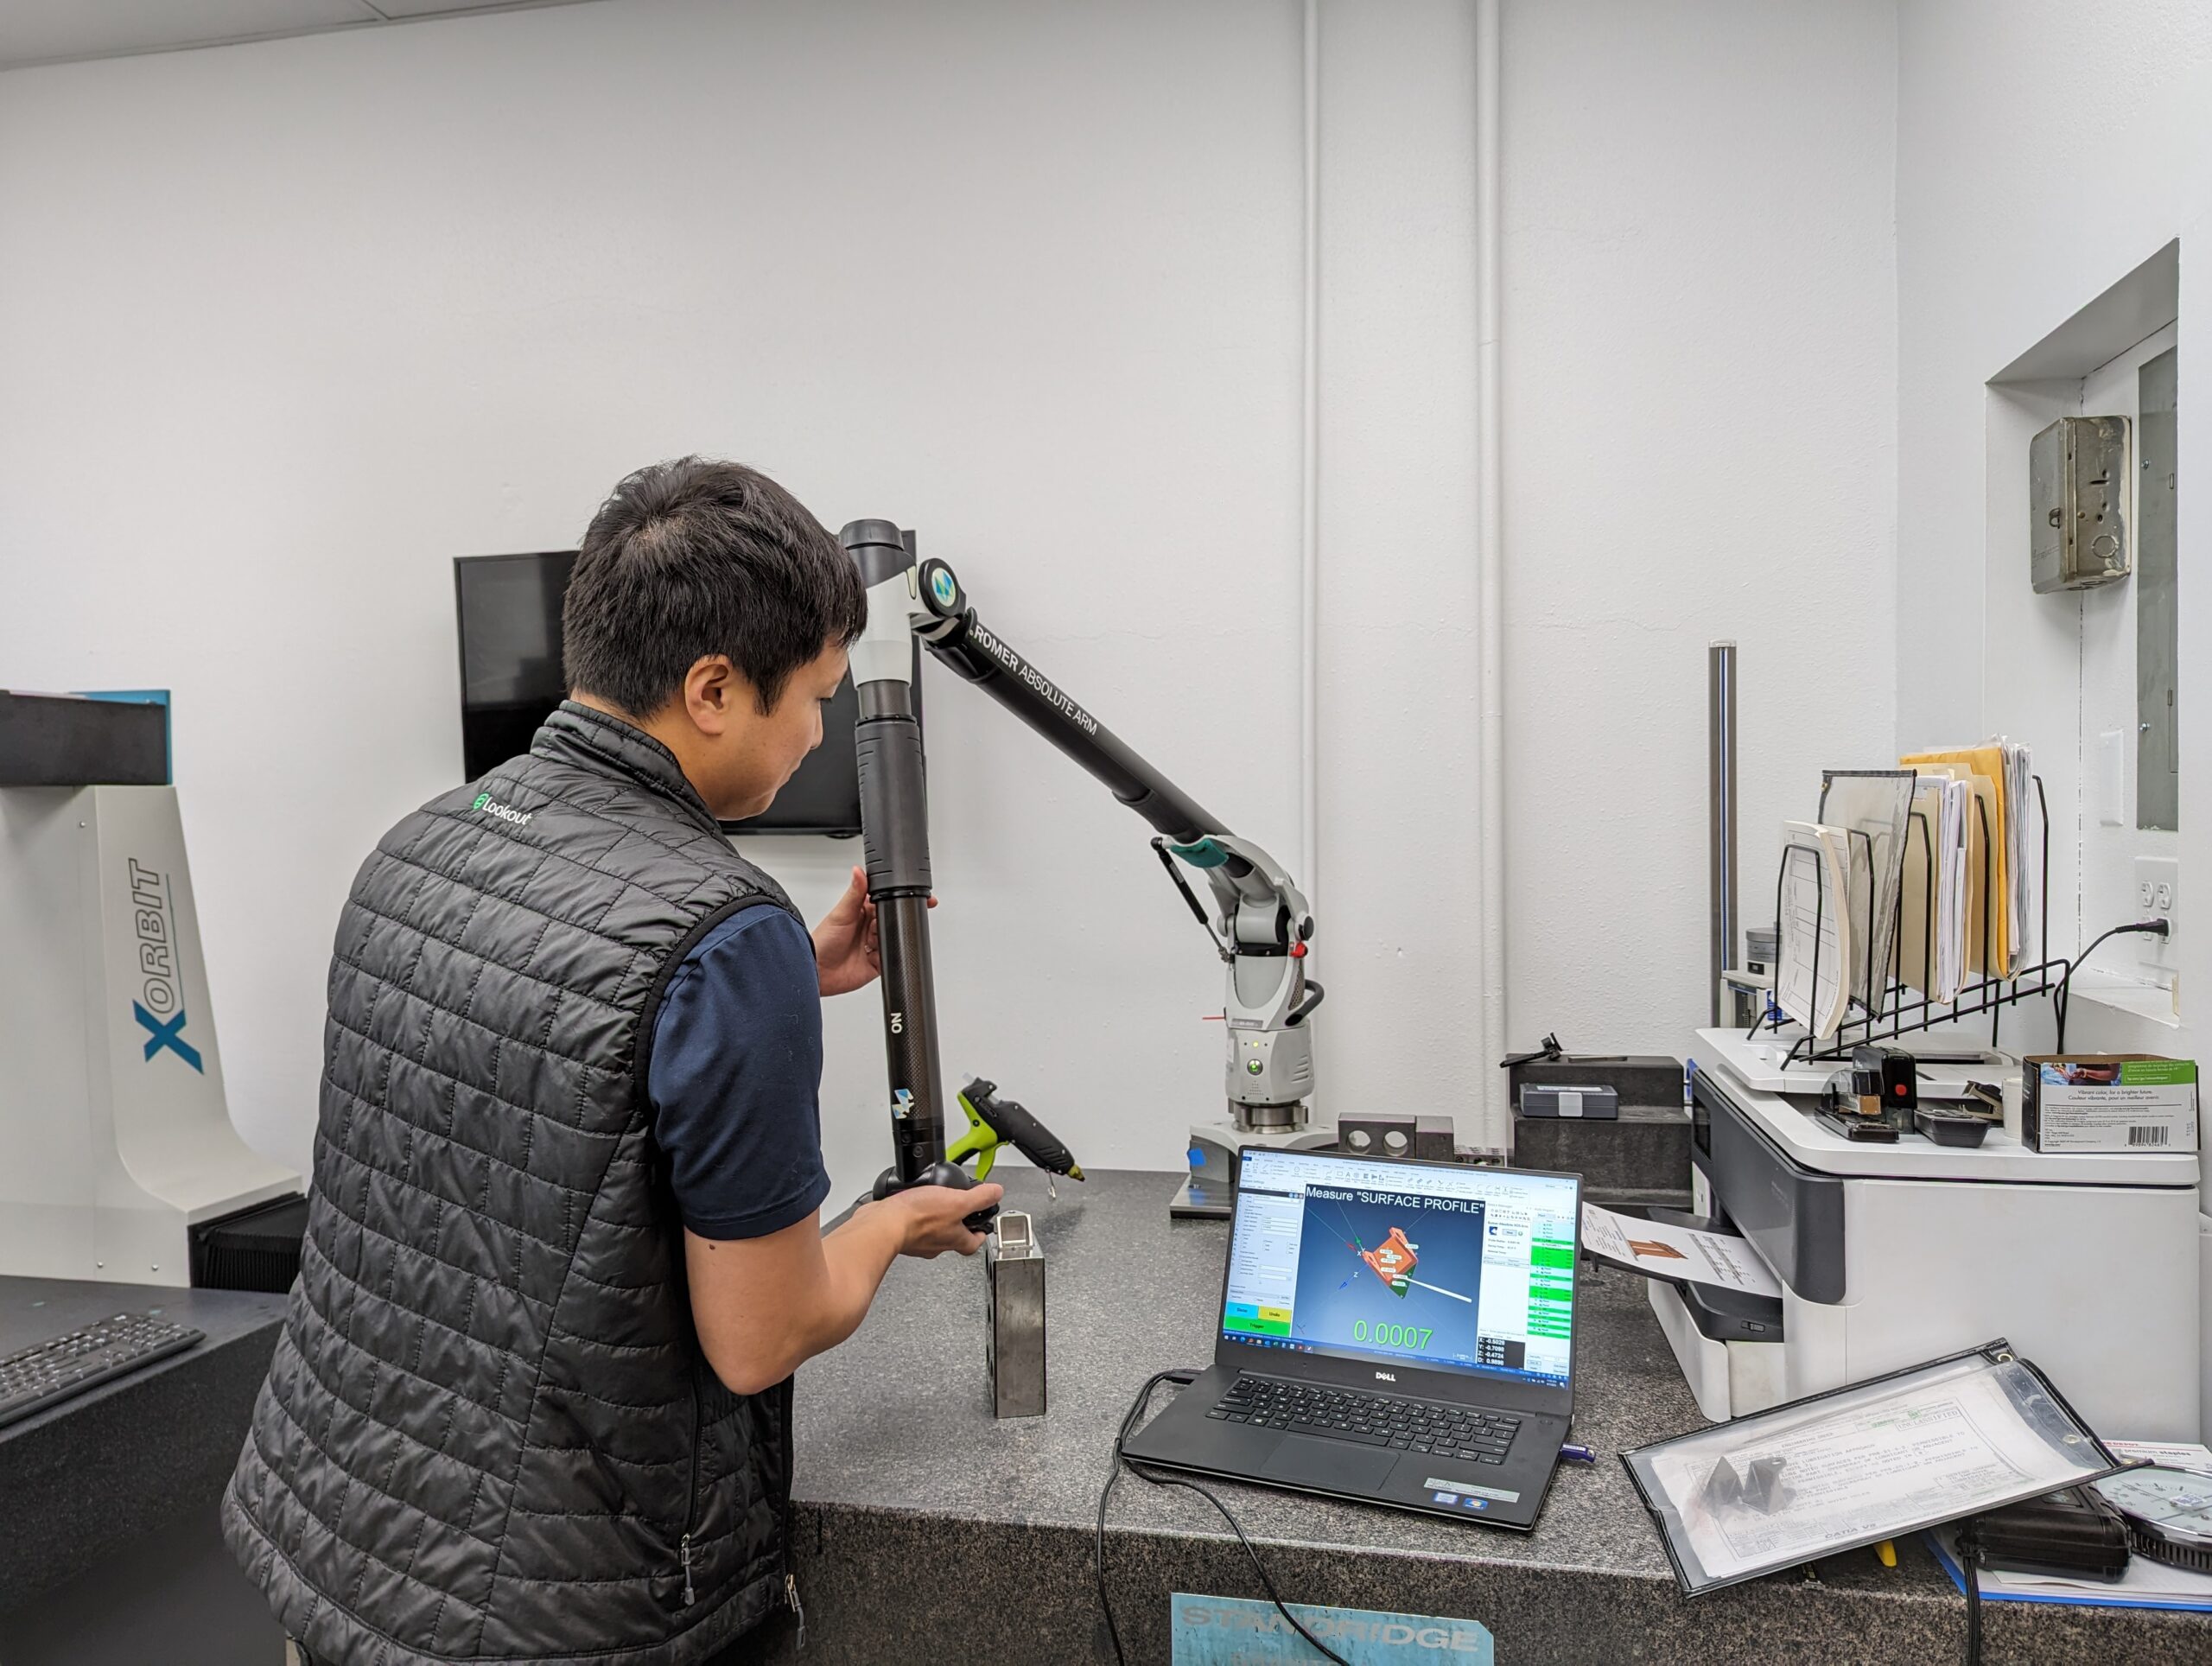
With the proliferation of portable CMMs and the promise of in-process shop floor inspection, the decision was made to invest in a Romer portable CMM arm. Unfortunately, the measurement software used for the legacy Zeiss CMM was not compatible with any other fixed or portable CMM and was otherwise completely outdated, so additional PC-DMIS software was purchased specifically to run the Romer arm.
This is a common scenario for many shops attempting to link legacy CNC CMMs into a modern metrology workflow environment. Older CMMs, like the Zeiss UMC 850, are typically operated with rudimentary software, and their systems and protocols are closed or device-specific, but they are extremely well-made and accurate. In most cases, the granite will last a lifetime, and gantries were designed to ride on air bearings to eliminate friction and the resulting wear and tear. Many of these legacy machines are still in use today, and as was the case at Magna Tool, run by dedicated operators who know how to use the archaic software that operates it.
This two-system approach worked for a while, but as customers demanded additional inspection, often 100% of parts, the need to add more CMM capacity became evident. Growing the quality department under the constraints of a multi-system strategy presented clear challenges, and the current model was beginning to show strain:
- Resource Utilization – The two-system model required Magna Tool to have two sets of dedicated operators, one for CNC CMMs and another for portable CMMs (arms, trackers, scanners). The challenge was that there was no way to balance the workload. This again caused bottlenecks and a backlog of parts to be inspected, depending on which type of CMM was required.
- Software Costs – The company already invested in two different software platforms, and the cost would now increase exponentially with additional licensing, maintenance, and support costs, depending on the number and types of CMMs added.
- Training Costs – Training costs are doubled, and as the department grows under the two-system model, tribal knowledge would be perpetuated, entrenching employees in one system or the other.
- Data Management – The consistency of how data is managed should support IT best practices. Archiving data sets from two or more different software platforms can be confusing and potentially cause conflict in the future, especially as downstream SPC (Statistical Process Control) and PLM (Product Lifecycle Management) applications continue to grow.
For shops with multiple legacy CNC CMMs, it is easy to see how each of the above examples can multiply in time, effort, and cost.
Common Software Platform
Verisurf Software was introduced to Magna Tool and provided an assessment of their measurement and inspection workflow. The recommendation was to deploy a common software strategy, relying on one metrology software for use across the entire manufacturing enterprise. Verisurf Software was chosen based on its open-platform software and universal compatibility.
Verisurf is the only measurement, reverse engineering, and inspection software built on a full-featured 3D CAD/CAM platform with intelligent Model-Based Definition (MBD). This increased Magna Tool’s ability to work directly with customer-supplied files and perform metrology workflows in a seamless CAD/CAM environment while maintaining model-based digital continuity.
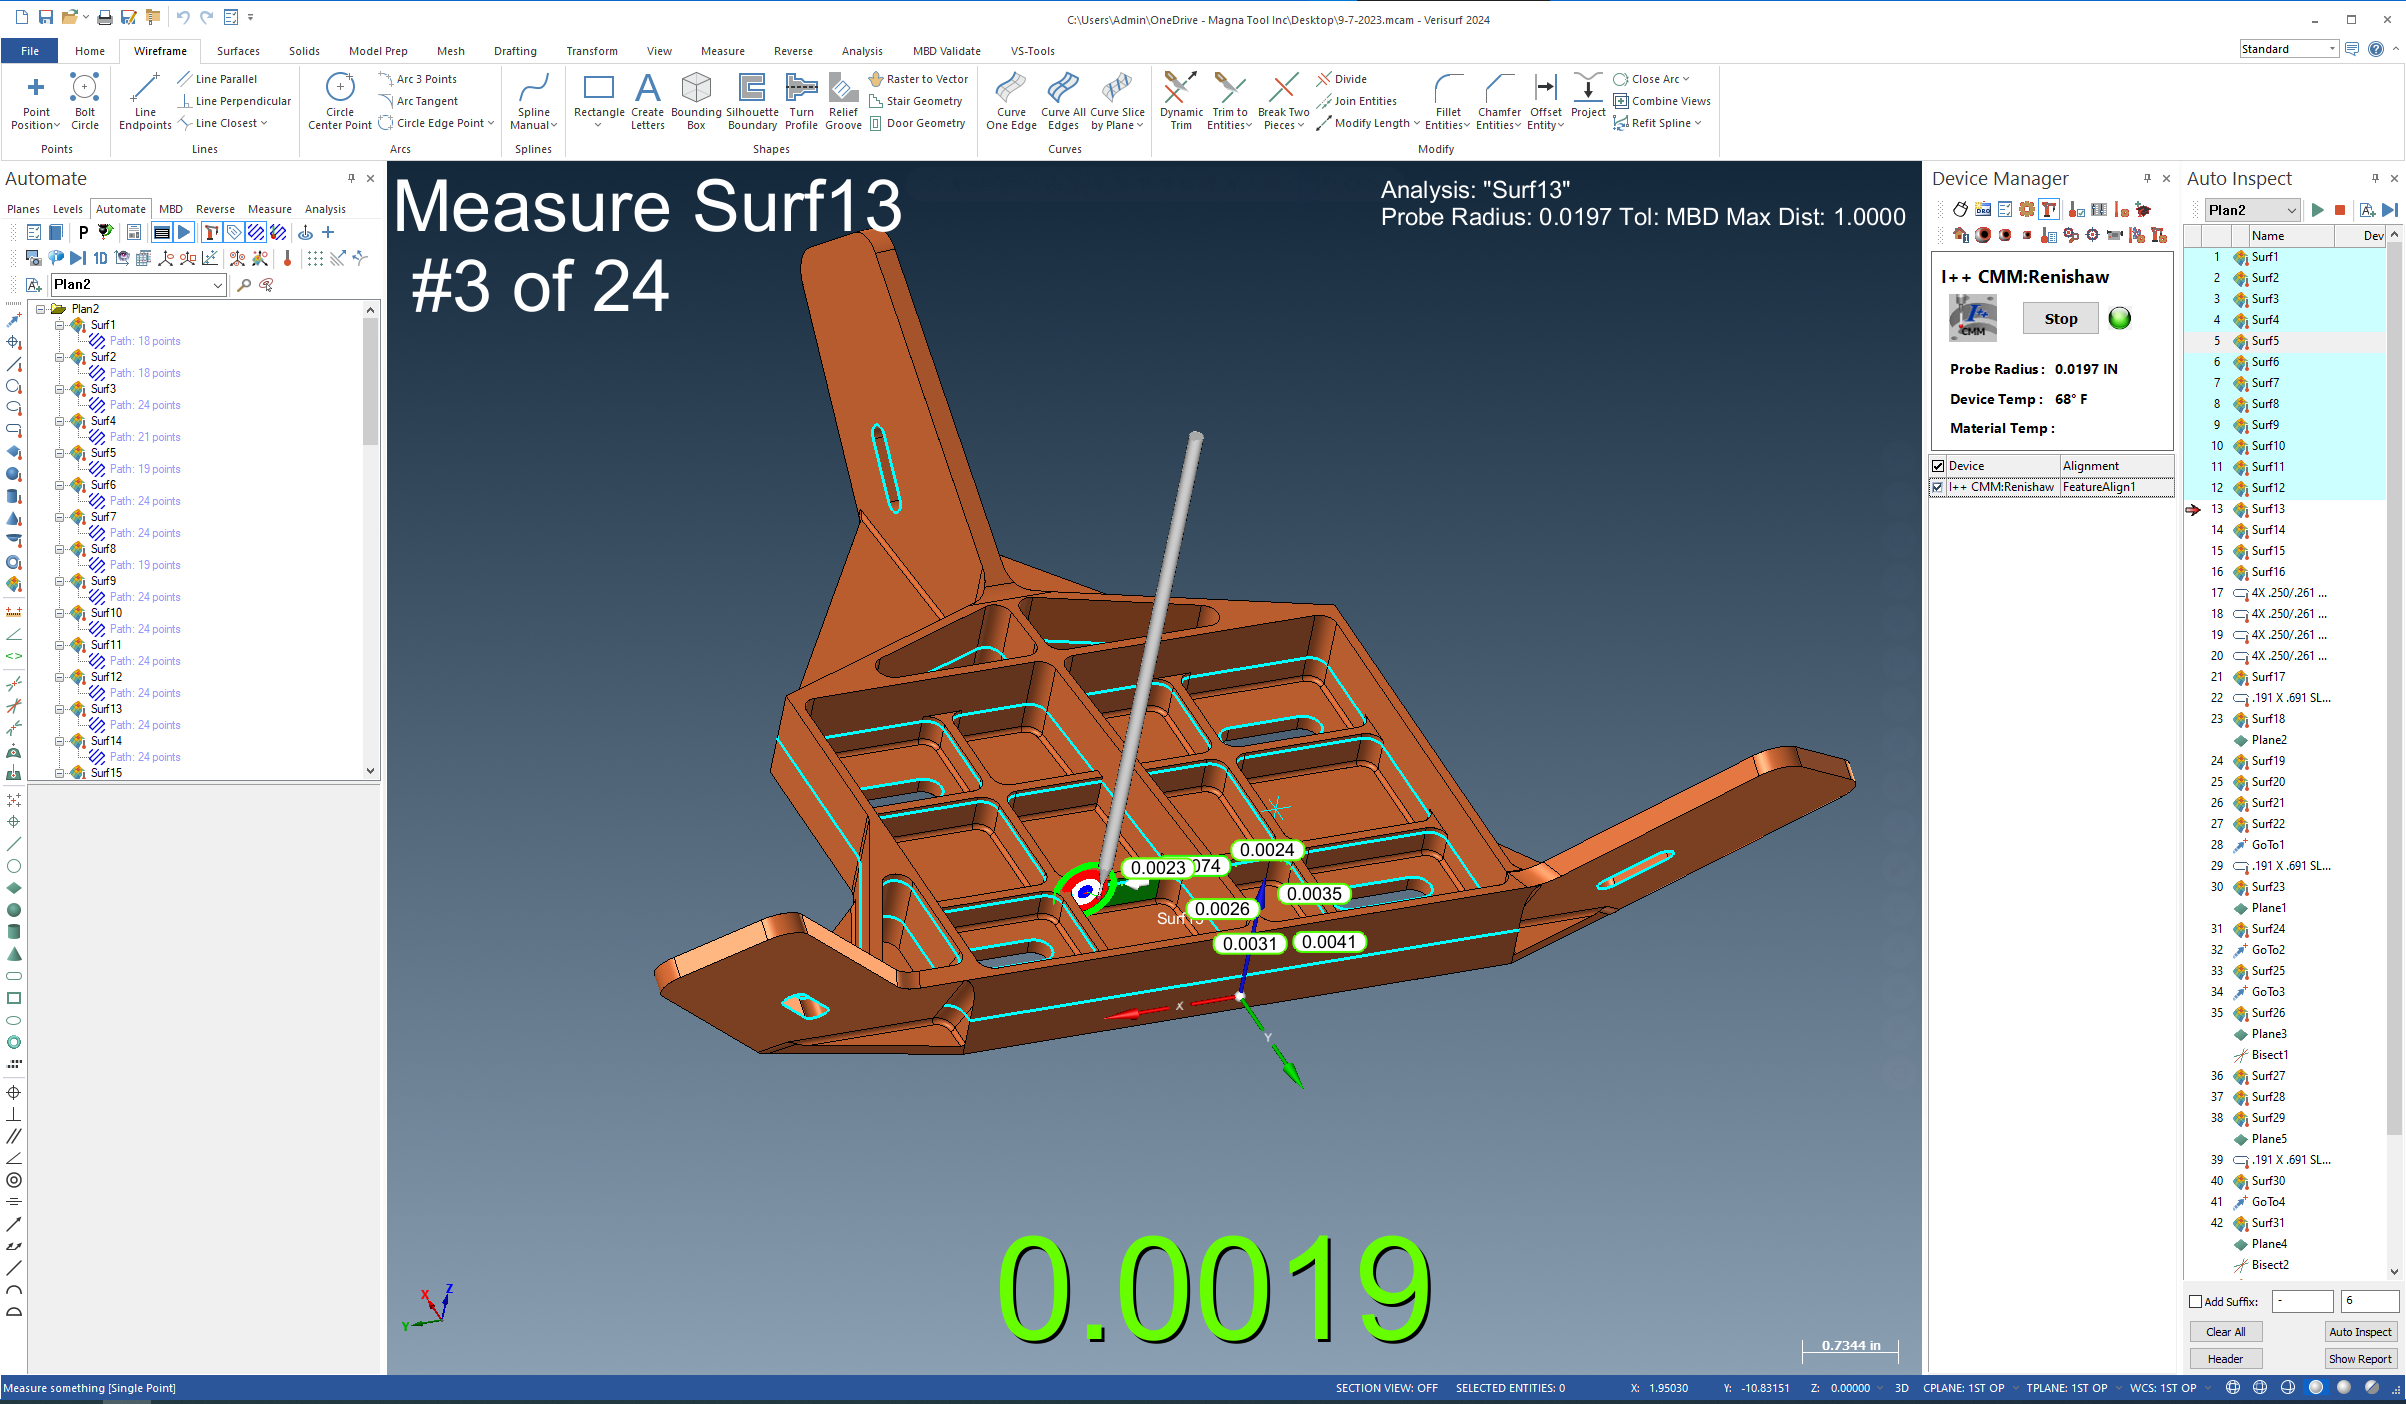
The software is compatible with all CAD file formats, and the Verisurf Device Interface (VDI) communicates with and operates all new and legacy 3D measurement devices (all types, all brands, fixed or portable) for universal compatibility. This allows Magna Tool’s existing and future CMM investments to all work under the common metrology platform.
In addition to quality inspection and reporting features, Magna Tool gained access to more metrology applications. Verisurf’s modular design lets them quickly shift from inspection to reverse engineering to tool building, efficiently capturing and processing measurement data for all 3D metrology applications with repeatable process control across the manufacturing enterprise.
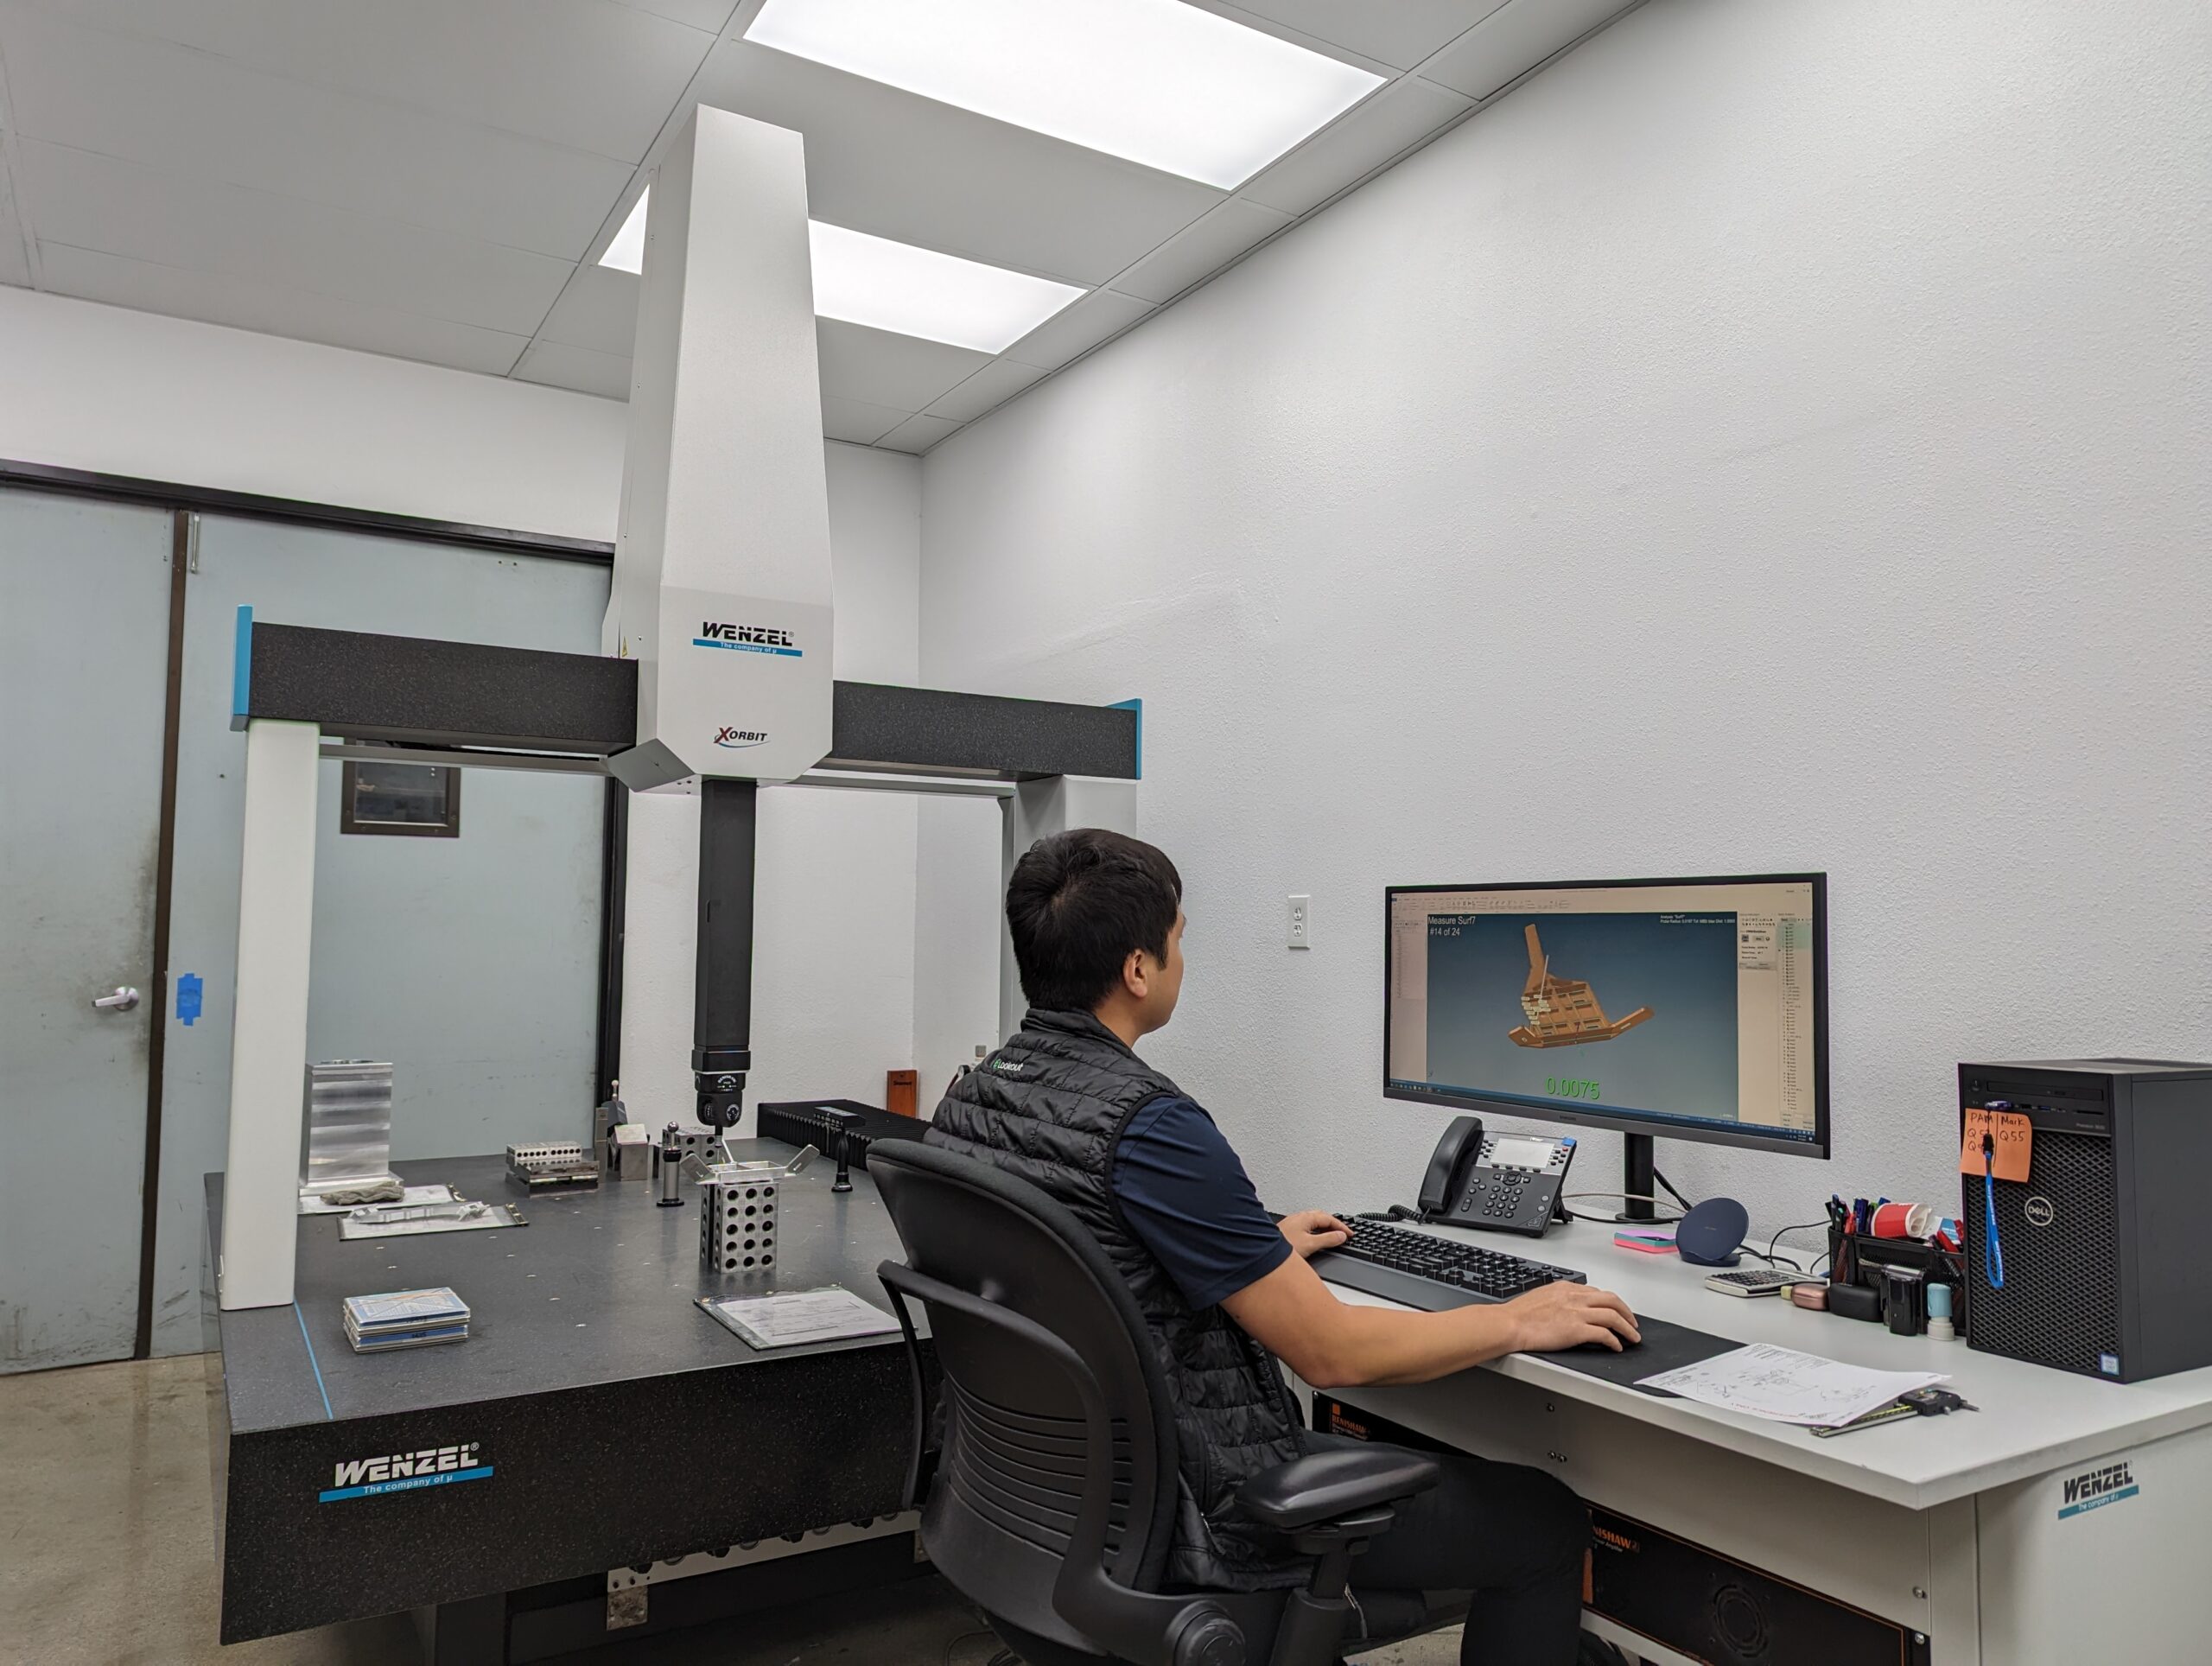
Implementing the Common Software Platform
All portable CMMs are inherently open platform devices, which means Verisurf software could easily interface with and run the existing Romer arm and any portable CMMs added in the future, all using a common interface.
Verisurf provided Magna Tool two options to integrate the legacy Zeiss UMC 850 CMM into the common Verisurf platform. Option one, Universal CMM, is an I++ standards-based, software-only solution that enables Verisurf to interface with and seamlessly operate the Zeiss machine and other legacy CMM brands without needing hardware upgrades. Universal CMM is an excellent low-cost choice to integrate CMMs that still have usable life but do not justify a complete hardware/software retrofit.
Magna Tool chose option two, a Verisurf CMM Retrofit, to integrate the legacy Zeiss UMC 850. The retrofit included the installation of a UCC server, Renishaw® PH20 head, and Verisurf software. It was like installing a new brain in the CMM. The Zeiss machine could now operate in the open network of measurement devices under the common Verisurf metrology platform.
“A common metrology platform strategy using Verisurf software has been a big success for our quality department. Everyone is trained on the same software regardless of the CMM type or model they are using. This has improved resource utilization, lowered our costs, and improved quality throughput,” said Brian Kim, Quality Manager at Magna Tool, Inc.
Since implementing the common software platform strategy, Magna Tool has added two Wenzel CMMs to the mix, and the process has been seamless and straightforward. The first was a Wenzel XOrbit 107 CMM with a Renishaw PH20 5-axis touch-trigger head. The 107 provides a large inspection envelope of X=1000 mm x Y=2000 mm x Z=700 mm and a max part weight of 1200 kg. The second CMM added was a Wenzel XOrbit 55 fitted with the same PH20 head and providing a smaller measurement envelope of X=500 mm x Y=1000 mm x Z=500 mm and a max part weight of 300 kg.
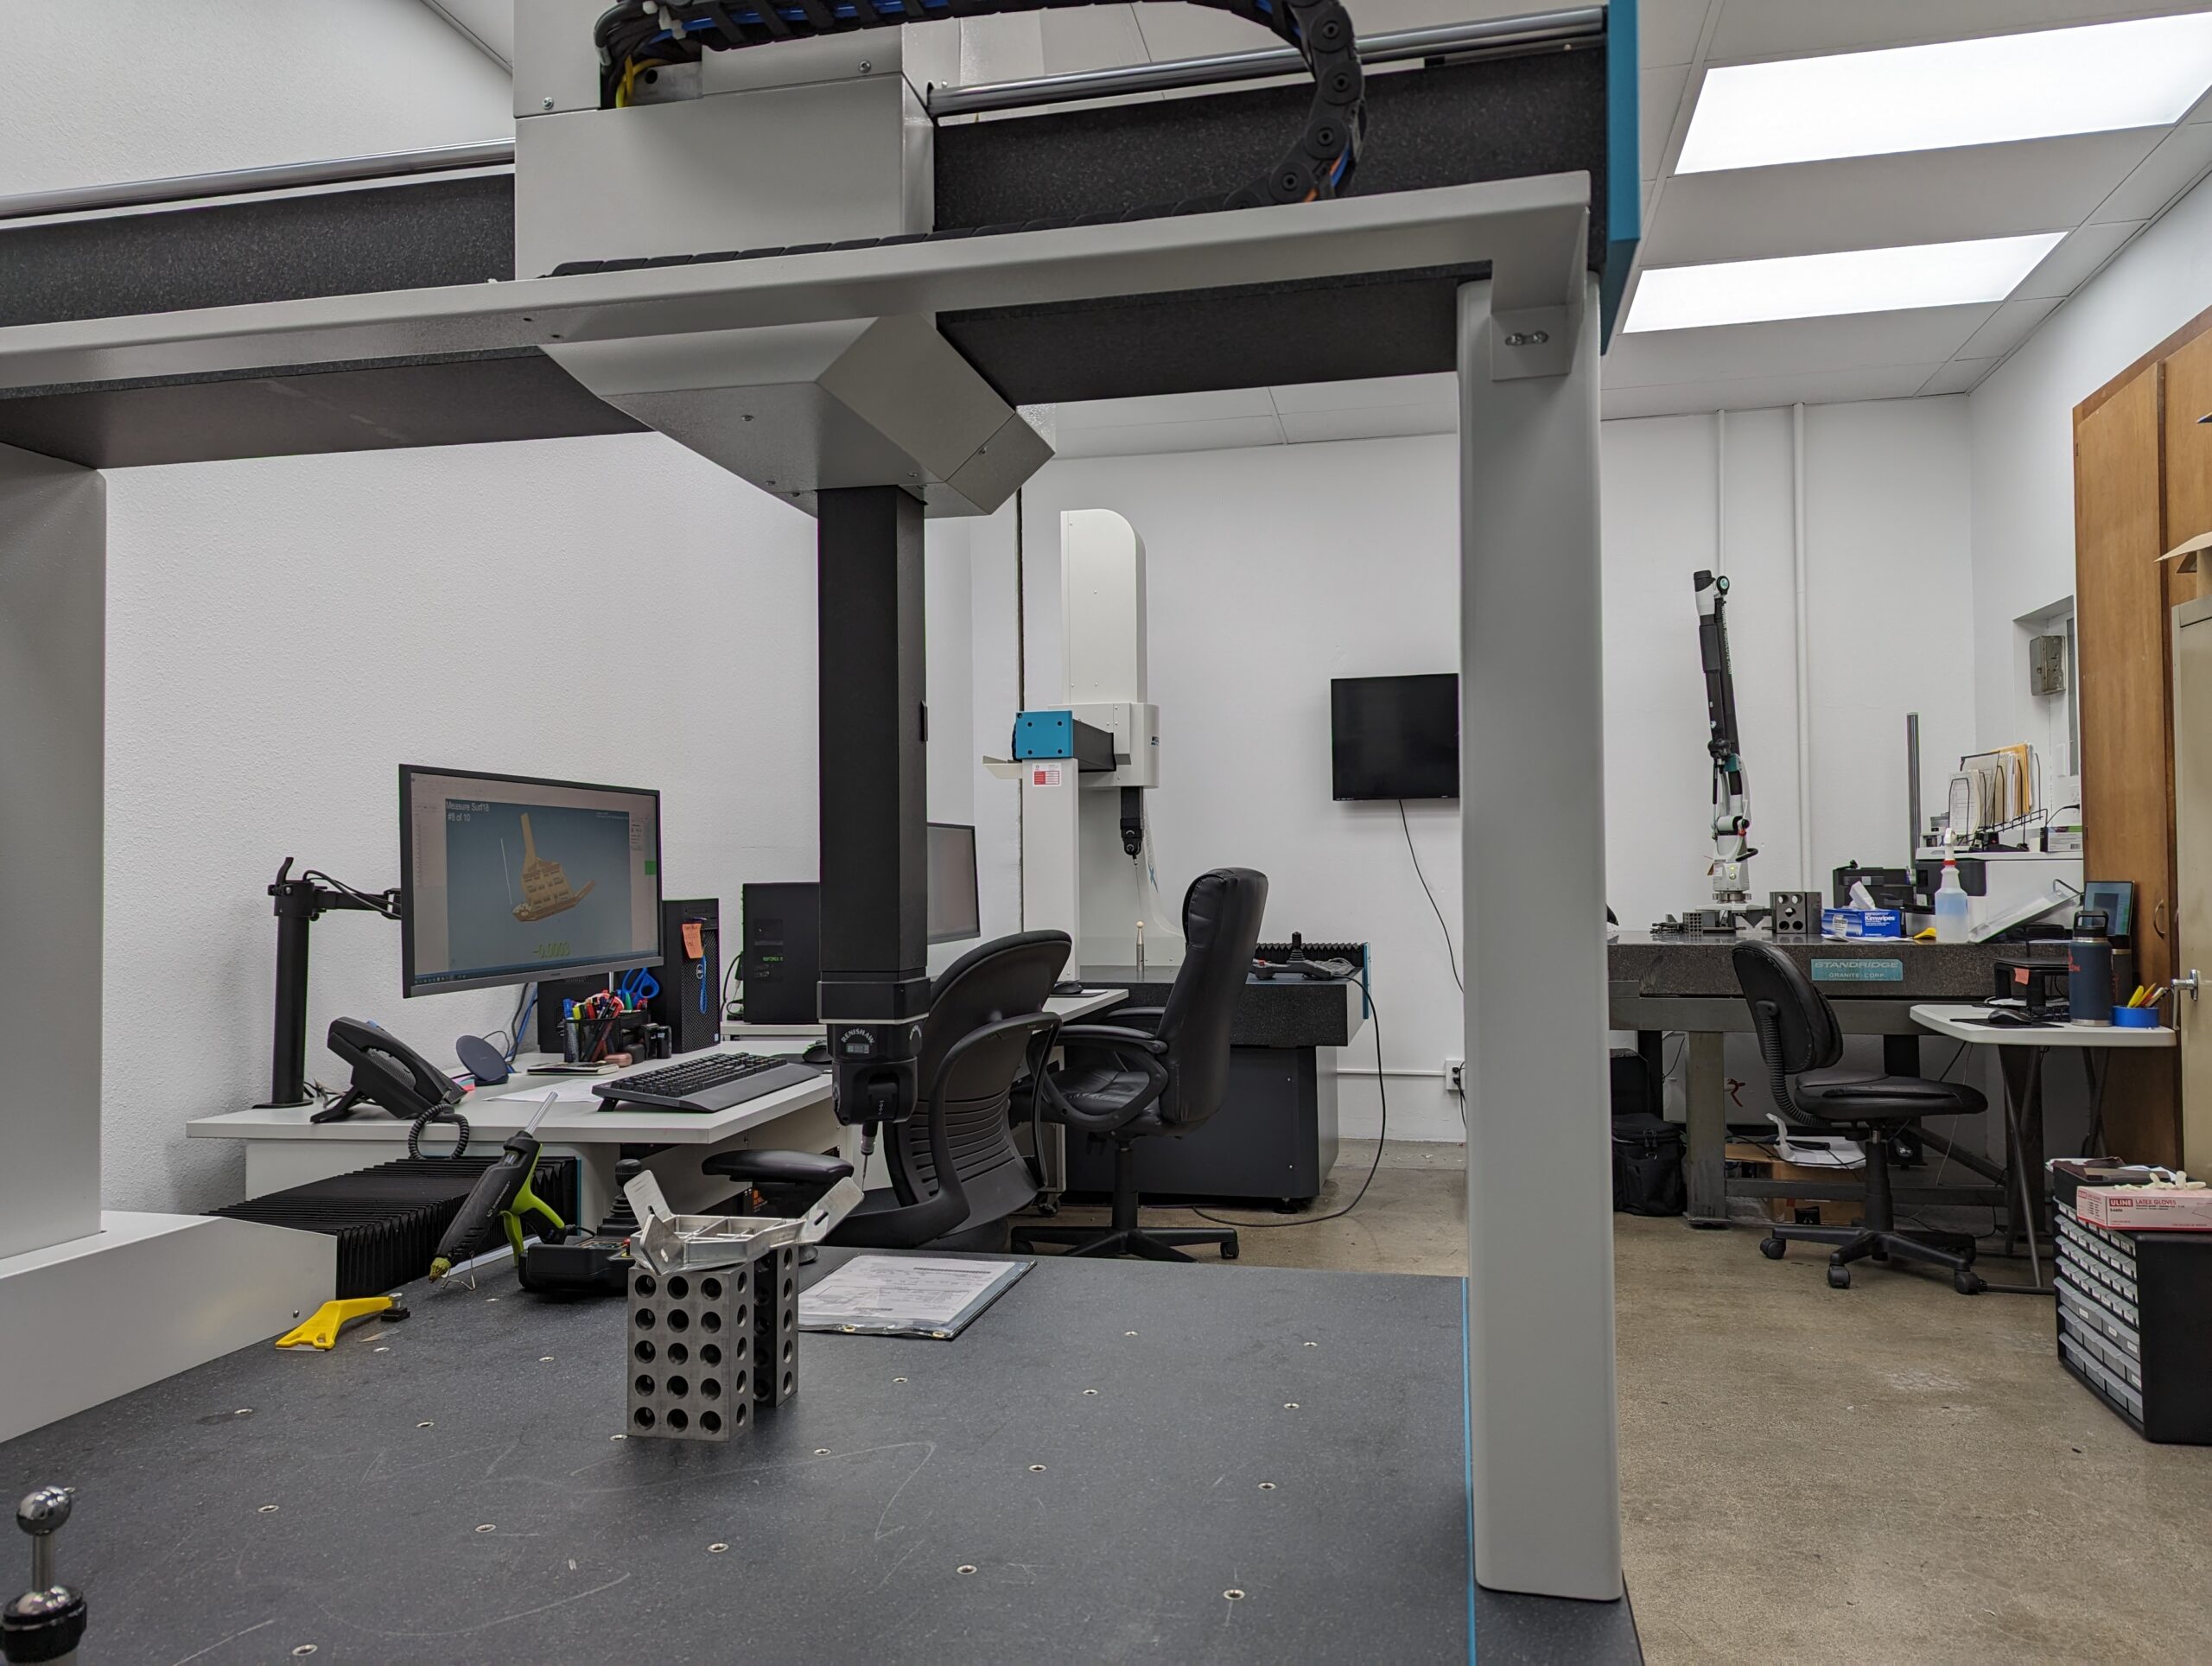
Everyone on the Magna Tool quality and engineering team has been trained in Verisurf software on all the available devices. Depending on the task, the operator opens their inspection plan or other measurement routine in Verisurf, selects the appropriate fixed or portable CMM best suited for the job, and begins measuring.
Planning and recognizing the benefits of a common platform approach to metrology for the manufacturing enterprise has helped Magna Tool improve quality, efficiency, throughput, and resource utilization. Creating and following established workflows across the platform has also helped improve and maintain repeatable process control, a significant tenant of good quality management.
Click on the following link Metrologically Speaking to read more such blogs about the Metrology Industry.


