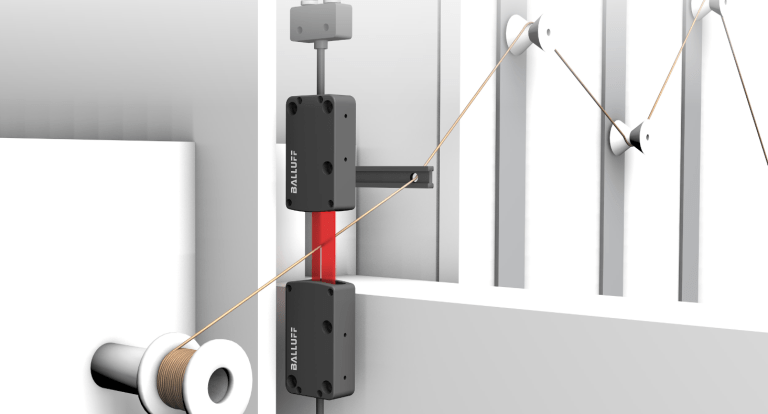
Using continuous measurements reduces or even eliminates the production of faulty products and allows for consistent and repeatable production. This used to be an impossible task for small products.
Quality control has always been a challenge. Going back centuries, the human eye was the only form of quality verification. Hundreds of years ago metal tools like calipers were introduced to allow for higher repeatability compared to the human eye. This method is very cumbersome and is only an approximation based off a sample of the production, potentially allowing faulty products to be used or shipped to the customer.
What is the best solution by today’s standards? By scanning the product at all times! Using continuous measurements reduces or even eliminates the production of faulty products and allows for consistent and repeatable production. This used to be an impossible task for small products, but with the invention of the laser and CMOS(Complementary Metal Oxide Semiconductor) imaging sensors, extremely small measurements can be achieved. How small? In an industrial environment, measuring 0.3 mm components with a resolution of 10 micrometers is absolutely attainable. Using special optics to spread the beam across a window will allow for 105 mm of measuring range and up to 2 meters distance between the transmitter (laser spread light) and receiver (CMOS sensor).
Traditionally these sensor systems have one or two analog outputs and have to be scaled in the control system to be usable. These values are repeatable and accurate once scaled but there has to be a better way. IO-Link to the rescue!

IO-Link brings an enormous amount of information and flexibility to configuration. Using IO-Link will also reduce the amount of wiring and analog input cards/hubs required. The serial communications of IO-Link also reduce overall costs thanks to its use of standard cables, as opposed to shielded cables. This allows for 20 meter runs over a standard double ended M12 cables without information loss or noise injection. Another benefit to going with IO-Link is the drastic increase in bits of resolution. Analog input cards and analog input hubs tend to provide between 10-16 bits of resolution, whereas IO-Link has the ability to pass two measurements via process data in the form of dual 32 bit resolution arrays as well as more information about the status of the sensors.
With IO-Link, you also gain the ability to use system commands like restarting the device, factory reset, signal normalization, reset maintenance interval, and device discovery. With this level of technology and resolution, quality control can be taken to down to the finest details.


