THE FUTURE OF DENSITY DETERMINATION
Micrograph analyses are the current gold standard in additive manufacturing (AM) when determining the porosity of components or the density cubes that will be produced alongside them. It takes a long time to complete this process, which uses up a lot of staff time. Additionally, because a grey value binarization occurs in accordance with the parameter set, typical traceability to calibration standard is not achievable.
SIGNIFICANCE OF DENSITY FOR AM COMPONENTS
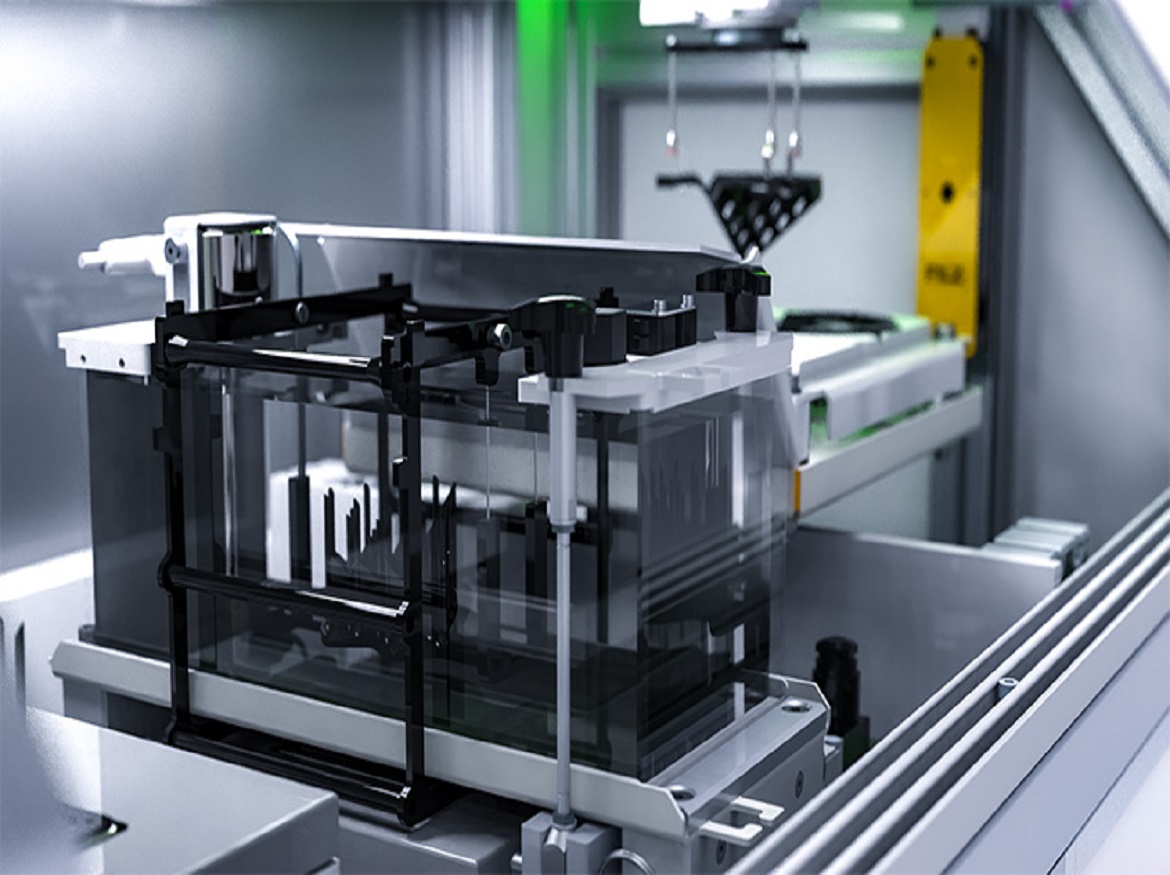
Additionally, a single micrograph can never provide an accurate evaluation of the entire component because it only provides a “snapshot” of the component. This is prevented by the Dimensions Density solution’s automatic measuring procedure.
Early research demonstrates a strong link between micrograph analysis and the estimation of porosity based on density. Therefore, employing Dimensionics Density’s solution to determine porosity using volume density results in a calibrated and traceable solution.
AM parts can be produced using a variety of materials and building techniques, and many of them can have incredibly intricate geometric designs. Because it takes more labor to calculate a workpiece’s density as it becomes more complicated and because AM components frequently aren’t full volume but instead include an internal support structure, theoretical control values are established during the design process and utilized as a guide for the post-study analysis.
For this, defined cuboids are often produced, which are then used to produce time-consuming micrographs or hand measurements to determine the density of the complicated workpiece. The component’s density and the cuboid’s density are equalized using a relative method, and the results are contrasted with those obtained using CAD models. As a result, it is frequently impossible to identify potential deviations brought on by support structure flaws.
ALTERNATIVE METHODS
What other techniques are available besides automated density determination utilizing the Density Platform? Here, we give a succinct review of each system and highlight its benefits and drawbacks.
Micrograph Analysis
A technique for describing the microstructure of materials quantitatively and qualitatively is micrograph analysis. Segmenting the sample or component is done, and mechanical and chemical procedures are used to prepare the cut surface. A microscopic examination of the component comes next.
Advantages:
- High-precision process
- Results provide clear conclusions about process errors
Disadvantages:
- High effort in the preparation of micrographs (ties up personnel)
- resulting in waiting times
- Not optimal for effective process handling
Micro CT Analysis
X-rays are used to image the specimen during computed tomography (CT). The brightness of the exposed image sensor is influenced by density. During transmission through the substance, X-rays are absorbed; at larger densities of the material, this absorption is stronger. Due to the decreased density inside the pore, less energy is absorbed if an X-ray beam strikes it while passing through the material. As a result, the radiation has a larger energy when it hits the detector, creating a darker image. The position and geometry of the pores can be identified by employing a three-dimensional exposure approach.
Advantages:
- Precise three-dimensional representation of pores and pore clusters in the component
- Expression, accumulation, and shape of pores can be analyzed
Disadvantages:
- High initial investment
- Use of trained personnel required
- Microporosities are no longer recognizable due to the resolution limit
- Waiting times due to post-processing of raw data to eliminate artifacts in the image.
Archmedes (Manual)
One of the most frequently used techniques in numerous sectors is density determination according to Archimedes. For this, density kits—special laboratory balances with an appropriate measuring setup—are employed. After that, the sample is weighed both in air and in a specific liquid. The difference allows one to calculate the component’s density.
Advantages:
- Fast analysis method
- Archimedes has the highest accuracy according to studies
Disadvantages:
- Strong human influence (skilled workers needed)
- Measurement only in the laboratory (long distances)
- Unsuitable for high quantities
Optical Density Determination
The volume of the test object is calculated along with all of its dimensions during optical density determination. Following that, the component’s density is determined by weighing for mass determination.
Advantages:
- A fast method for density determination
- very well suited for simple and regular geometries
Disadvantages:
- Dependent on the resolution of the sensors
- high acquisition costsUnsuitable for the analysis of complex geometries
Click on the following link Metrologically Speaking to read more such news about the Metrology Industry.


