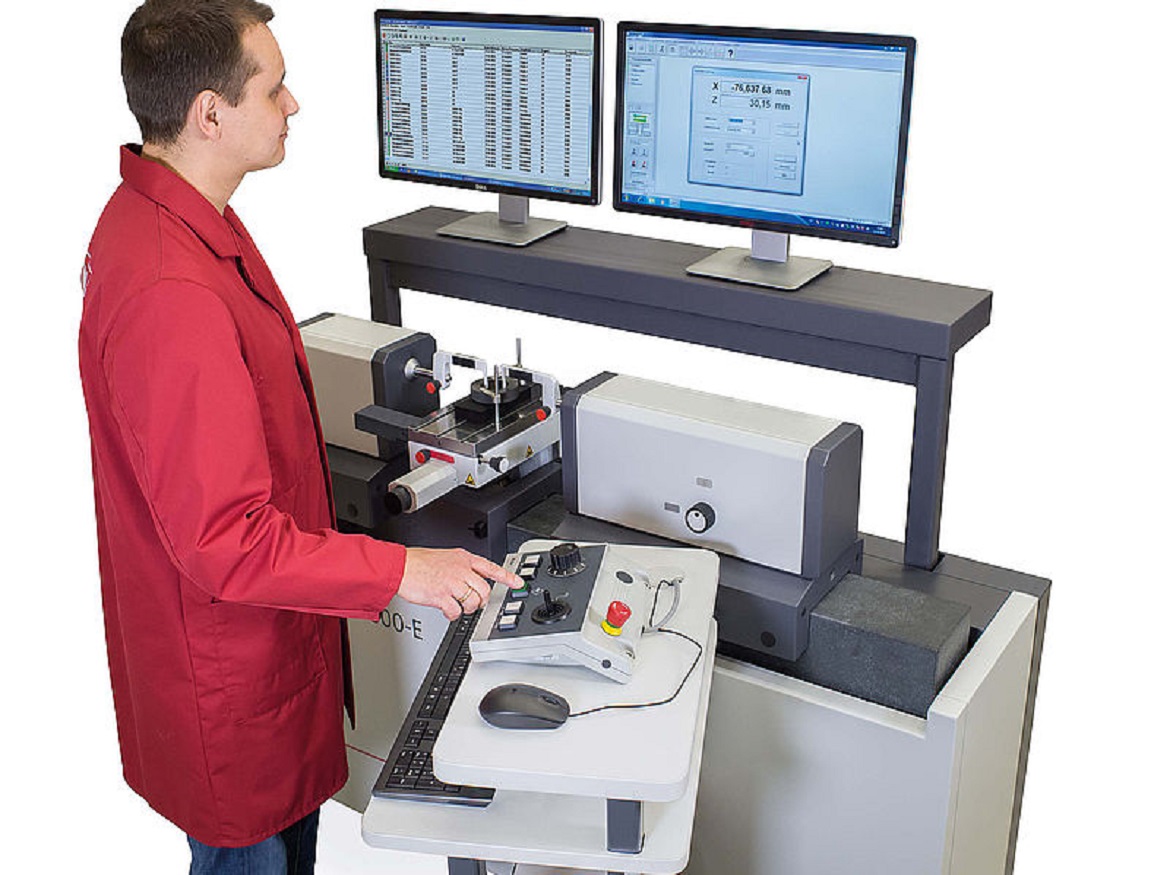
Since its inception in the 1930s, statistical quality control (SQC) has been carried out using paper, a pencil, and maybe a slide rule.
By George Schuetz
Since its inception in the 1930s, statistical quality control (SQC) has been carried out using paper, a pencil, and maybe a slide rule. As a result, it required a considerable amount of time and effort on the part of its practitioners, as well as a high level of care and understanding. The proliferation of electronic gauges, data recorders, and PCs in the 1970s and 1980s gave SQC a significant boost. The computations become suddenly simple enough for inexperienced line inspectors to carry out without fully comprehending the procedure.
Before connecting their data recorders, several instructors who used SQC as part of the measurement process requested that inspectors and machine operators learn how to do SQC manually. This was done under the basic premise that those who are knowledgeable about their field typically produce superior work. This idea is quite comprehensible—until the production manager gets involved, of course.
The modern machinist is frequently a highly experienced and educated user of sophisticated and potent machine tools. Compared to a generation ago, these machine tools are much more powerful and sophisticated. Many times, they can be more intellect than muscle, and the users are frequently a mix of production machinists and CNC programmers. To try to train these same experienced machinists to be quality control inspectors and SPC [JC1] analysts can be a stretch. Their expertise and duty is to quickly make parts while ensuring the quality of the parts that come out of their equipment. Production is the main focus, and when the process is working effectively, quality is intended to be integrated.
Nonetheless, it is crucial in many businesses to have assurances that the process is in check and that the parts leaving the machine are within the tolerances of the design. As a result, these machinists will need to perform some examination to confirm their procedure. So, any final part inspection should be quick and simple for the machinist, without delaying production, and needing few additional skills or procedures. In essence, the inspection of the part must be straightforward, and while recording the findings, the data gathering must be precise and dependable in addition to being transparent to the user.
Further steps are being added to the process—and occasionally even within the gauging equipment—as data gathering methods have improved through time to verify that the data being collected is accurate. It will be much simpler to design gauging that allows for easy use as well as easy and reliable data collecting when it is placed in the operator’s hands.
Making equipment as user-friendly as possible was one of the initial stages in implementing transparent data collecting for the machinist. For instance, you wouldn’t want to teach a machinist to be an inspector of surface polish. Instead, the objective is to create surface finish tools that are as user-friendly as possible, with automatic setup parameter detection and straightforward one button operation. Furthermore, it is undesirable for the user to do intricate setup alignments that can slow down production or perhaps harm delicate equipment. Additional features can make the measuring process easier and truly make it a one-button operation.
The same is true for many modern hand tools. Using wireless data transmission makes gathering information for documentation or SPC[JC2] as easy as measuring the component. There are no additional boxes or cables that could link up or tangle in the process. It’s simple for the user because it’s easy to utilise.
The majority of SPC/SQC systems come with built-in functionality to gather and record data to files for process control or documentation. They automatically keep track of the date, time, and exact second the measurement was taken. Yet, there is one piece of data that is frequently ignored during this measuring process but may ultimately be one of the most crucial.
The documentation of the details regarding the measurement apparatus is frequently the missing piece. Most procedures retain the measurement information, together with the time and date it was taken, but very infrequently do they also track the device that took the measurement.
A gauge tracking system that identifies the gauge taking the measurement and its calibration status is undoubtedly present in the majority of facilities. Yet, tracking this data as part of the part-specific measuring process happens relatively infrequently. This information appears to be important. In accordance with newly established standards, the data must also include a gauge serial number identification in addition to the measurements and the time at which they were taken. Gages are beginning to have the capacity to convey a special gauge identifier along with the measurement data in an effort to address this need.
The quality analyst is satisfied since they have the full story of the part dimension, including the measurement data, when it was taken and by what measuring instrument, with the unique identification of the measuring device tagged. Now that the data collection and documentation procedure is complete.
The measurement data is comprehensive and traceable.
Click on the following link Metrologically Speaking to read more such blogs about the Metrology Industry.


