GoPxL is LMI Technologies’ latest software for creating end-to-end, web-based inline measurement and inspection solutions deployed on a *Gocator 3D Smart Sensor. Vision engineers can use GoPxL to solve a wide range of industrial inspection tasks that leverage a combination of on-sensor measurement filters and tools running on Gocator’s industry-leading laser, snapshot, and line confocal smart sensors.
In this blog, we take a closer look at the ease and efficiency of applying GoPxL measurement toolchains to execute two simple inspection tasks: (1) Fastener measurement, and (2) Connector pin inspection.
Let’s get started.
1. Fastener Measurement with 2X Gocator 2520 Smart 3D Laser Line Profilers

Note: If you’d like to follow along with this scenario, simply download the latest GoPxL Sample Recordings onto your PC (no sensor needed!), open the .zip file and load the file named Dual 2520 Surface Mode – Fastener – Surface Ring.gpsup.
Inspection Task
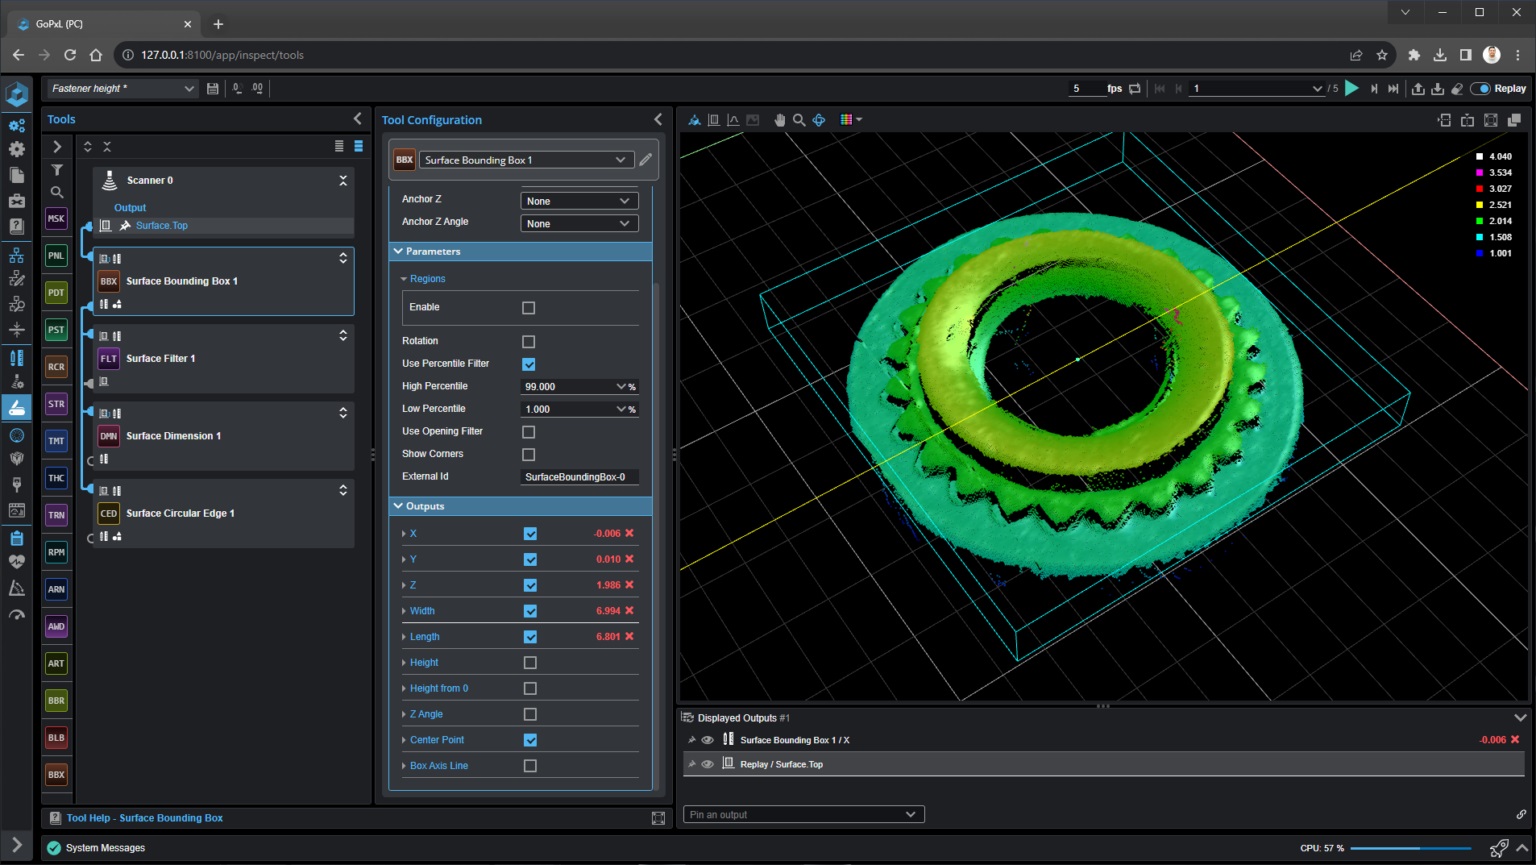
In this example, we measure the height between surfaces and the radius of the notched ring in the fastener. The circular region feature available from GoPxL allows us to solve this application without adding masking tools.

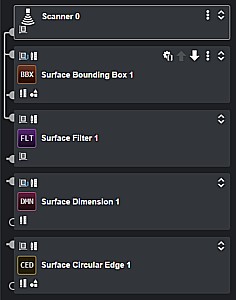
Surface Filter
To help remove reflection noise due to the shiny fastener, we use the Surface Filter tool and configure the Percentile filter to remove points above and below the fastener surface.
Surface Bounding Box
The Surface Bounding Box tool acts as an anchor for the remaining tools in the toolchain in case the part’s location or orientation changes from scan to scan.
Surface Dimension
The Surface Dimension tool in GoPxL supports multiple region types, including circle regions. This ability avoids using masking tools to isolate the top and bottom fastener surfaces.
Surface Circular Edge
This tool lets us measure the complicated notched feature. The Surface Circular Edge tool samples the ring at specific intervals configurable by the user. The result is the radius of the notched ring feature in the fastener.
2. Connector Pin Inspection with 1X Gocator 3506 Smart 3D Snapshot Sensor

Note: If you’d like to follow along with this scenario, simply download the latest GoPxL Sample Recordings onto your PC (no sensor needed!), open the .zip file and load the file named 3506 Surface Mode – Connector Pins – Surface Blob.gpsup.
Inspection Task
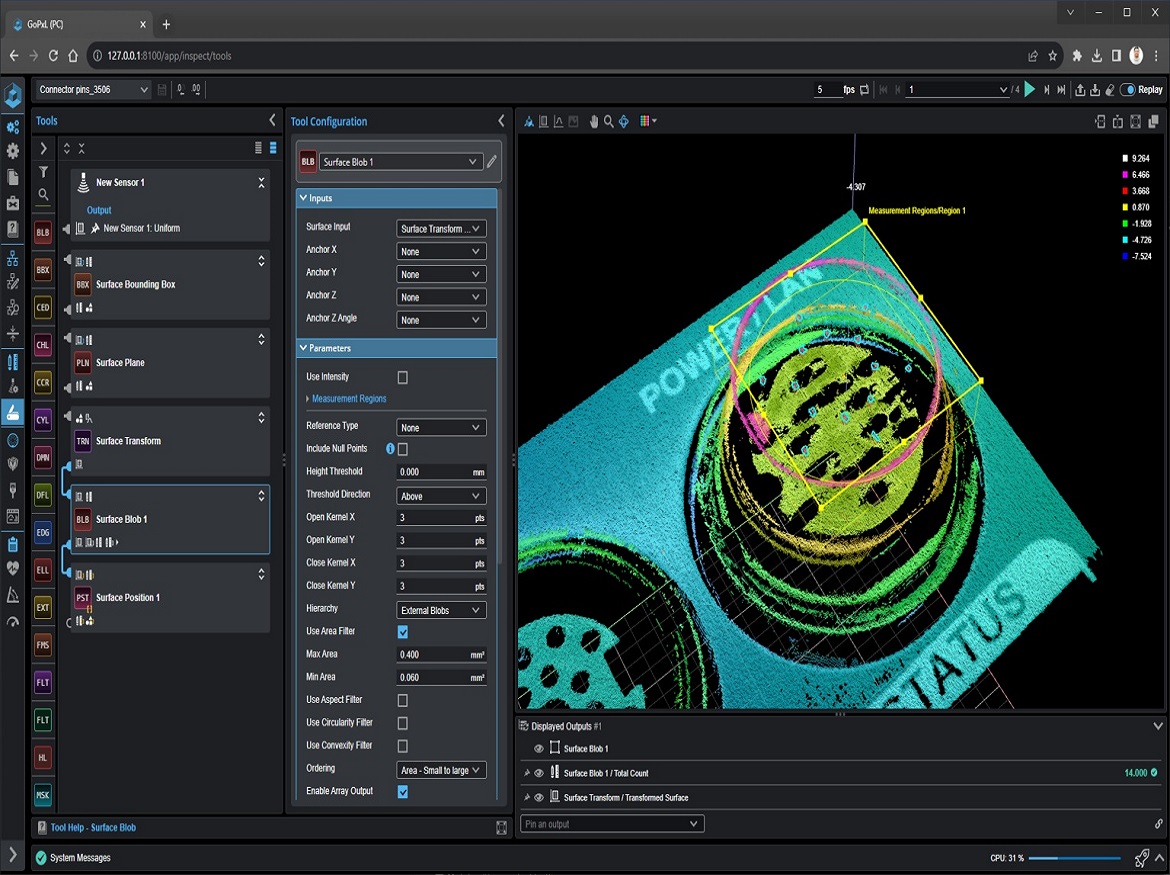
In this example, we count and measure the pins of the POWER/LAN connector on a Gocator. GoPxL supports arrays, which reduces the number of tools needed to inspect all 14 pins.

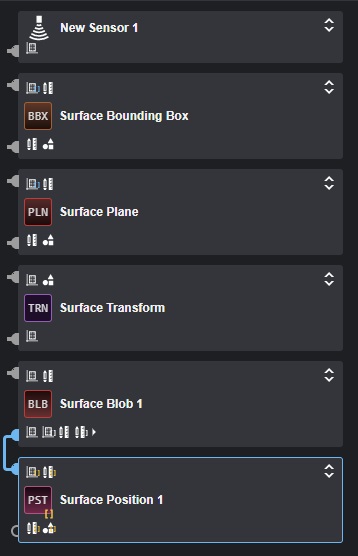
Surface Bounding Box
The Surface Bounding Box tool provides an anchor for the remaining tools in the toolchain in case the part’s location or orientation changes from scan to scan.
Surface Plane
We use the Surface Plane tool to define a measurement plane reference for the connector pins.
Surface Transform
This tool generates a new surface of pins based on the coordinate system of the plane and bounding box.
Surface Blob
The Surface Blob tool detects the pin tips and outputs as an array of surfaces.
Surface Position
The Surface Position tool reports the X, Y, and Z positions of each pin. The tool uses batching to operate on an array of surfaces generated by the Surface Blob tool.
Click on the following link Metrologically Speaking to read more such blogs about the Metrology Industry.


