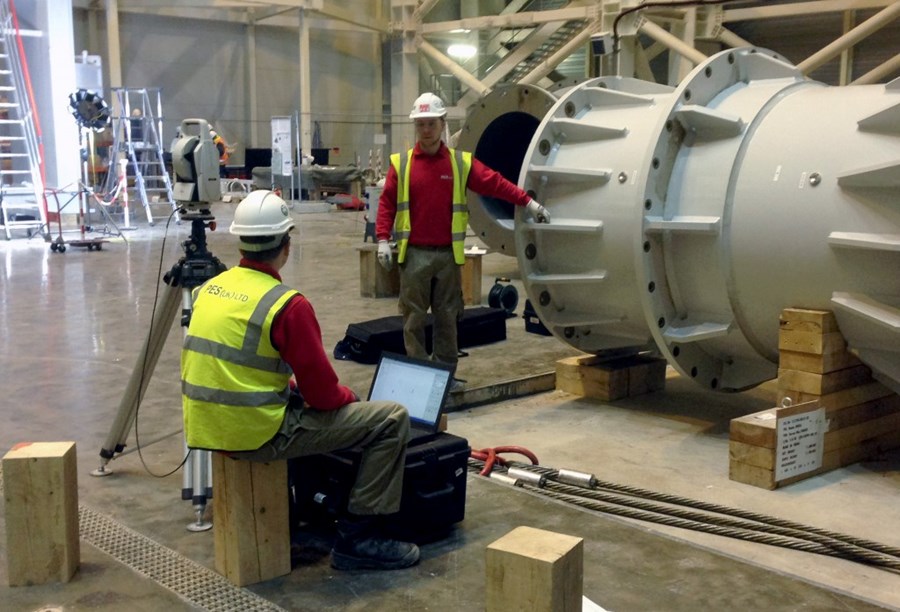
In the realm of the very large at ITER, some of the biggest challenges are lurking down in the millimetre range.
Within the Assembly Building a massive structure is taking shape: the Sector Sub Assembly Tool (SSAT). It is the first of two assembly tools designed to equip the nine-sectors of the vacuum vessel before they are positioned in their final location in the adjacent Tokamak Pit.
Metrology, the science of measurement, will play a decisive role at every step in the erection of the twin tools. Before and after each component is preassembled and put into place, metrology engineers carry out a variety of measurements and computational analysis to verify that every component is assembled and positioned in accordance with its design requirements. Utmost precision and accuracy are vital.
How is this accomplished? Metrology relies on an instrument called a laser tracker that measures angles and distances to identify an object’s exact position in three-dimensional space. To assist these measurements, reference points or “nests” are identified and characterized on each component as targets for the laser tracker. Characterization is a method in metrology to capture a component’s critical features to precisely position it in the next assembly phase.
Due to the size of the SSAT, several metrology instrument positions are needed to achieve the best precision measurements. A network of target nests embedded in the ground of the Assembly Building helps position the instruments around the SSAT.
By shooting a laser beam at the nests in the ground, the instrument obtains its exact position with respect to the SSAT, essentially measuring the distance and the horizontal and vertical angles relative to each nest. Simple trigonometry—one known distance and two known angles.
It’s very much like GPS, with the metrology instrument representing a cell phone and the nests representing the fixed position of global satellites that can identify the exact location of a cell phone anywhere on the Earth’s surface using triangulation. The challenge lies in the size of the SSAT.
With a height of 22 metres, a wing span of 20 metres and weight of 860 tonnes when temporary supports are included, small discrepancies at the bottom of the SSAT could lead to large divergences at the top. “We have to set the SSAT as close to level with the gravity vector as possible so that the downward forces are equally distributed,” says John Villanueva, a dimensional control engineer and metrology expert. “Gravity has to be our friend.”
Assembly tolerances are set to plus or minus two millimetres and the engineers are working with a very tight tolerance budget. Always giving their best effort, they’ve achieved tolerances in the sub-millimetre range which provides them with extra budget allowances they could potentially apply at subsequent assembly phases.
Villanueva will follow the SSAT project through all of its assembly phases. Earlier, he travelled to Taekyung Heavy Industries in Korea for the factory acceptance test of the first SSAT tool before shipment to France.
Following his premise that simple physics can tell you the truth, he put a small container of water on the moving wing platform. A line on the outside of the container marked the waterline. “I wanted to see whether the platform was level as it moved around the rail. I checked it at different stations and it was perfect; the waterline never deviated. They did a marvelous job.”
He now wants to do a similar test on site when the first assembly tool is fully erected. “I will put a marble on the rotating frame to see how it reacts …”


