This content was originally written and published by the OGP UK team on their website. Reproduced here from this link.
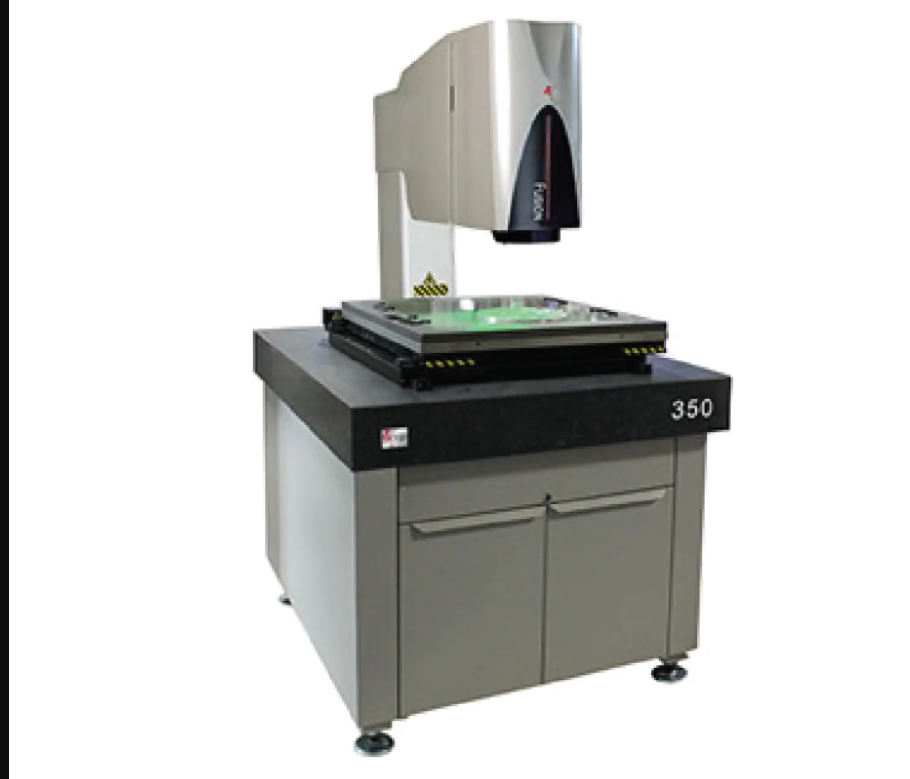
The Fusion is OGP’s most advanced, versatile, and capable multi-sensor metrology system ever when it comes to the accurate, non-contact measurement of even the most complex parts.
It combines a large field-of-view optical system with available touch probes, laser, and microsensors to form a uniquely productive quality control solution.
An exclusive feature extraction capability can instantly process and identify all features and dimensions within the scene, with no need for a pre-programmed measurement routine.
Automatic identification allows any previously programmed part – or multiple parts – to be placed anywhere on the stage, even without fixturing, for Fusion to identify and inspect.

Overview
OGP’s Fusion 400 multi-sensor metrology system features an innovative large-field-of-view (LFOV) with optimal power, speed, and versatility in carrying out automatic component measurement directly on the shop floor.
Offering a generous 350x250x250mm measurement stage, at the heart of the Fusion 400’s capability is its LFOV optical system. With two selectable optical configurations including a 100mm diagonal field-of-view Low Magnification with long depth of focus, as well as a 20mm diagonal field-of-view High Magnification with autofocus.
With Fusion Low Magnification, it’s easier to fit a number of parts into a single field-of-view. Feature Extraction analyses any part and displays basic part geometry without the need for a programmed measurement routine. With AutoID, a previously programmed part, or multiple parts, may be placed anywhere on the stage, even without fixturing – the Fusion 400 will accurately identify the parts and their orientation, through automated measurement. The High Magnification optical path allows up-close measurement of small features, with the added efficiency of autofocus.
The Fusion 400’s full multi-sensor capability, has the capacity to combine touch-trigger probe, SP25 continuous contact scanning probe, and patented on-axis Telestar Plus Interferometric TTL Laser. Also in order to measure fragile, deformable, and extremely small part features, the Fusion machine accommodates microprobe sensors such as Feather Probe and Rainbow Probe, while selected sensor deployment rotation enables full stage travel accessibility for complete measurement capability.
Equipped with QVI’s premium CAD-based 3D metrology software, ZONE3, the Fusion 400 features a clear, simple user interface, and its kinematic model simulates the machine, part, fixtures, and measuring sensor, updated in real-time. With built-in productivity maximizing tools, GD&T functionality, and visual validation of measurement intent, the Fusion 400 offers speed and power like no other within your measurement processes. ZONE3 supports the simultaneous use of multiple sensors, making appropriate tools available for complex measurement tasks.
Fusion Sizes
MODEL SERIES
| Model | Measuring range (XYZ travel) | XYZ scale resolution | XY area accuracy | Z linear accuracy | Size and weight |
|---|---|---|---|---|---|
| Fusion 350 | 350 x 350 x 150mm | 0.5µm | E2 = (5.0 + 8L/1000) µm | E1 = (5.0 + 6L/1000) µm | 115 x 153 x 196cm / 1,000kg |
| Fusion 400 | 350 x 250 x 250mm | 0.1µm (0.05µm optional) | E2 = (1.0 + 4L/1000) µm2,3,4 | E1 = (2.5 + 4L/1000) µm4 | 128 x 144 x 244cm / 2,100kg |
To know more, please check OGP UK.


